|
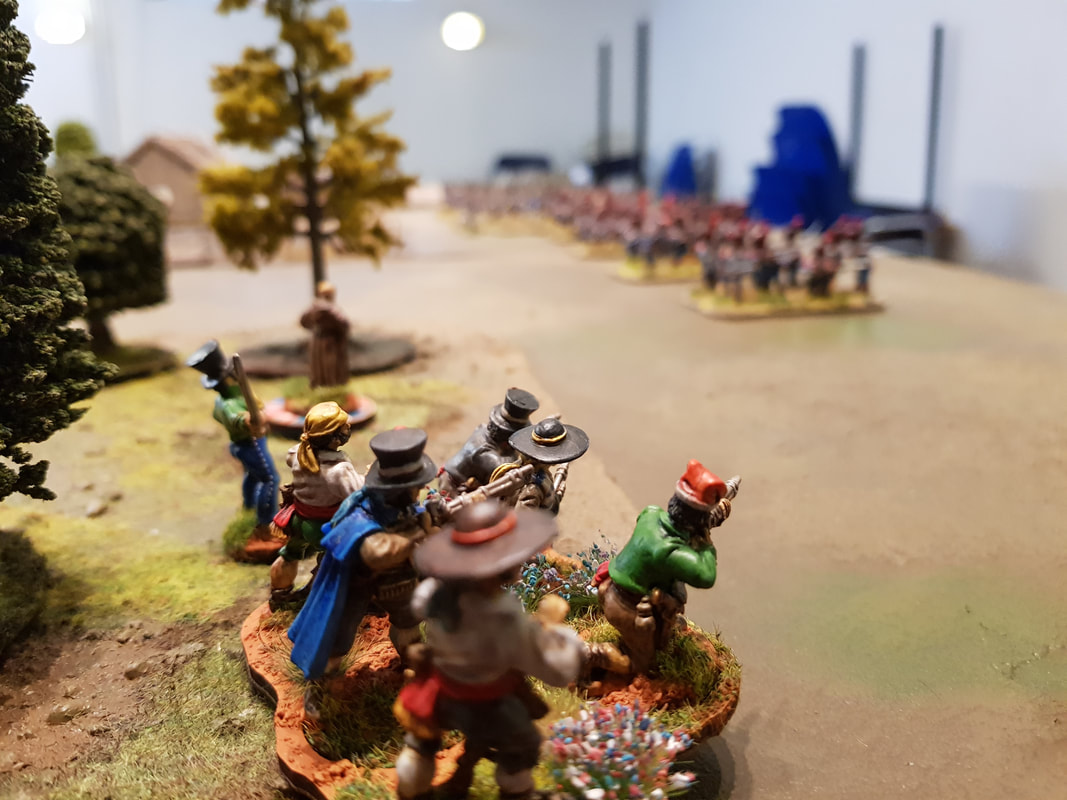
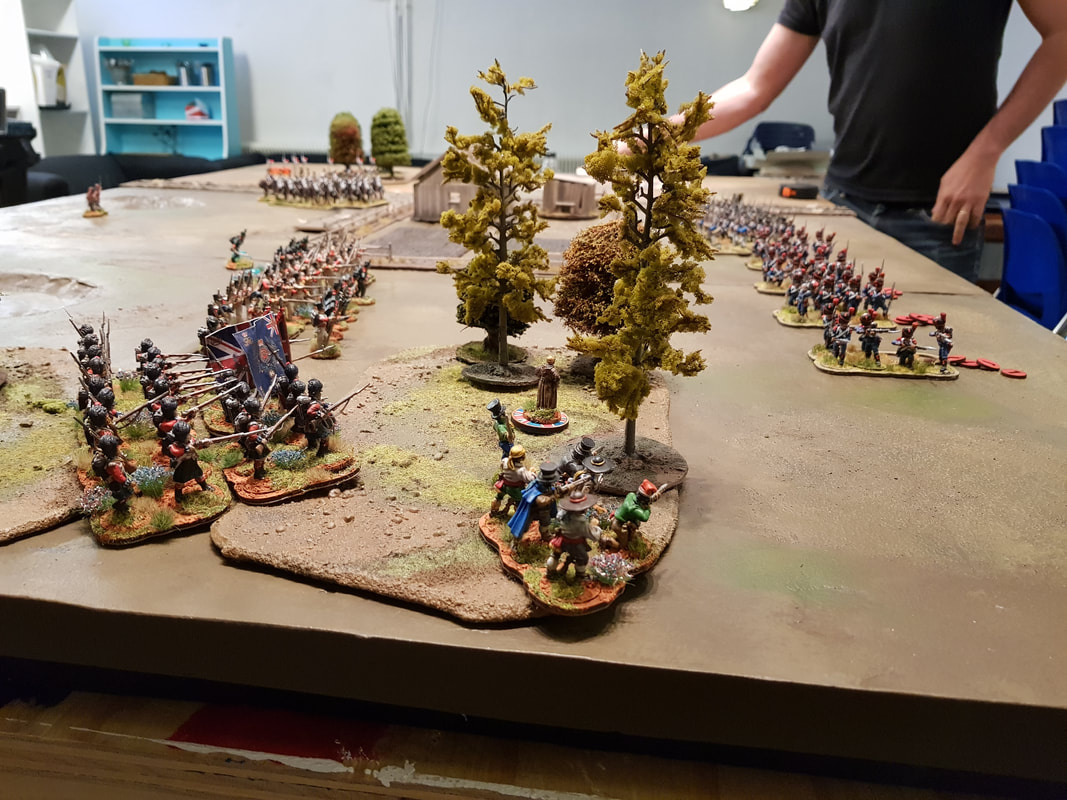
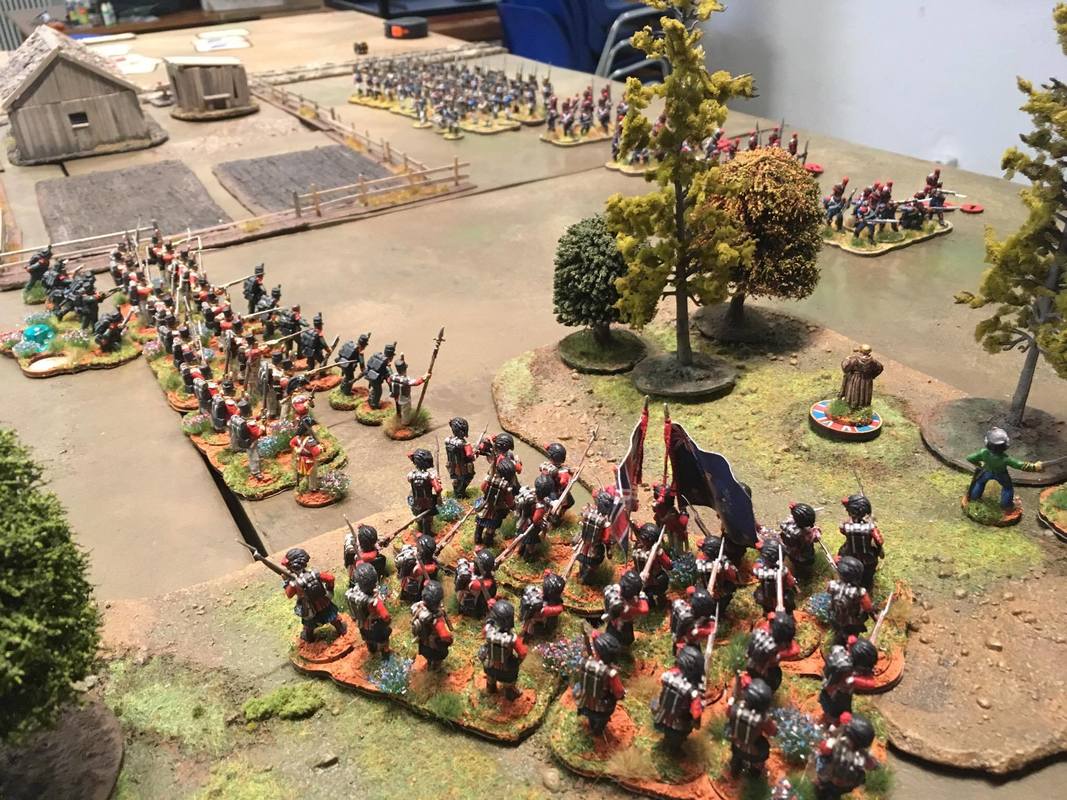
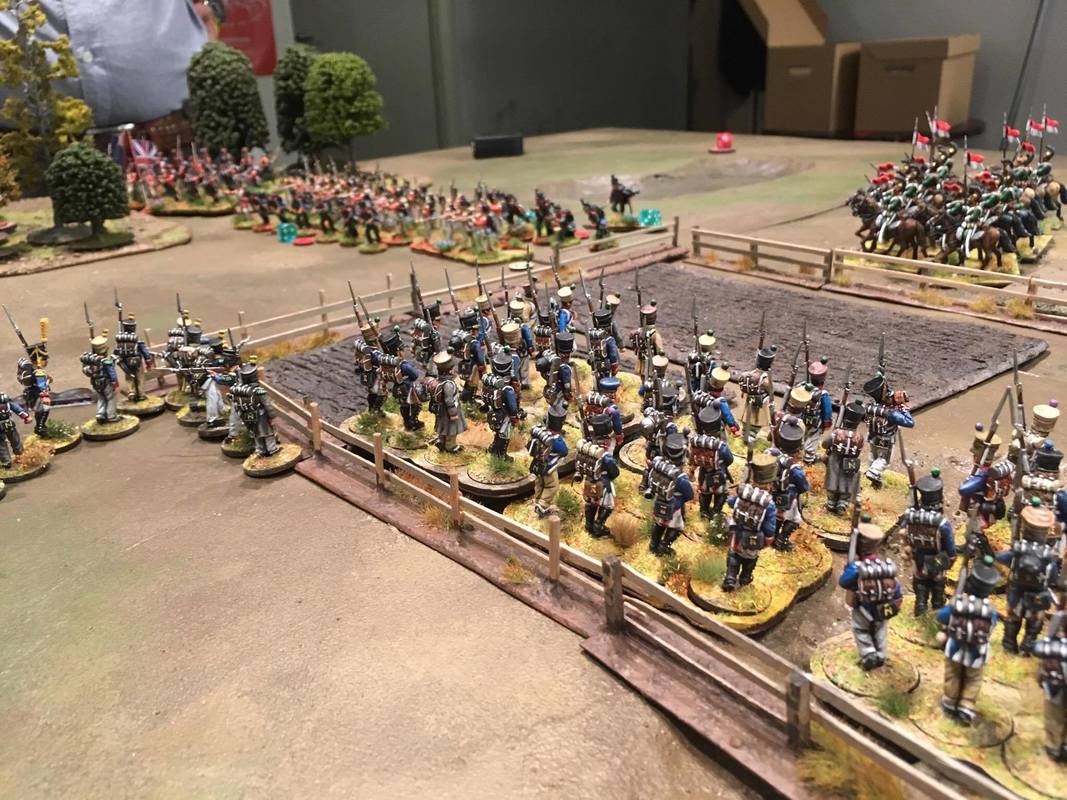
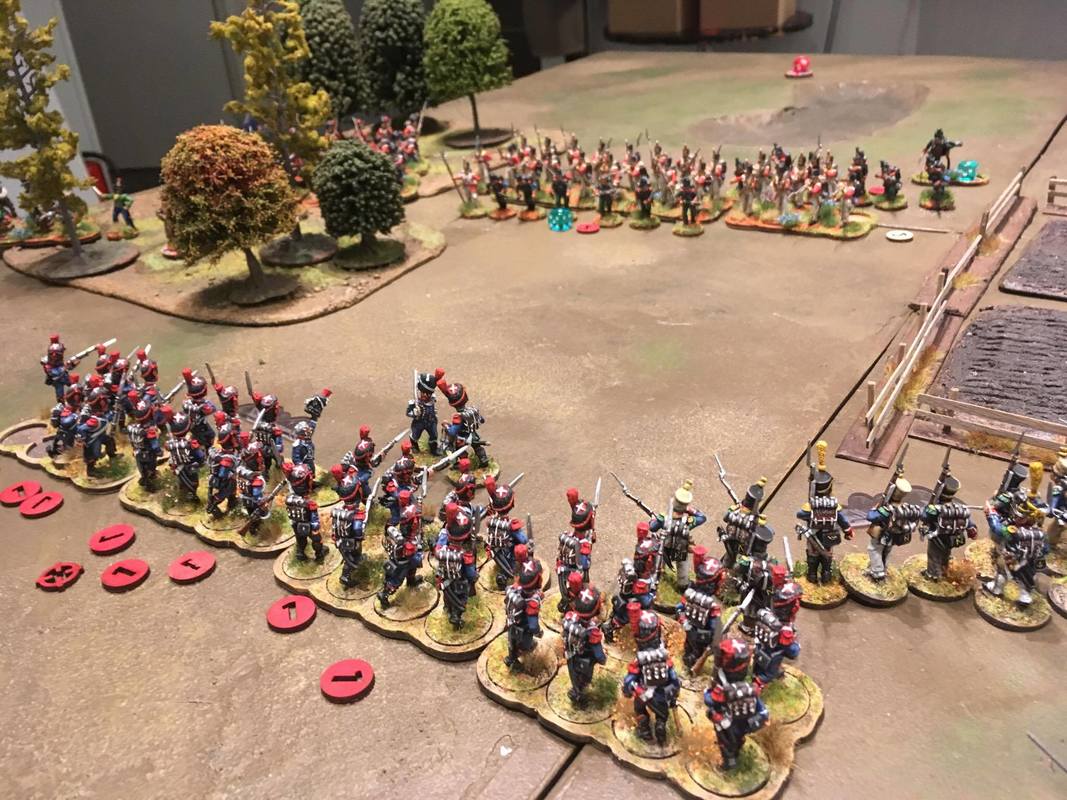
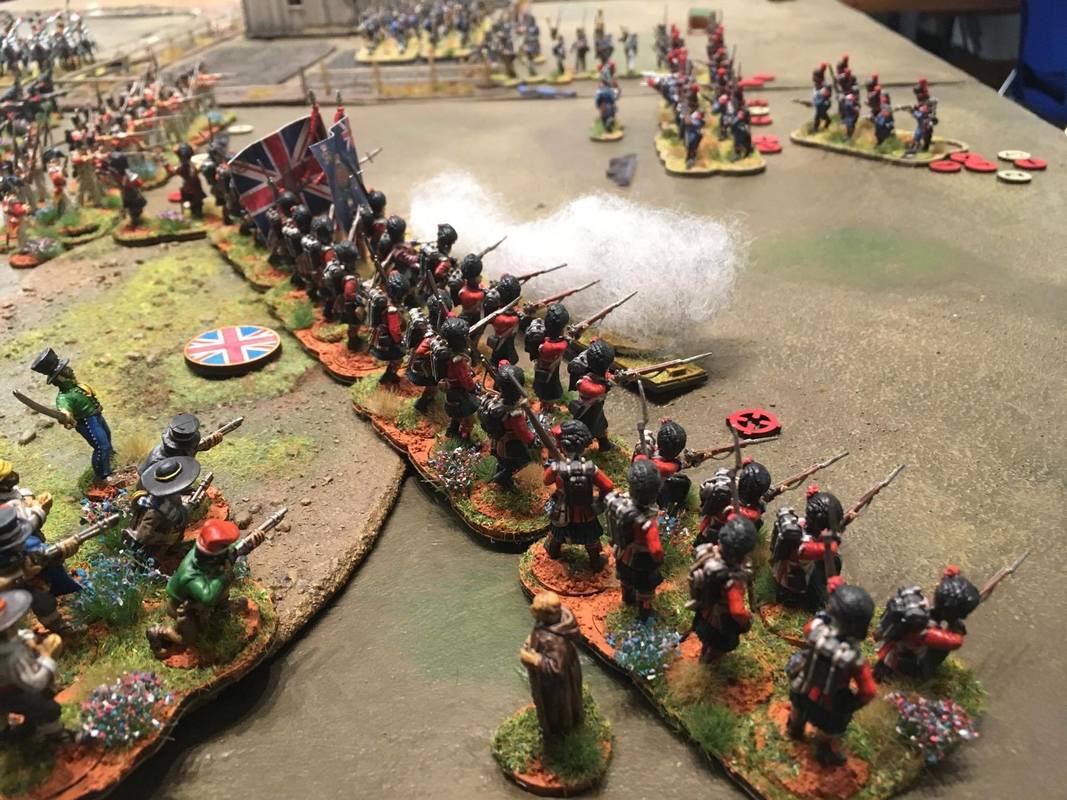
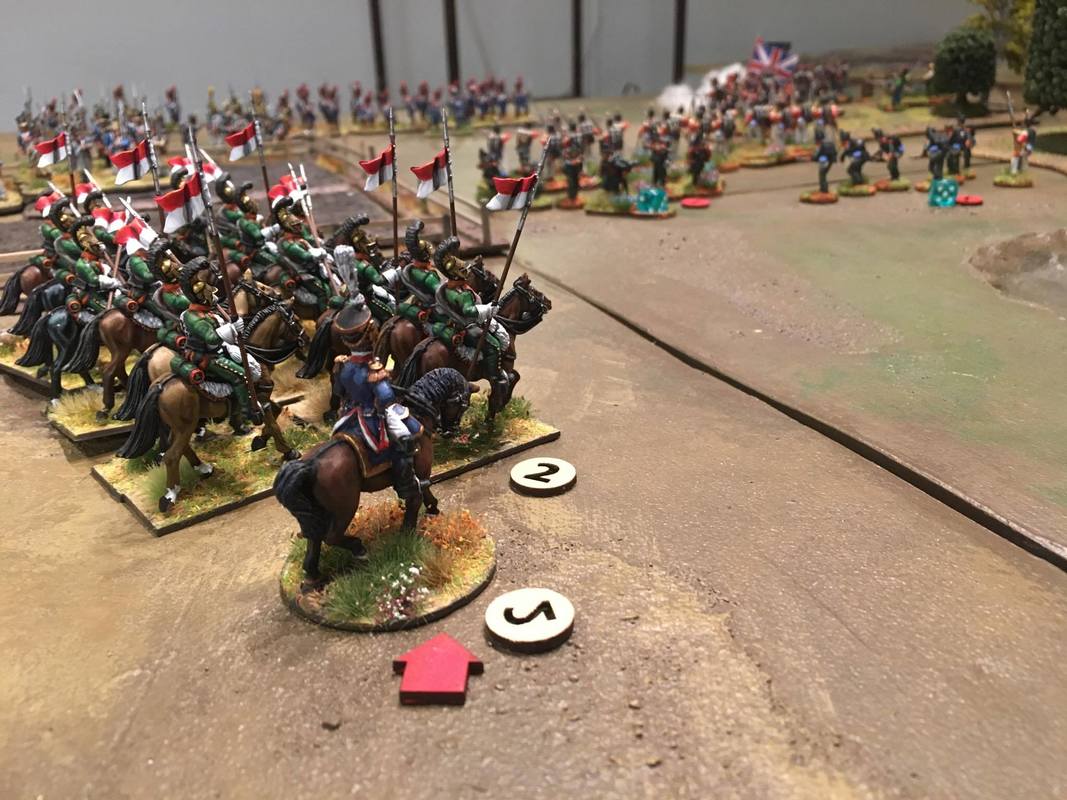
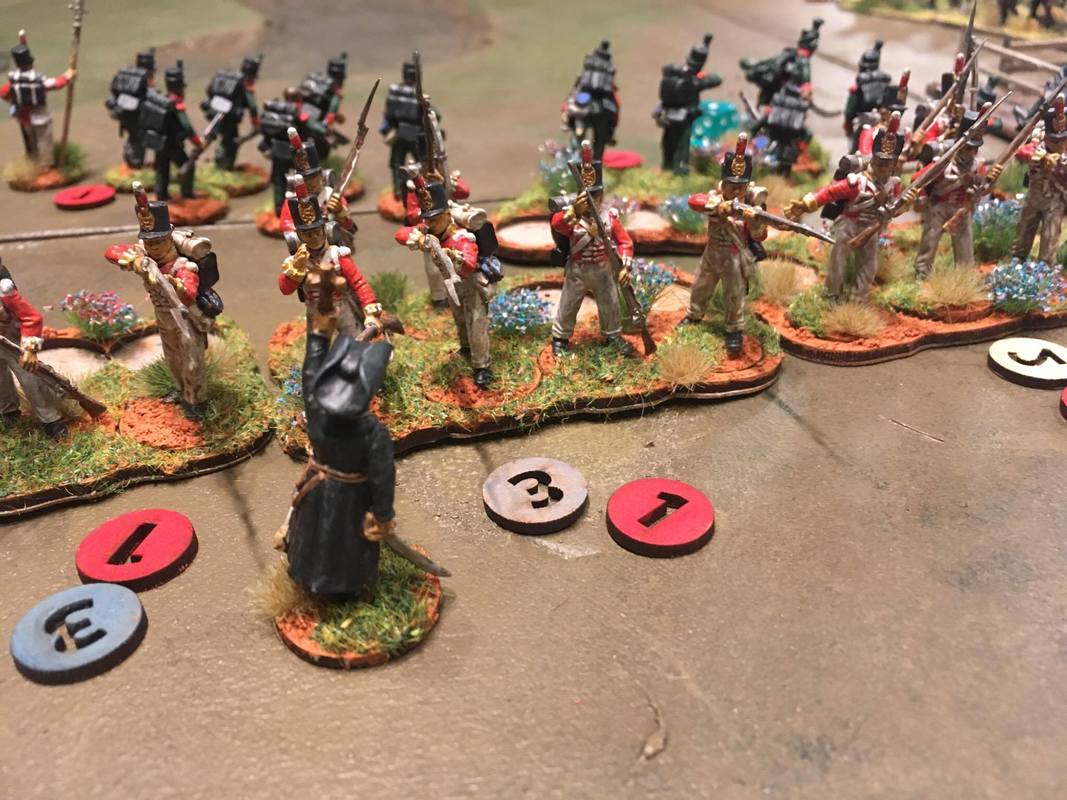
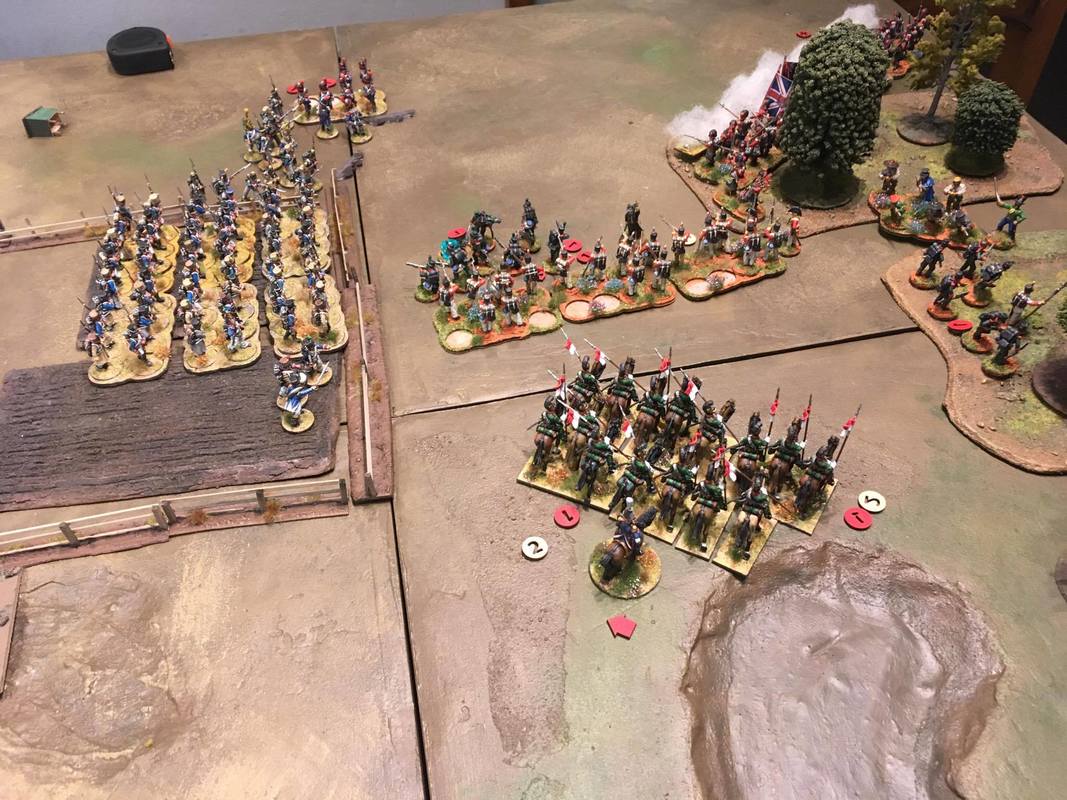
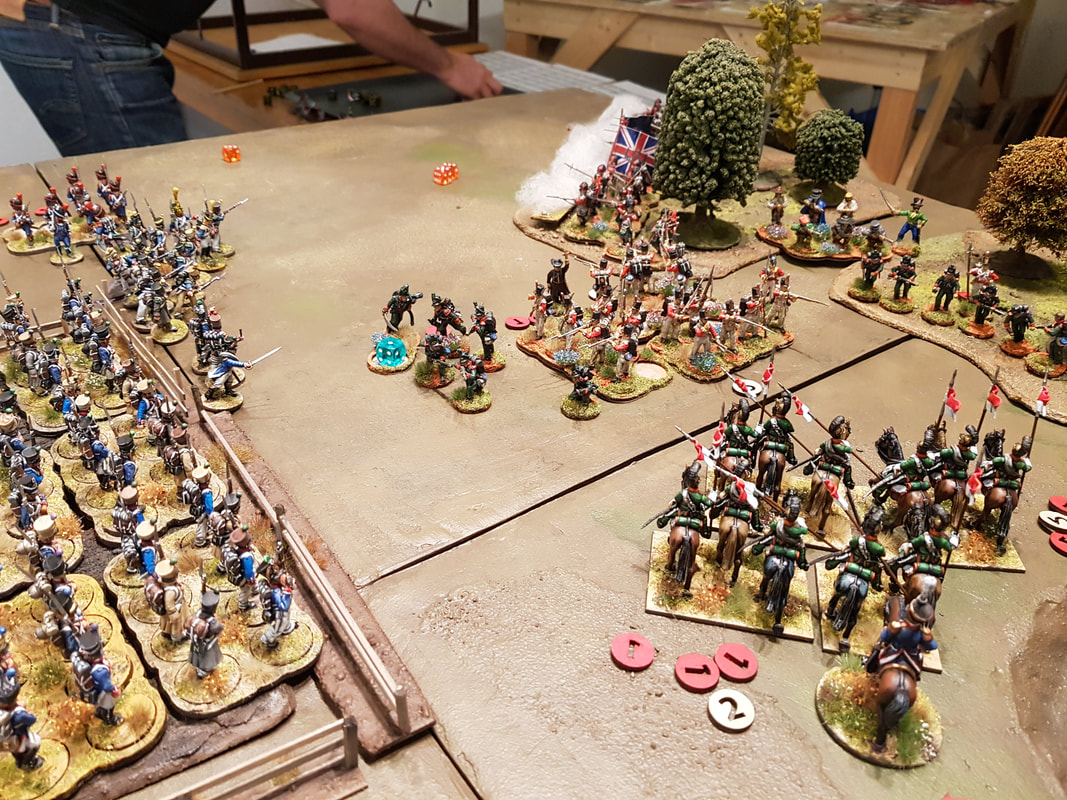
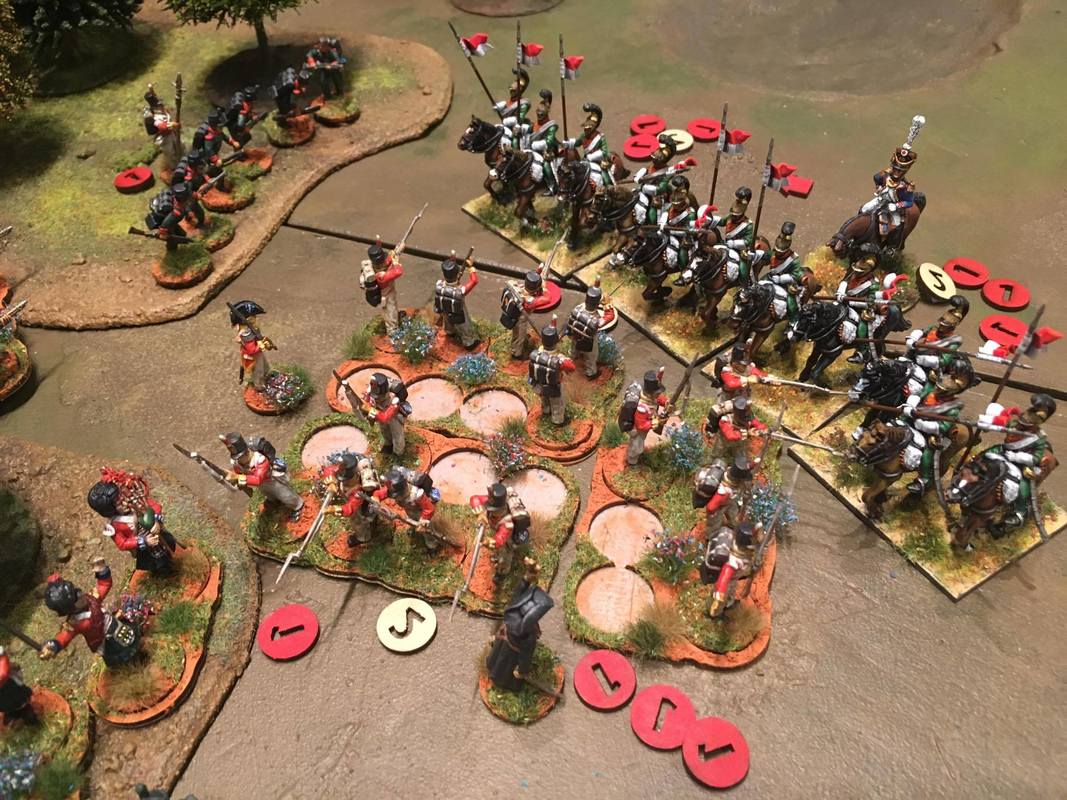
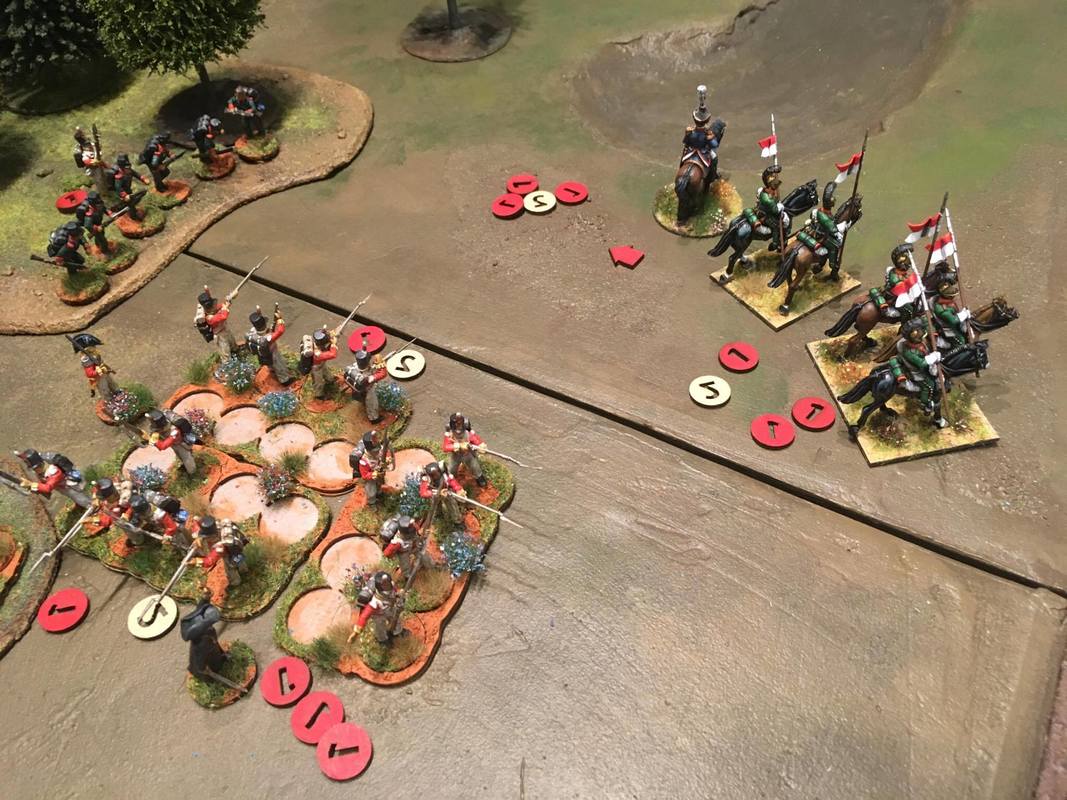
The time has come for the red coats to test their mettle in battle. This would be my third game of Sharp Practice 2, and my first one using the British forces I've painted. Order of BattleJonas took the opportunity to try out the army list he made for our upcoming 1812 Russia Campaign. I'm using the list from the rulebook, but with updated points costs. British Braves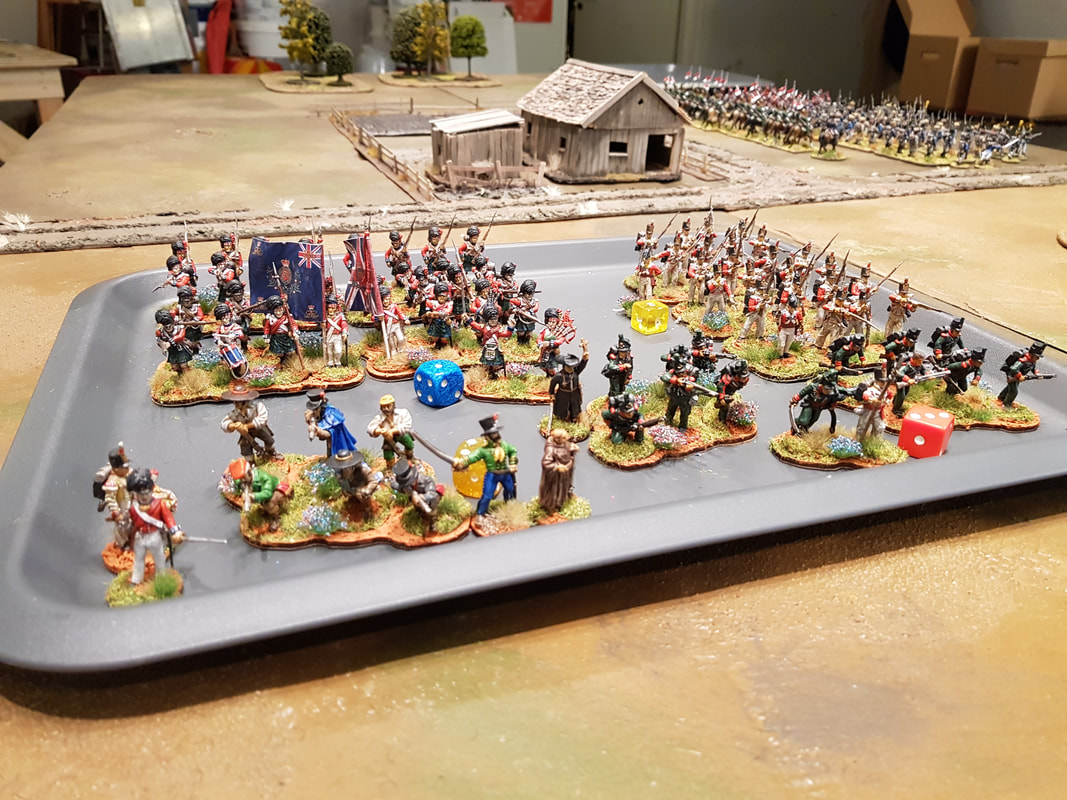 42nd Regiment of Foot, Black Watch 4 groups of Highlanders, Regulars Thin Red Line, Sharp Practice, Stubborn 1 Officer, lvl 4 88th Regiment of Foot, Devil's Own 3 groups of Line infantry, Regulars Thin Red Line, Sharp Practice, Aggressive 1 Officer, lvl 2 5/60th Regiment of Foot, Royal Americans 2 groups of Riflemen, Light Infanty Sharp Practice 1 Officer, lvl 2 1 NCO, lvl 1 1 Marksman Guerilleros 1 group of Guerilla Skrimishers, Irregular Skirmishers Moveable Deployment Point 1 Officer, lvl 2 1 Holy man, with Relic 1 Moveable Deployment Point (Guerilleros) French Fools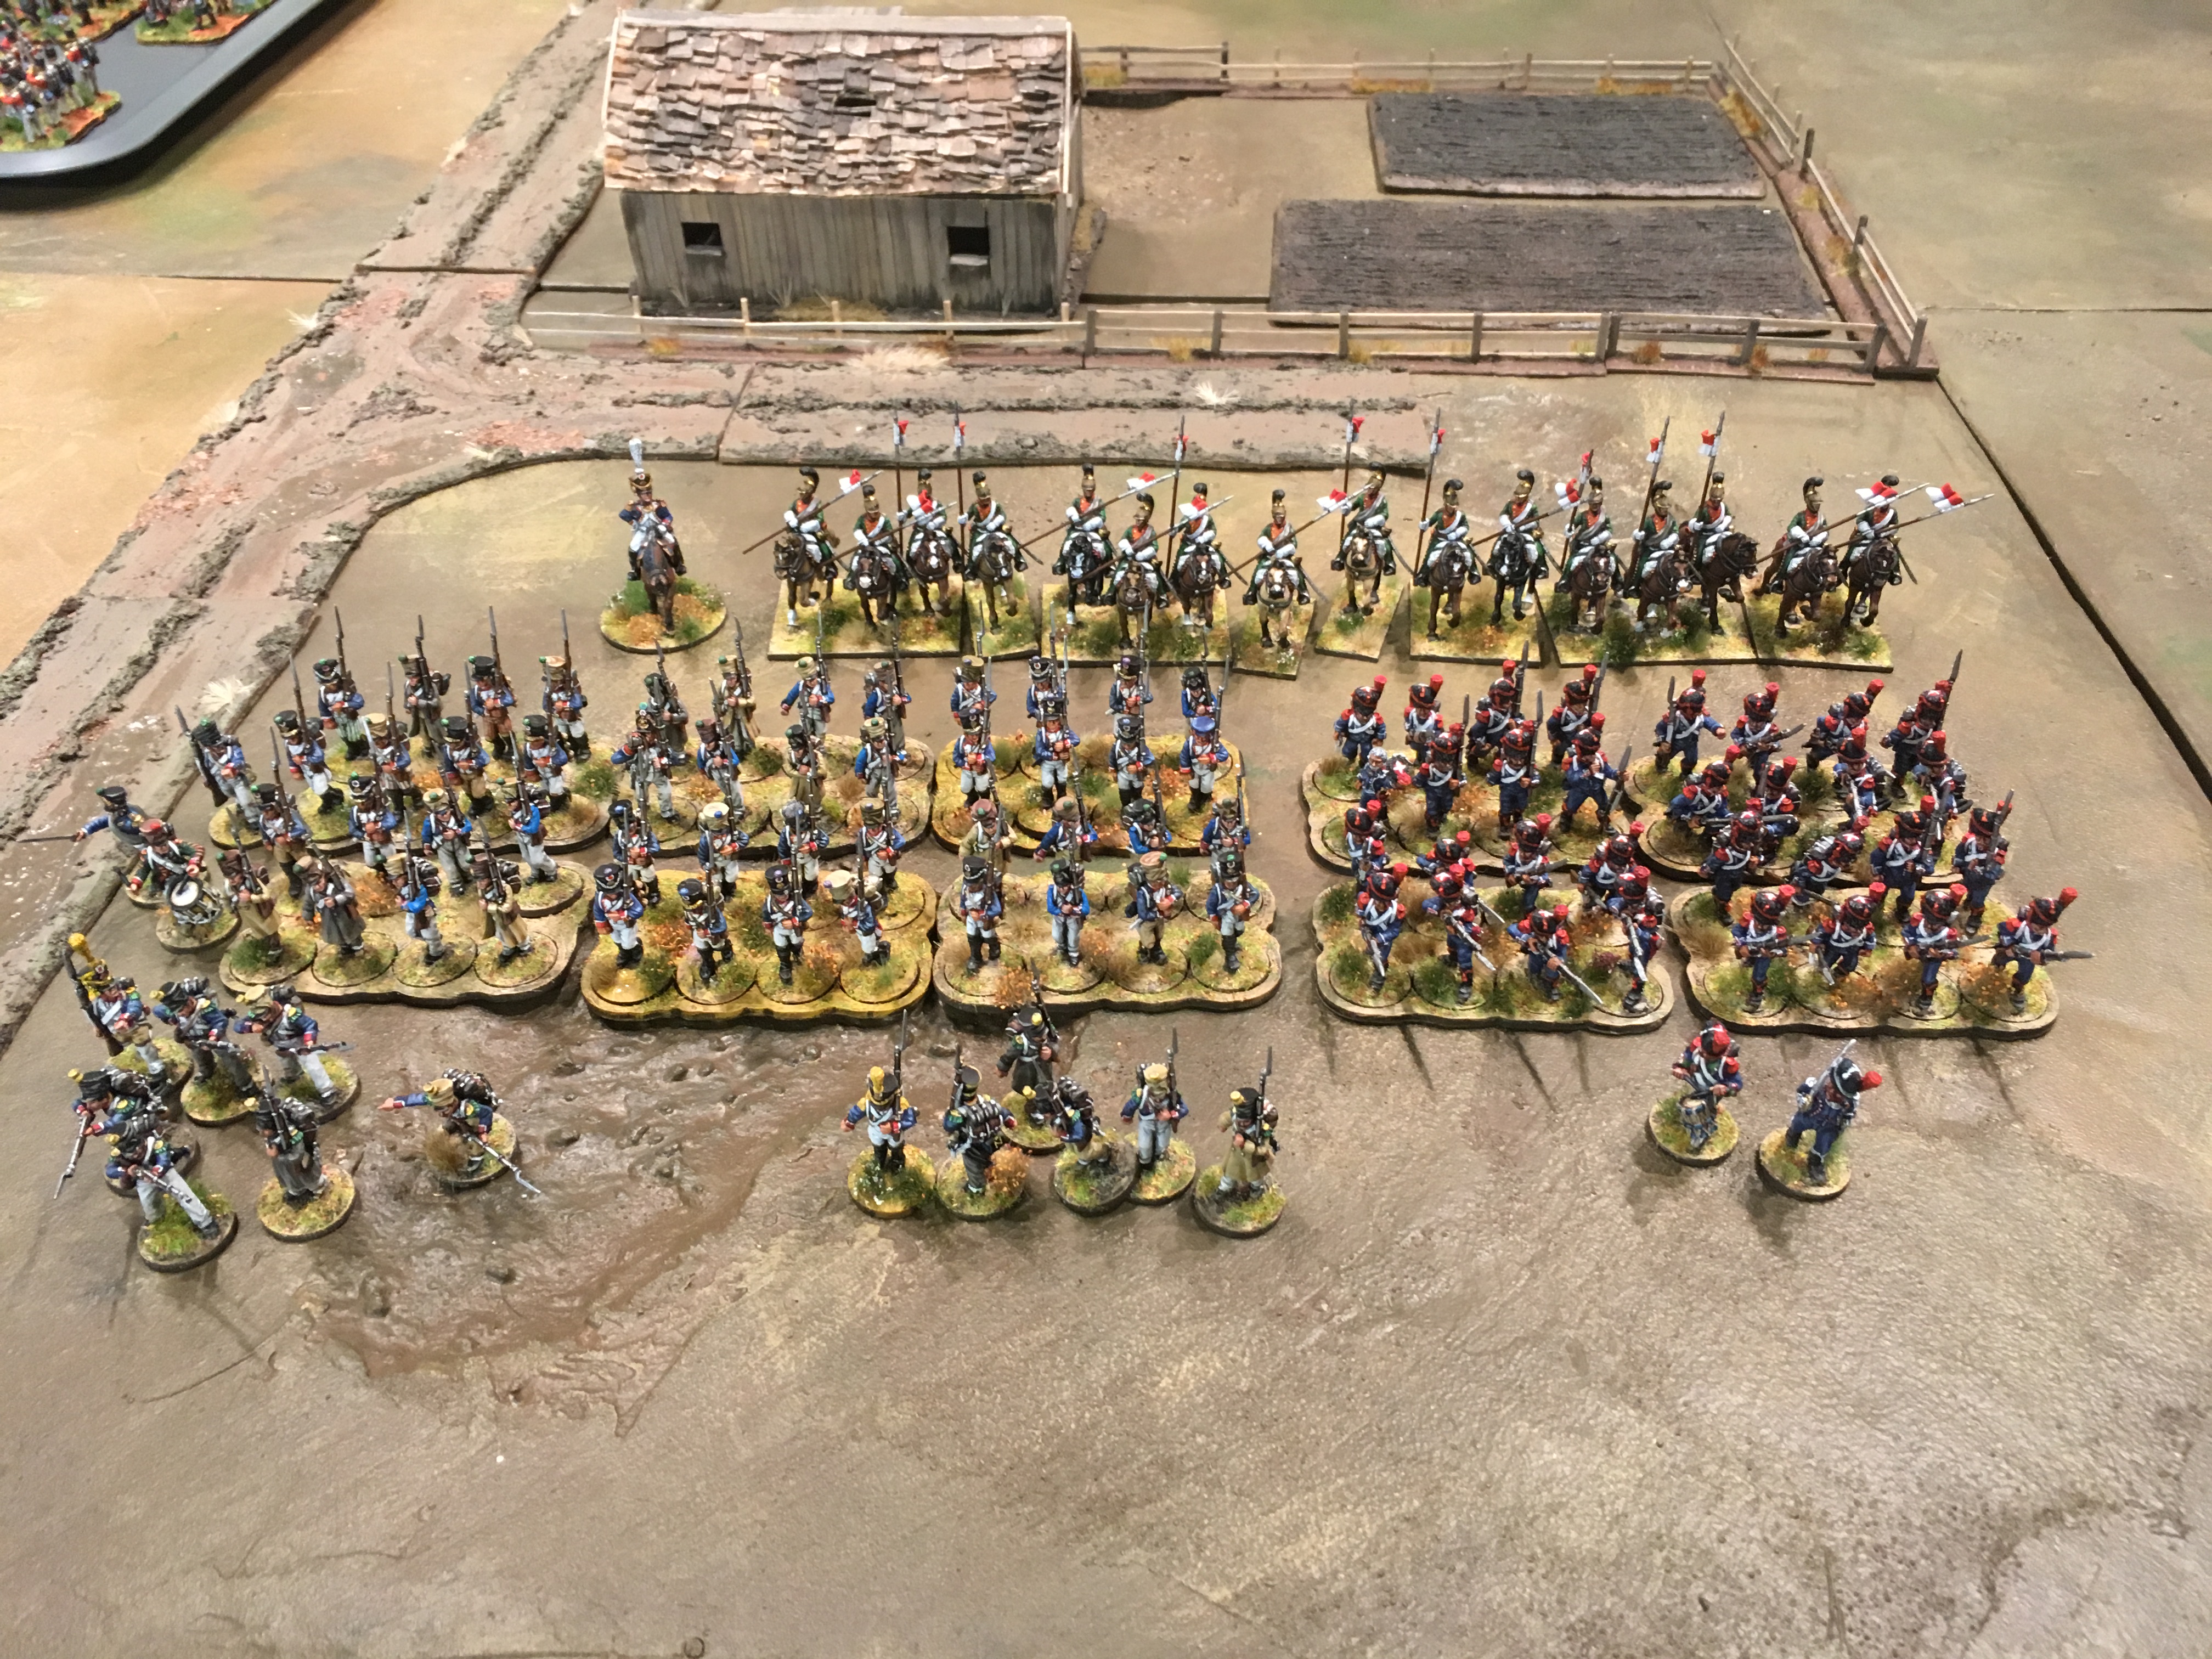 Carabiniers 4 groups of Elite Pas de Charge, Aggressive 1 NCO, lvl2 Line Infantry 6 groups of Regulars Pas de Charge 1 Officer, lvl2, 1 NCO, lvl 1 Lancers 2 groups of Lancers 1 NCO, lvl 1 Voltiguers 2 groups of Skirmishers Sharp Practice 1 NCO, lvl 2 Opening MovesI knew going into the battle that I wanted something out of my moveable Deployment Point (represented by a monk armed with a musket). I was also afraid of the Lancers which I really didn't want to give an opportunity to charge me in the flank or rear. The dice determined that my primary DP should be placed in the right hand corner, seen from my side of the battlefield, so after measuring carefully I placed my sneaky monk infiltrator in the small woods over on Jonas's side of the board. The French forces deployed from the center on their side of the board. First Turn(s)This was my first game using cards which I must say I much prefer over using the chits. It went much more smoothly because you'd be satisfied with shuffling the deck once, instead of waving your hand around in a box to pick up a chit. The first card to be drawn was for Jonas terrible monster unit of Carabiniers, Elite and Aggressive! Not something you want within charge distance. They deployed in open column which would enable them to form up to a line easily after a short march. 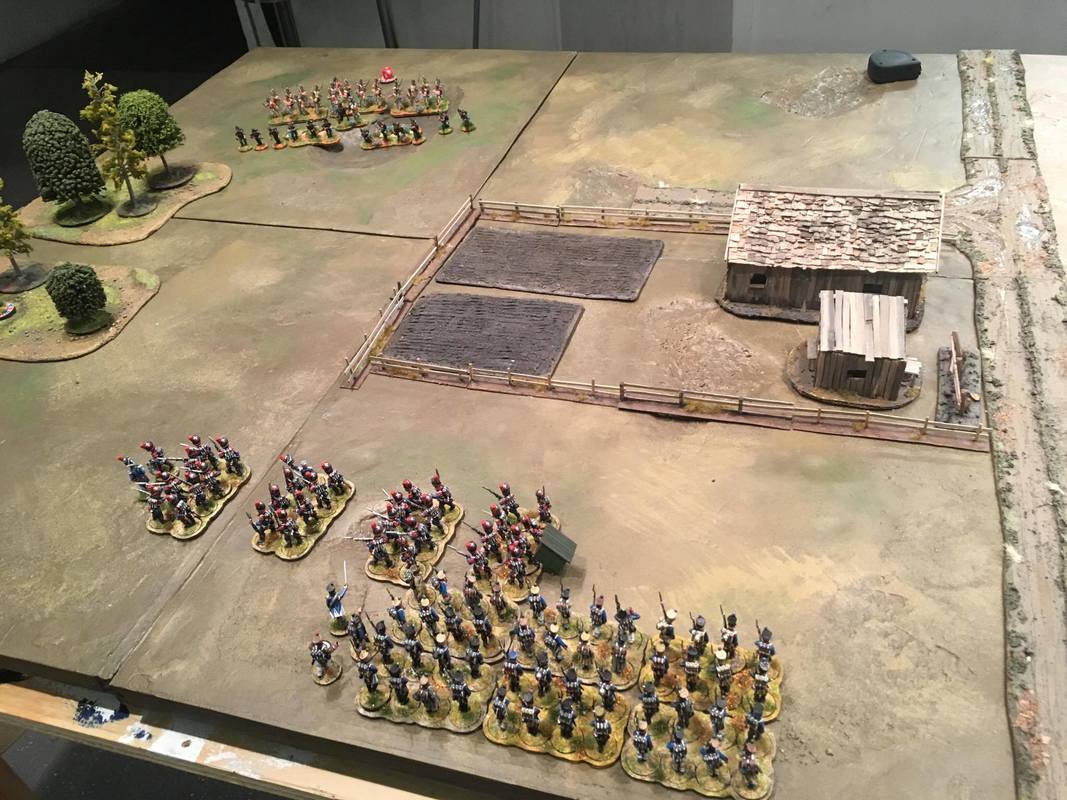 Next, the 88th and my riflemen were deployed from my primary DP, followed by a big blob of French Line Infantry and Voltiguers which deployed next to the Carabiniers. Further away by the road, some Lancers appeared. Then the card for my Force Commander was drawn. I couldn't decide if I wanted to deploy my Highlanders so that they would eventually face the Lancers, or if they should join the 88th. On top of that, I hadn't had a chance to "open" my moveable DP yet. In the end I kept the Highlanders off the board and instead moved my monk forward a few inches. Then Tiffin! "Zach's Guerilleros were equipped with a Movable Deployment Point, which he got to put in the woods on my flank. If he managed to deploy his Guerilleros through it, they would then enable other undeployed units to follow through this DP and easily flank my forces. However, if I could move my forces close enough, I would be able to block him from deploying from it, and give his overall morale a kicking as well, A race against the clock begun!" - Jonas Heating UpNow I got to experience the frustrating thing about moveable DPs. if you want any sort of ambushy action you need to draw the cards in the correct order. The following turns saw me and Jonas advancing towards each other, with the Lancers swinging around the central farm towards my rear. Instead of facing the threat they posed, I tried to keep moving forward and away. I was hoping that once they catch me it would be too late and I'd already done enough damage to win. I just couldn't draw the Guerilla Officer's card, not to mention doing it before drawing my Force Commander's. In the end Jonas's Carabiniers got too close to the moveable DP for me to be able to pull something flashy. However, I did get to deploy my Guerilleros, and they started to harass the French flank. The next turn they were followed by the Highlanders deploying in a attack column in the woods. The Lancers were getting close, but a well aimed shot by a rifleman put took down their NCO down to level 0. A leader with level 0 is not dead, but has no Command Iniatiatives if his card is drawn. Jonas needed a Command Flag to activate the unit, either on the officers card (by temporary boosting his number of Command Initiatives to 1) or at the end of a turn when the Tiffin was drawn. As my luck would have it, Jonas again and again failed to draw a Command Flag before the Lancer NCO's card came up, giving me a chance to keep them away from my flank for a little while longer. Dueling MusketryJonas's Carabiniers and my 88th were getting closer and closer. Jonas decided to fire his first volley just outside of Close range, while my forces were still screened by the Royal Americans. This wasn't as effective as he had hoped. My 88th hadn't activated yet, and in an attempt to get a devastating first volley I decided to move closer and Present. Hopefully I would be able to activate before Jonas in the next turn. I also managed to get my Highlanders up to the edge of the forest. Then I drew two Command Flags, giving me the option to use Sharp Practice. I could either fire a controlled volley with the 88th, or uncontrolled with the larger unit Highlanders. It was a hard choice, but in the end it was the Black Watch that got the order to FIRE! The next turn had us both anxious to see who would get to activate their units first. We both had level 4 officers in the thick of it, and whoever got his first would be able to do a lot of damage. And as always has been the case in these draw-offs between Jonas and me, Jonas proved to be the luckier one. My 88th got a super sized serving of lead salad, and were dangerously close to being forced to withdraw from the combined fire of the Carabiniers and Voltigeurs. But my No. 1 wasn't far off! He started by calling in a Holy Man, to provide some much needed solace to the hard pressed rogues of the Devil's Own. Then he had the 88th and 42nd deliver one volley each into the Crapaud Carabiniers, who broke under their relentless fire. The Glorious EndThis happened just before the Lancers finally got to attack, but the Riflemen managed to safely evade their thunderous charge. To protect my infantry I had the 88th form a square, and was preparing to angle up the Highlanders to form a new line of battle to face the big blob of French infantry that had finally managed to get close enough to join the fight. We never got to see their first volley, as the slaughter of the Carabiniers had crashed Jonas's Force Morale. As a final display of defiance he charged the 88th with his Lancers. He ended up with just a few dice to roll while I needed two hands to cup mine. The results were predictable and Jonas graciously retired. -Zach A French EulogyArrrgh, sacre bleu! The indignity of losing to the British royalists!
This was a great game, and it really showcased the British army in Sharp Practice. With their line infantry having both Sharp Practice and Aggressive, they have the unnerving ability to be both great at close combat and at shooting. And with Thin Red Line, there is always the threat of a sudden rush into Fisticuffs as well. So when you meet them, you have to be wilier if you want to survive! In this particular game, my deployment turned out to be crap. The big Fusilier blob took too much time to climb over the fence and wheel in the muddy farm backyard. A complete waste! I should probably have avoided the farmhouse completely, and focused on maintaining a solid line that didn't allow one of my formations to be outnumbered and picked apart. My only saving grace were the Lancers, and if the NCO had been lvl 2 instead, they would have plowed into the British in a very unpleasant manner. As it was, they were inches away from a good chance to even the odds. This time they failed, but like in all games before they added a lot of fun to my role as French commander. While heaping praise on the proficiency of the British infantry, let's not forget that in this game the Guerilleros also played a vital role. They poured lead into my poor Carabiniers, halting their march (you move slower if you have shock markers on a unit) and made my deployment mistakes so much more punishing. This was also our first game where we really took care to use the rules for resolving volleys correctly. Before, we tended to just spread out shock on the formation hit, which made big formations really good. With the "proper" rules, big blobs are much more prone to have one or two units chipped off, wrecking your Force Morale. While it was a bit fiddly the first couple of turns, we gradually got used to it, and in the end it made for a much more tactical feel to the game. It did change the effectiveness of small formations vs large ones though, meaning that this was probably the last time in a while that I take a 6 unit strong formation. All this combined and looking back, I would have been much better served by trading some of that big blob of infantry for more Voltigeurs. Being outnumbered in skirmishers is never fun, but doubly so against British. Anything that can protect you from their Sharp Practice-fuelled controlled volleys is worth considering. So more skirmishers, smaller and more manouverable formations, and better coordination? Sounds like a plan. Next time! -Jonas
3 Comments
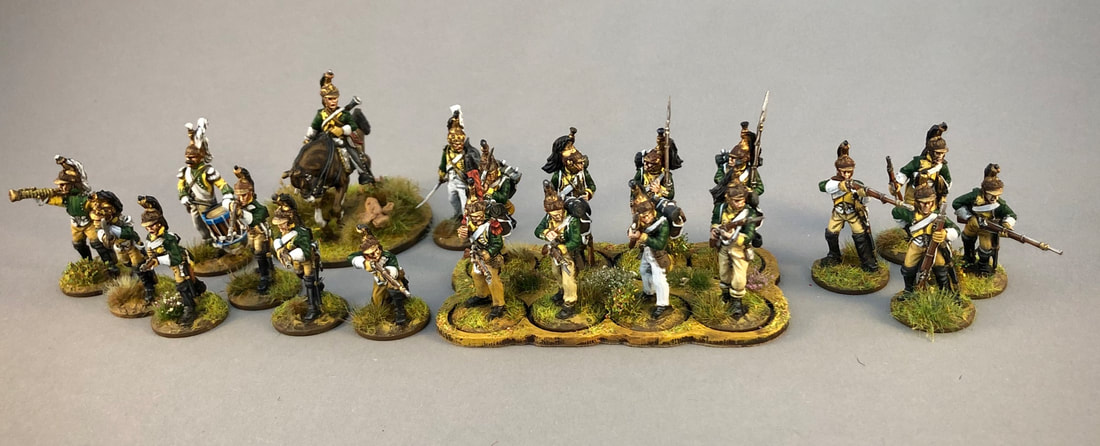
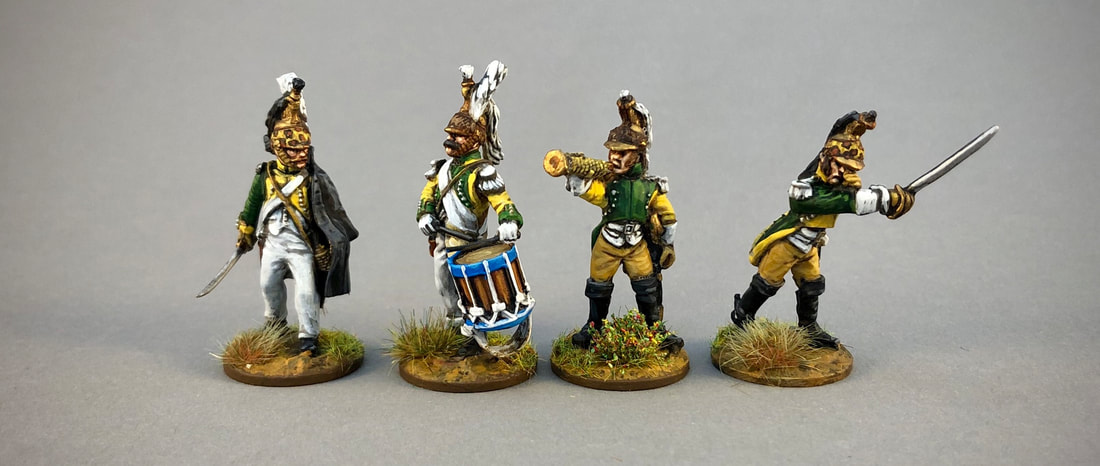
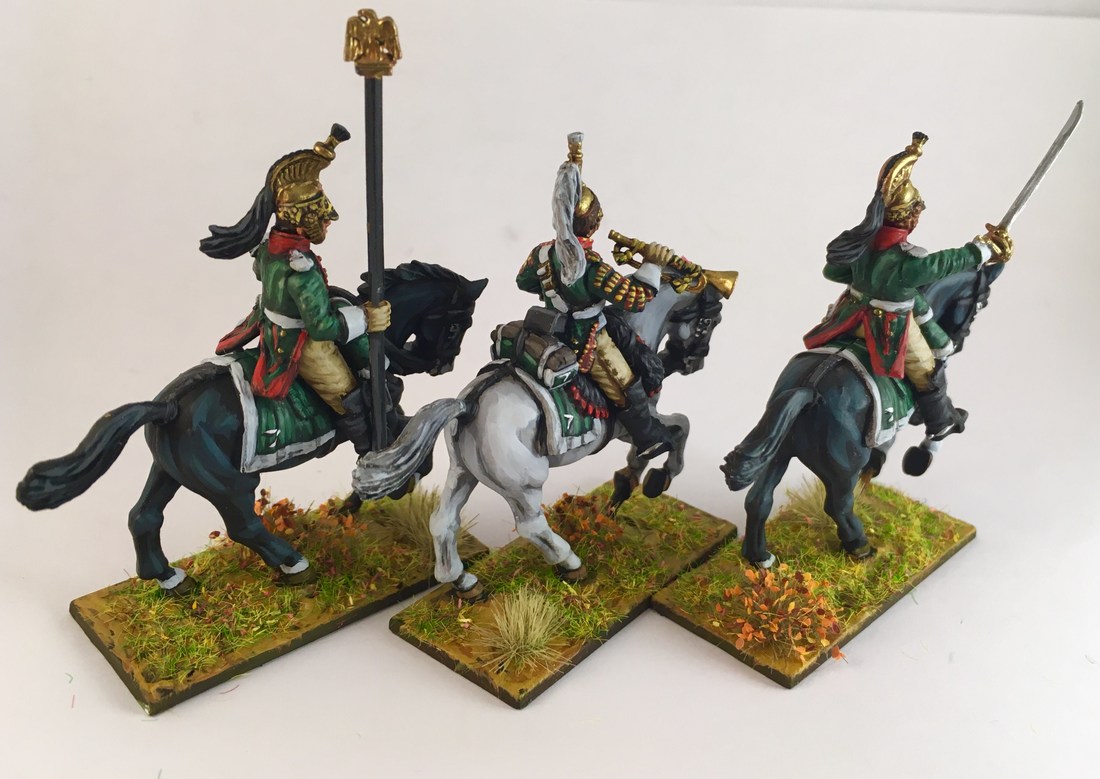
My poor dragoons. I've fielded them in most of my battles, and every time this lonely little unit has been chewed up by enemy cavalry or infantry. And to make matters worse, they haven't even had proper officers to lead them, or trumpeters to make them look good! The line must be drawn here! This far, no further. It was time to crack up another one of Perry's lovely French dragoon boxes, and get to work. 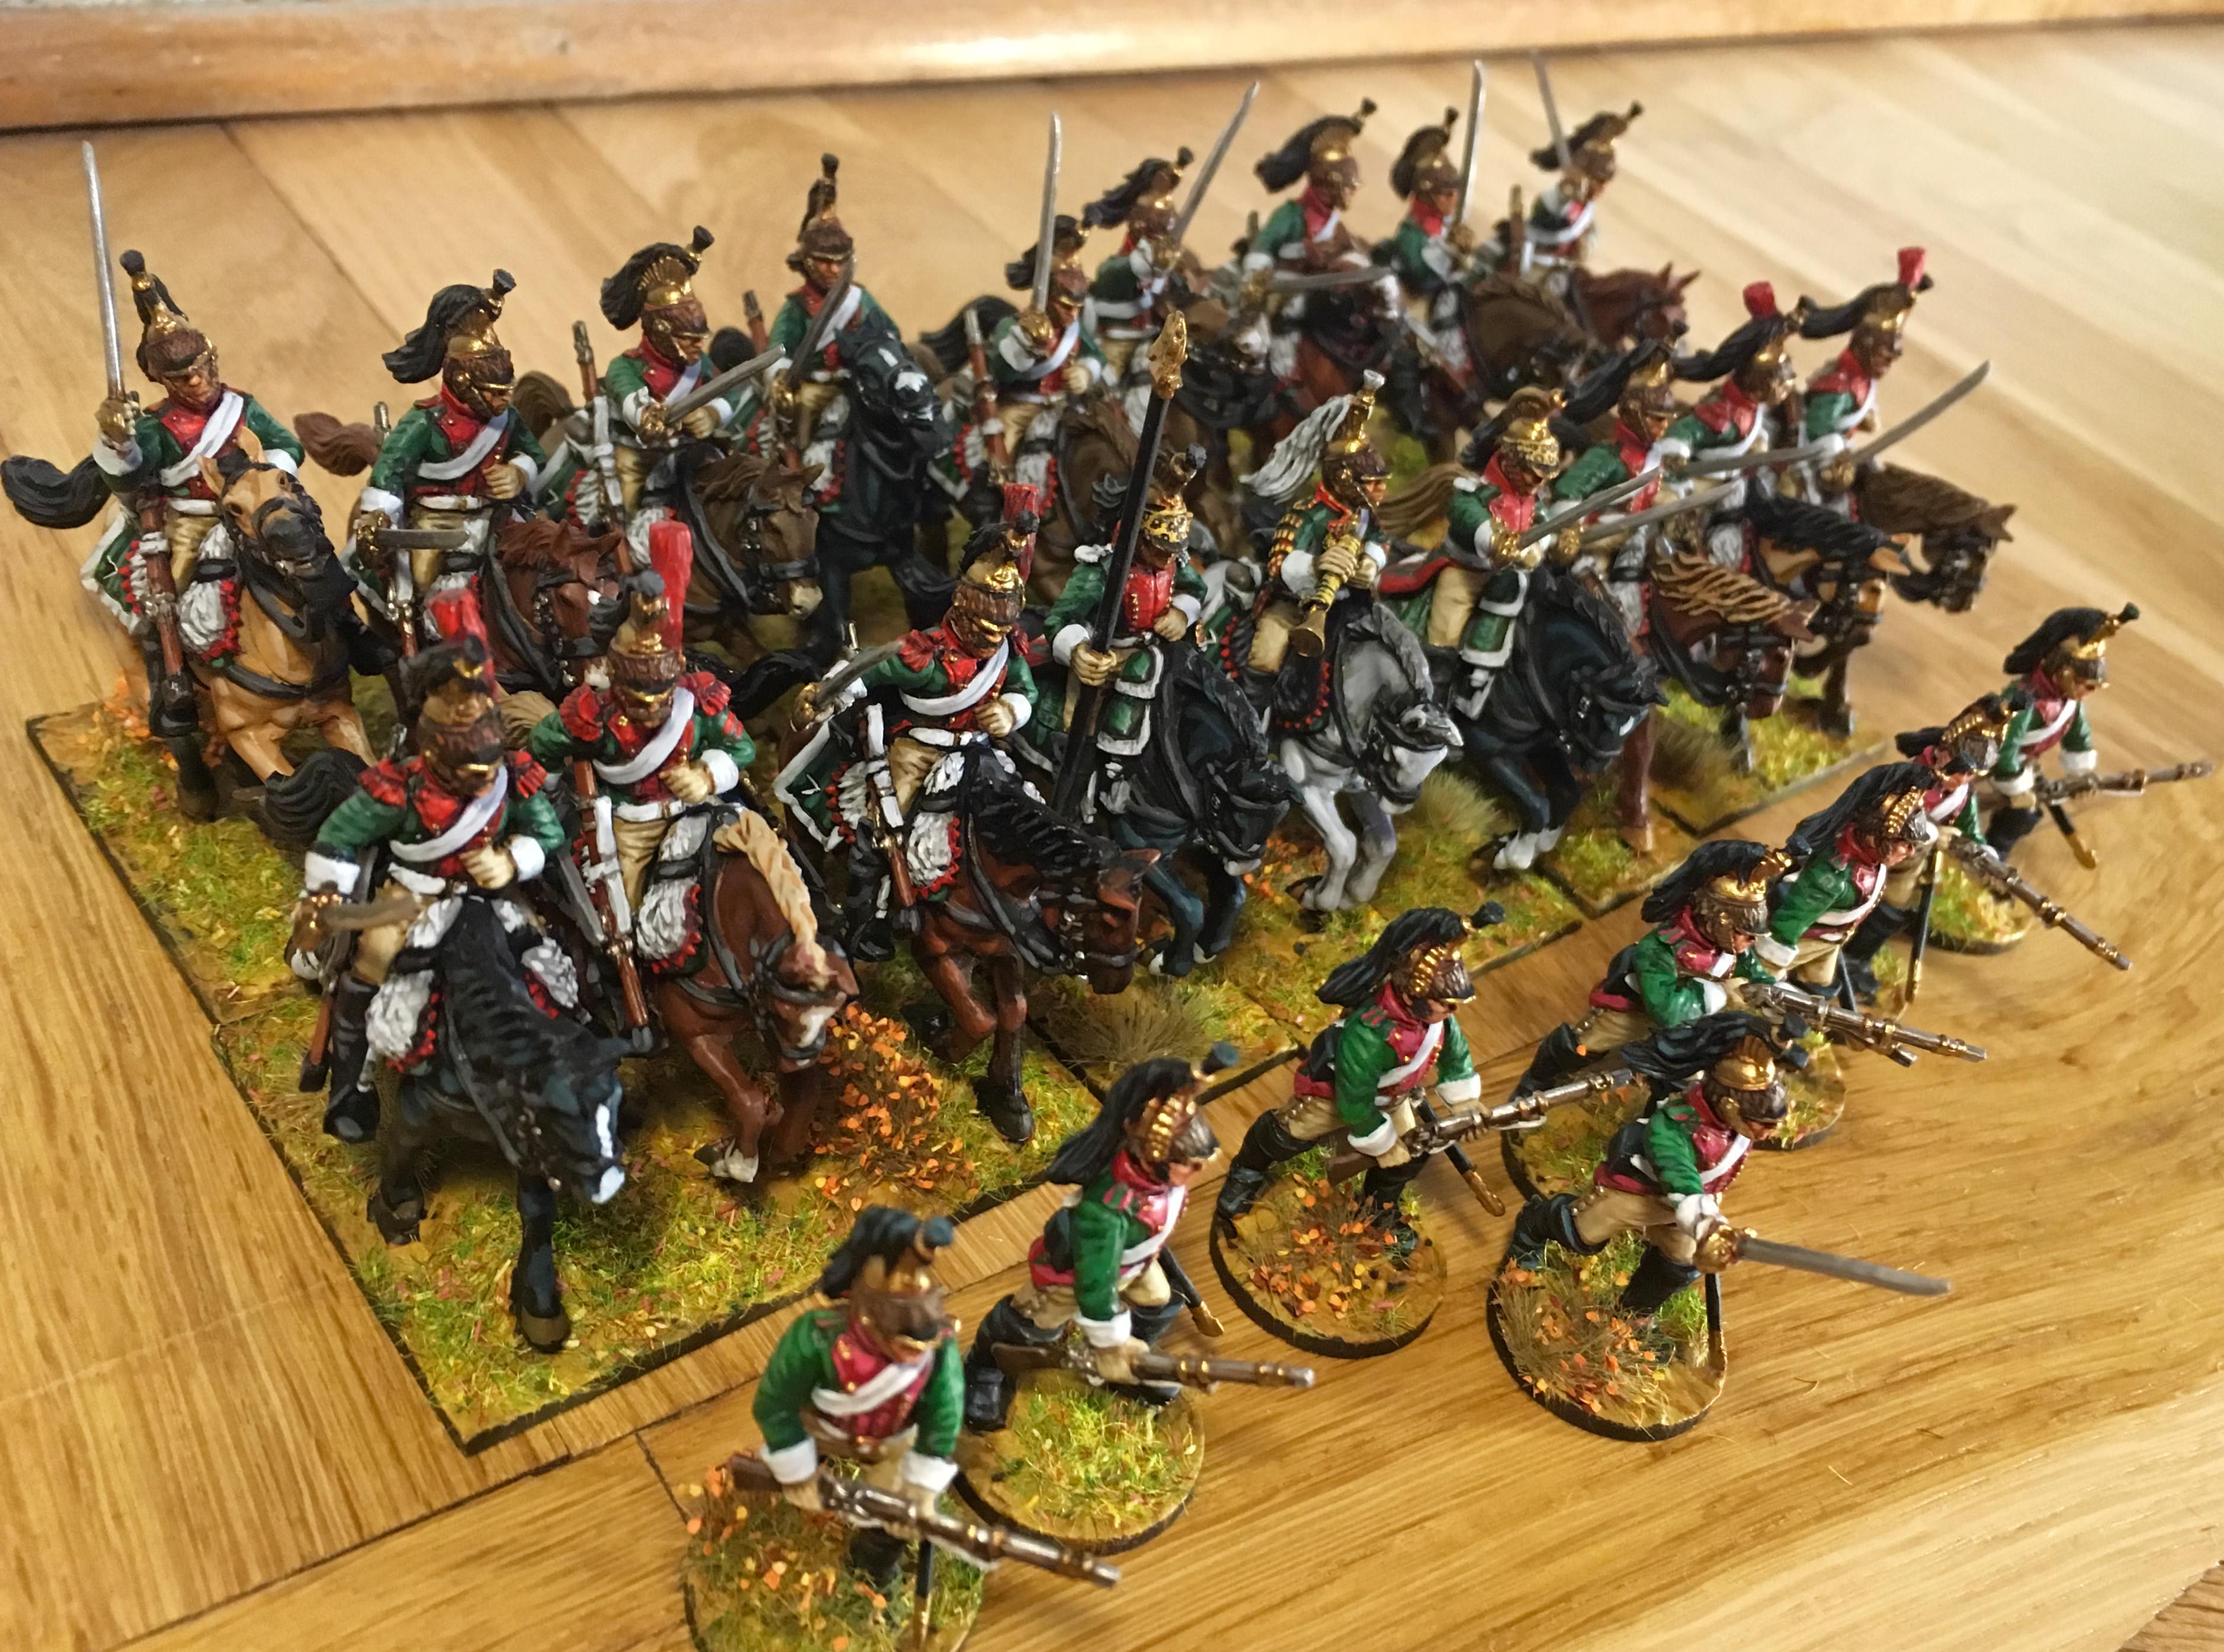 Le 7e Régiment de Dragons charging across the harsh, oaken soil of Russia This batch was pretty pretty big, as I had a couple of unpainted minis left from the first box. First off I needed 16 troopers to for two more units. Some of these I gave the heads indicating the elite company of the regiment. The box comes with both bearskin heads, which were for elite companies before the 1812 uniform change, and the plumed heads for post-1812. I'm saving the bearskins for a possible future project, and went with the plumes. I only had enough for half a unit of elite company dragoons, though. Regular Troopers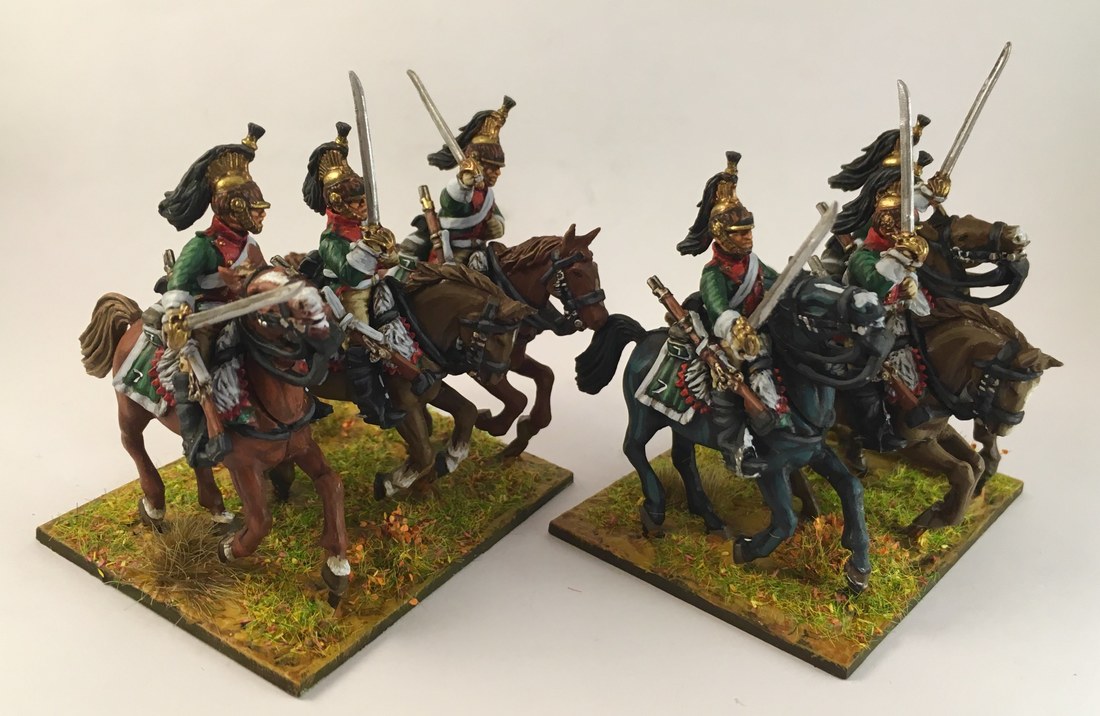 Elite Company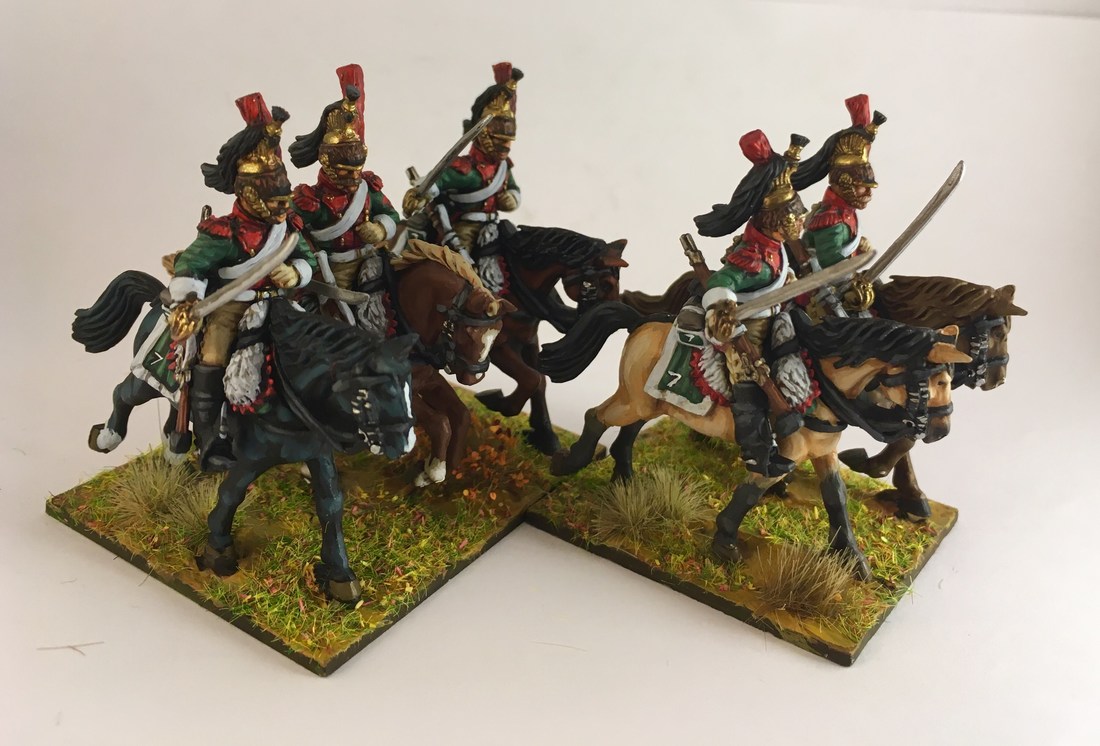 CommandAfter the troopers, I went for the command group. The officer and the standard bearer have the fake leopard skin covers on their helmets. The musician has the (honestly more boring) 1812 regulation uniform, where they kept the jacket green instead of using the facing colour. Maybe I'll paint up a second, alternative musician later.  I didn't go with a flag for the standard bearer. Napoleon got fed up with cavalry squadrons losing their eagles in the confusion that is so typical of cavalry warfare, but a lot of cavalry regiments refused to keep them in safe storage despite orders. I've decided not to use the paper flags that come with the box, so now I've got to decide which brand of flags to go with. Then I'll order flags for all my regiments at the same time. Dismounted Dragoons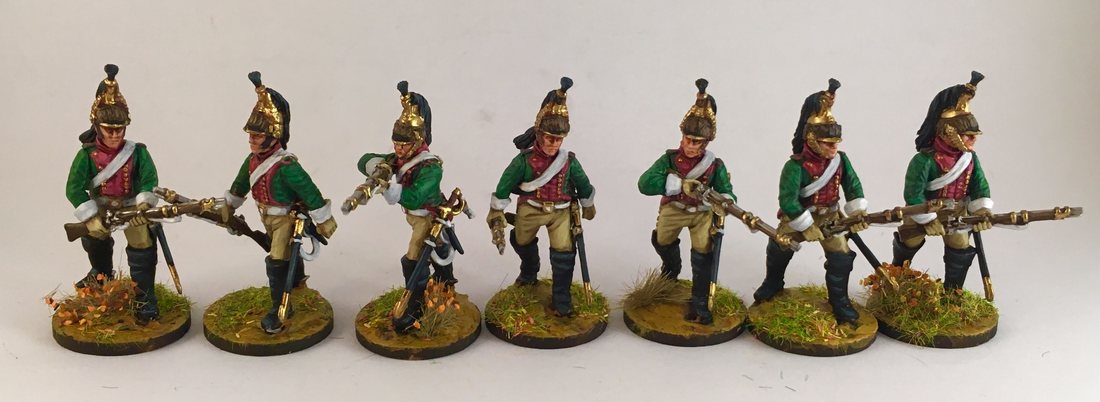 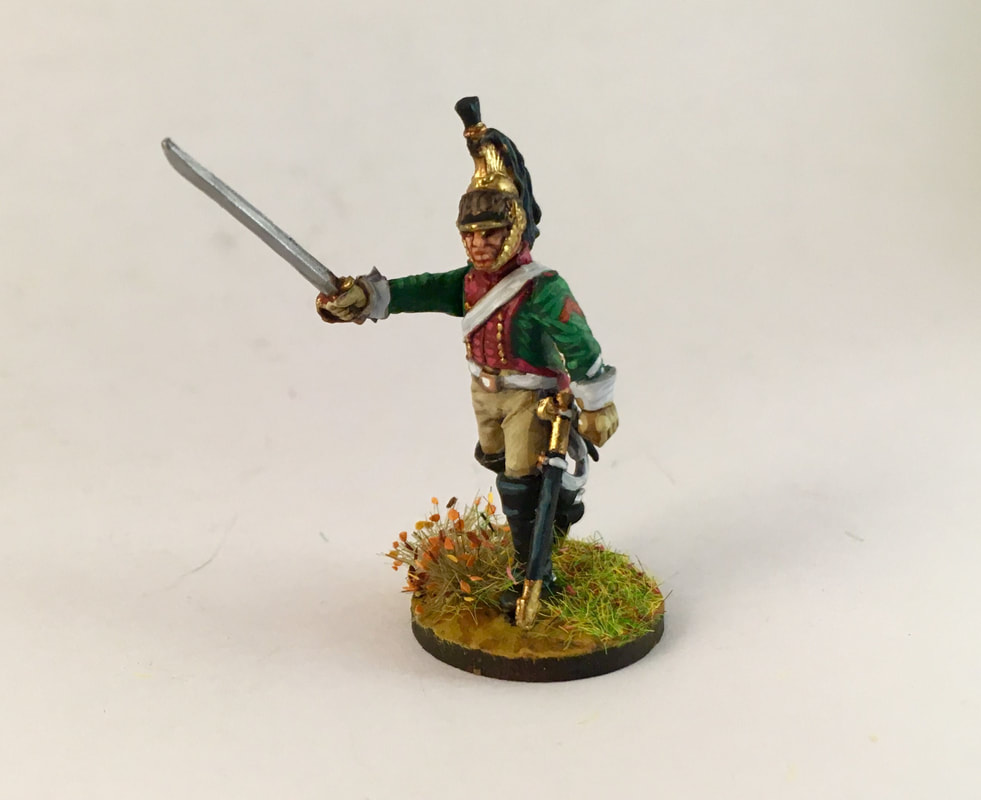 Finally, my dismounted dragoons got a well deserved reinforcement as well. One more unit of skirmishing dragoons join the fray, and I also painted up a NCO (so no fancy leopard skin) to lead them, brandishing his sabre.
Altogether this increases my dragoons to five units, a much more respectable force. But will it be enough to finally see them win a scrap? |
"Glory is fleeting,
|


 RSS Feed
