Campaign Turn 5, Western Column and Campaign Turn 6, Central Column (Tanks, Tanks, Tanks!)15/10/2016 This was bound to be a huge battle! Last game on this column was a draw, so we were up for a patrol scenario. But we wanted to play it out as a six player game, and so we decided that it would also count as the fifth game for the western column (don´t remember how we solved that this would have been a Soviet attack). We had two Soviet platoons of infantry and dismounted cavalry, who were opposed by one Italian and one German platoon. The third player on each side commanded a tank platoon each: the Soviets driving two KV-1 (one with ace) against the Germans' Zug of three Panzer III (one with ace). The Germans' StuG was left in no-man's land after the last game, where it got a mobility kill. So we decided that the Germans could buy a crew (which bailed out last game after their tracks were blown) for a few support points, which they did. The crew had to be deployed and move as a team on the table, and could jump into the StuG and start fire if they saw anything (it was still a mobility kill). You can see the StuGs position at the right hand of the photo below. Here you see the battlefield. The Soviets came in from the left and the Germans/Italians from the right. The part of the table that is closest to the viewer is were the Soviet cavalry and Italians met, and the middle saw the engagement of the Soviet infantry and German platoons, as well as all the tanks. 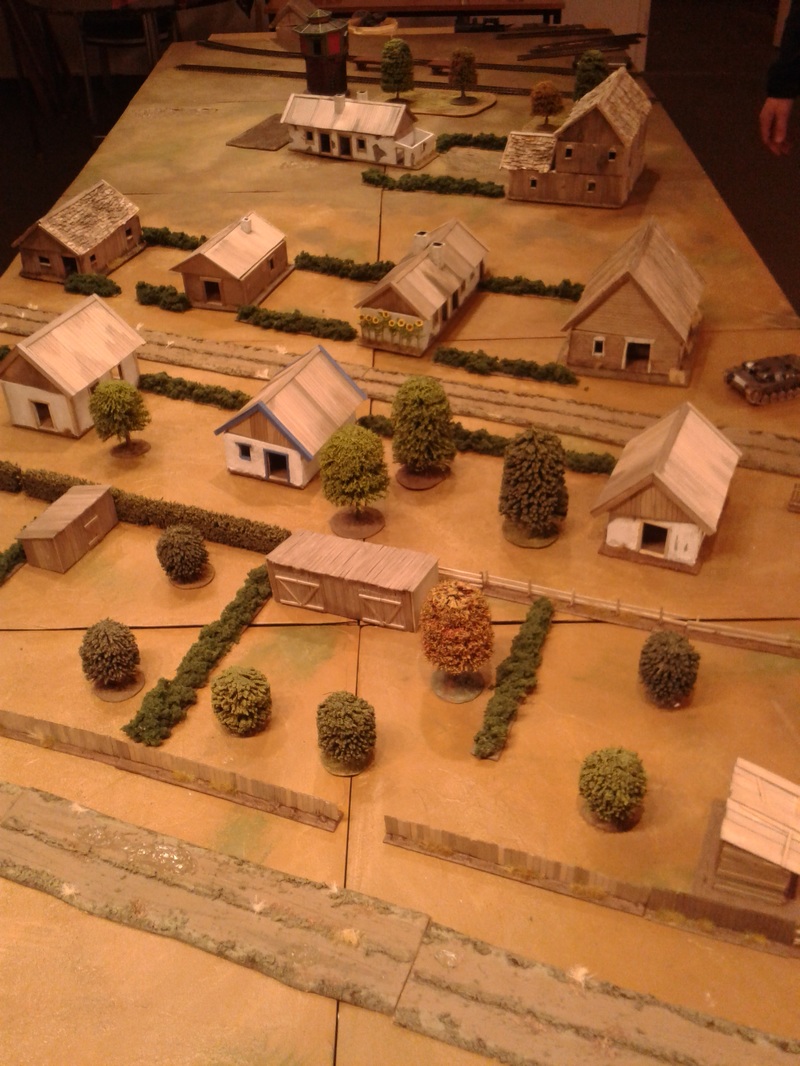 The Axis started out changing the balance of the game by letting one of their Panzer IIIs support the Italians. The German panzer player got a double phase and charged home on the Soviet cavalry! The Soviet positions were severly disturbed by this, as they were expecting an Italian infantry attack which was backed up by a flame-thrower tankette. The Soviet player responded by deploying two 45mm AT guns, and a brave cavalryman threw a satchel charge in the flank of the approaching tank, but to no avail. The Panzer was alive and kicking, and right there in my lines. It drove over both of my ATGs, and after this the whole defense collapsed... and this was meant to be a Soviet cavalry ATTACK!!! The Soviet cavalry player withdrew his force and ceded the entire Soviet right flank to the Axis. This was the first showing of the "indestructible tank syndrome" we experienced this game. 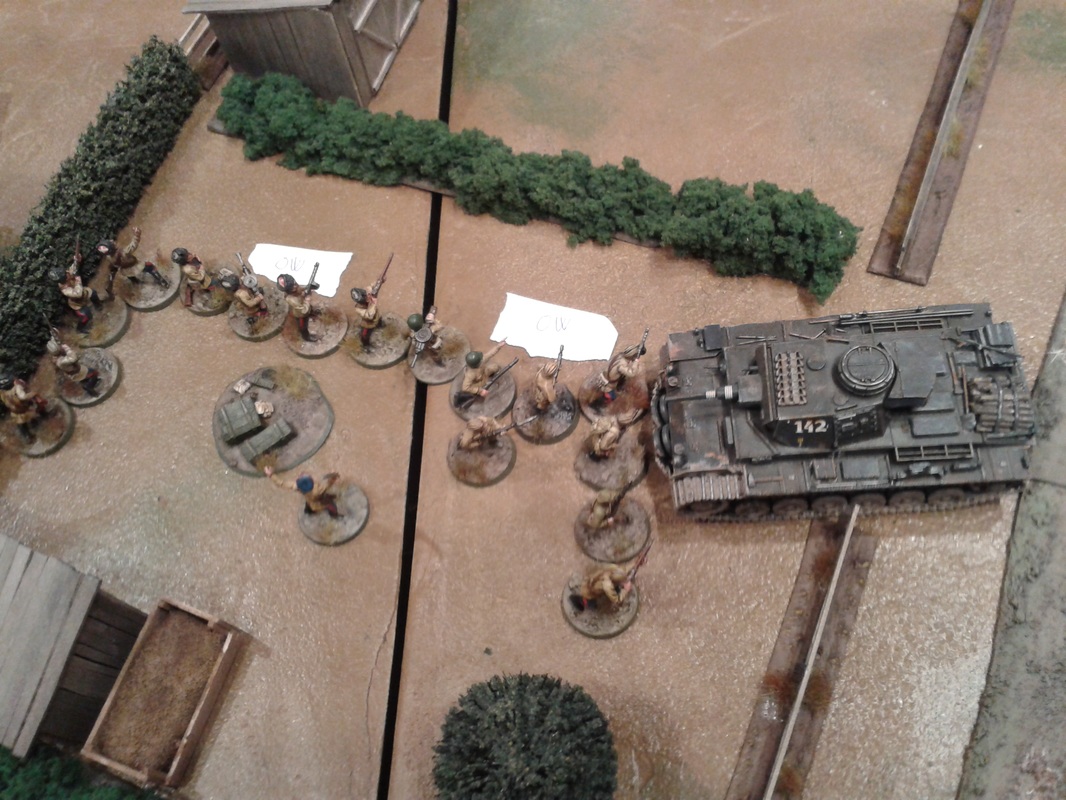 Meanwhile one of the KV-1 tanks (number 212) had rolled up in the middle and started to fire AP shells at the unmobilised and uncrewed StuG! Fair? We don´t ask of fairness in this unjust war! What a sight in a wargame...! Finally the German tank crew arrived, jumped into their machine and started firing back. The StuG was without a scrach even though it had been hit at least three times. The KV-1 had to reluctantly leave the tank duel when the cavalry guarding the KV-1s right flank retreated, to face a more immediate threat: the Italians (and more important - their flame-tankette) were closing in! Slow and lumbering, it headed for the fight in the centre, chased by the flame-throwing vehicle. The StuG crew probably cheered as they saw the beast rumble away...! On the picture below we see the KV-1 "212" relocating. We also see the Italians coming after it. The Germans are kicked out of the two storey building (here without its second storey - between the two Panzer IIIs) by Soviet infantry in a dance of death. You can see them in the door of the house a German squad just evacuated. The Soviet infantry is also occupying the woods close to the tracks. But the main thing was the armor duel - one KV-1 (at the corner of the house furthest away) and a T-34 against two Panzer IIIs. This shoot-out produced a lot of "klinks" and "klonks" and maybe a frightened crew member, but nothing more... we were staggered by this result, but not even when the second KV-1 got into the business something happened! Many jokes and curses followed both sides disillusionment. 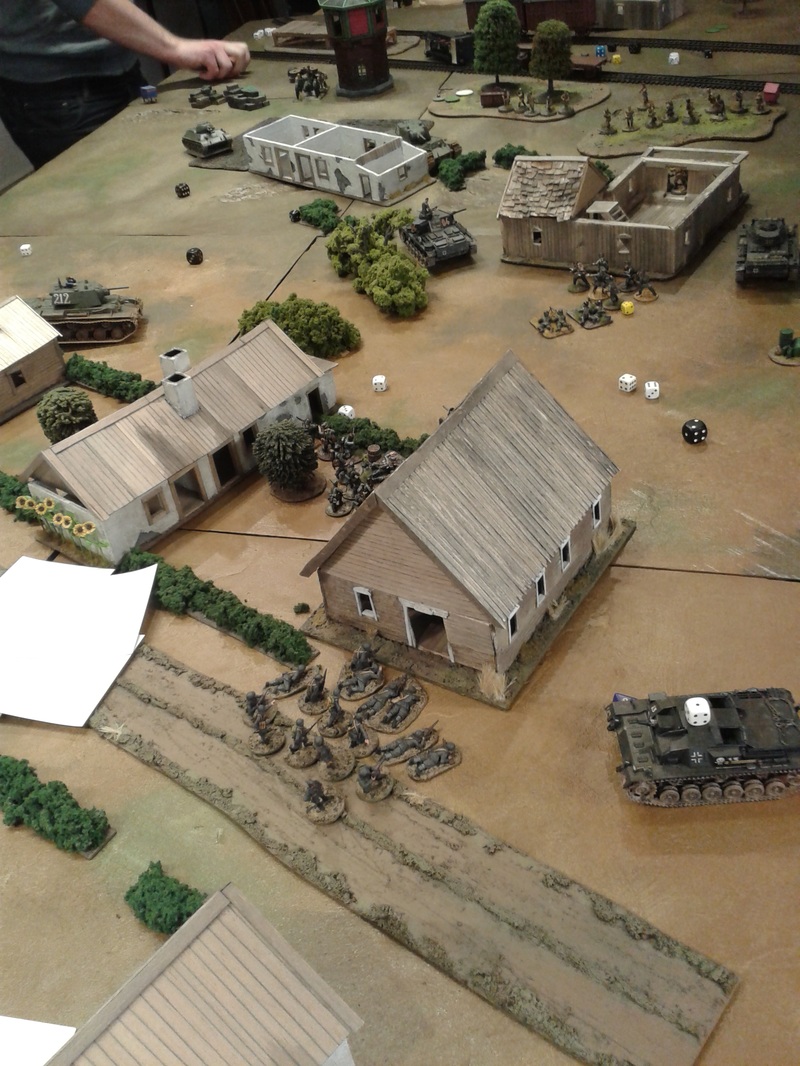 Here you can see the second half of the Italian platoon advance under the protection of the third German Panzer III. They have made a swing around the battlefield that would have made old Schleiffen proud (even though it's around the left flank and not the right!) You can see the flame-tankette (small and yellow) in the upper right corner of the picture KV-1 "212" has escaped by driving AROUND the house that the Germans were kicked out from. The T-34's gunner carefully covers a gap so that the flame-tankette can´t advance further. 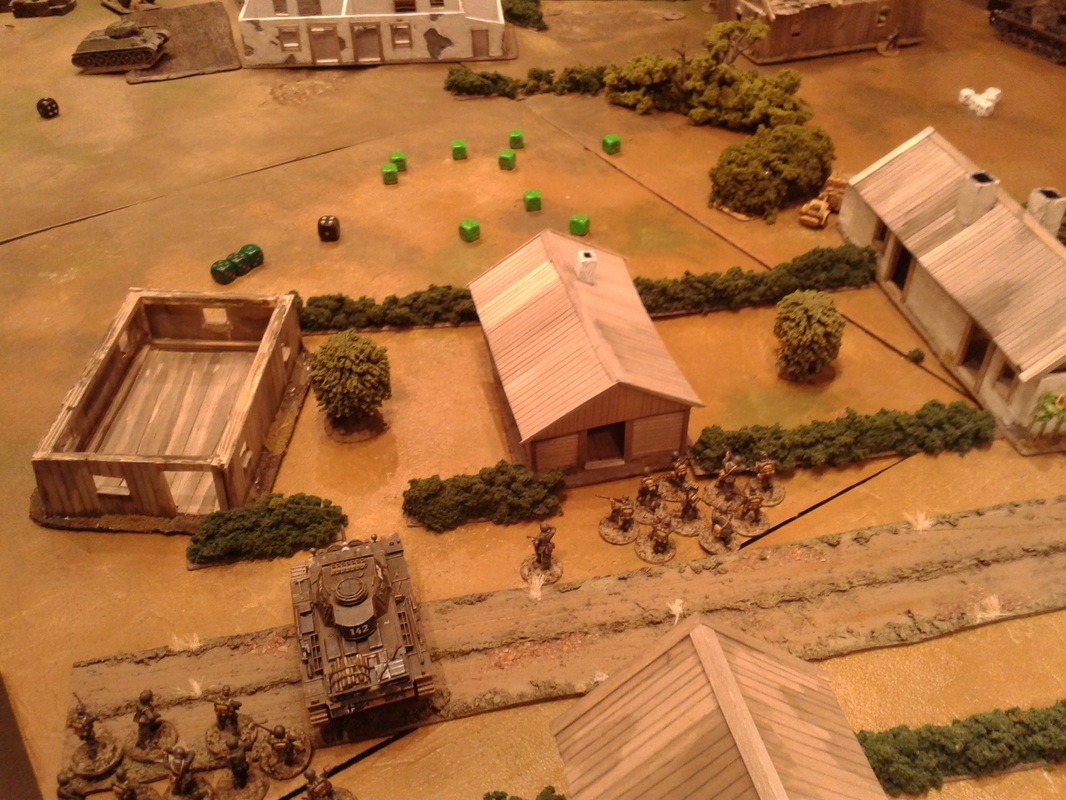 Sorry for the dice everywhere, but this was an intense game and noone wanted to stop playing and clear the board just for me to take photos. I was the unfortunate Red Cavalry player... so I had time taking some shots, but most of the time I spent arguing with the Soviet armor player that the flame-tankette actually was a very serious threat to the "212". Especially as the Italian player hold a menacing CoC-dice to roast any armor. In the uppermost right corner you can see the "212" battling it out with a Panzer III at very short range! 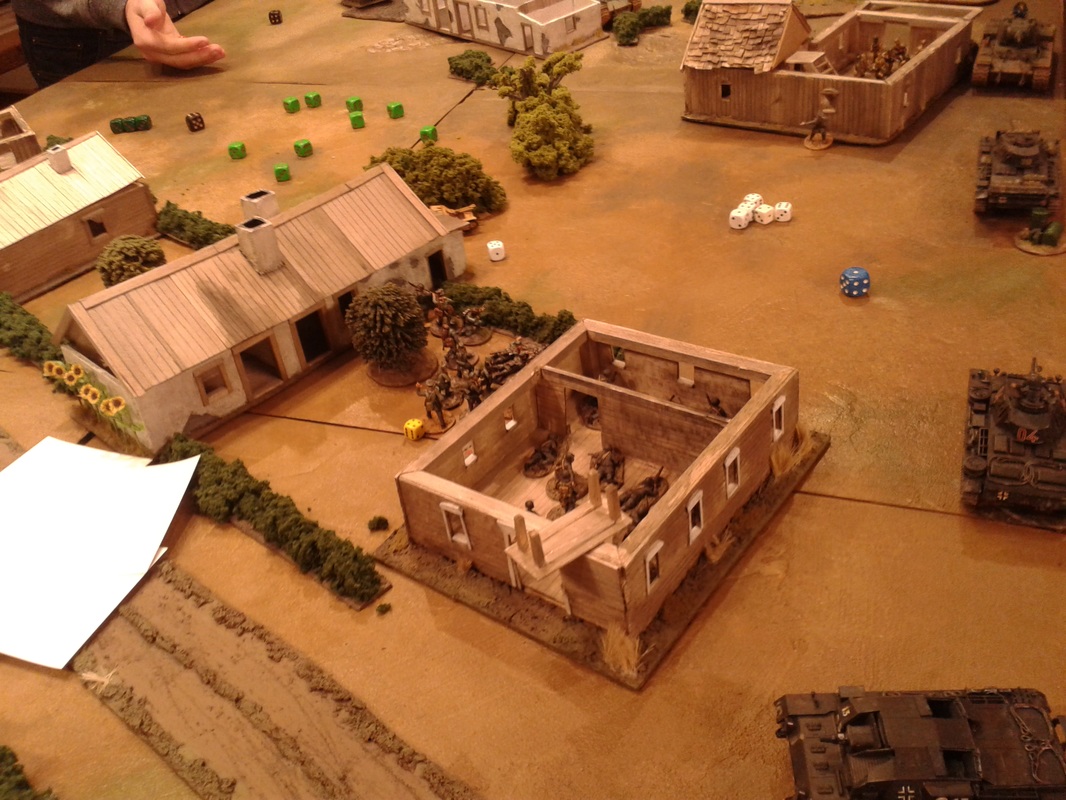 The end - the ongoing and inconclusive armor duel is still going on. The Soviet infantry has occupied the large house. But the Soviet morale had dropped dangerously low. As the Red Cavalry were out of the battle since long and the Germans were also routed, it was up to a battle with armor vs. armor and battered Soviets vs. untouched Italians. The game come to an end as an Axis victory. I think the last Soviet platoon routed. Anyhow, it was a really intense game! 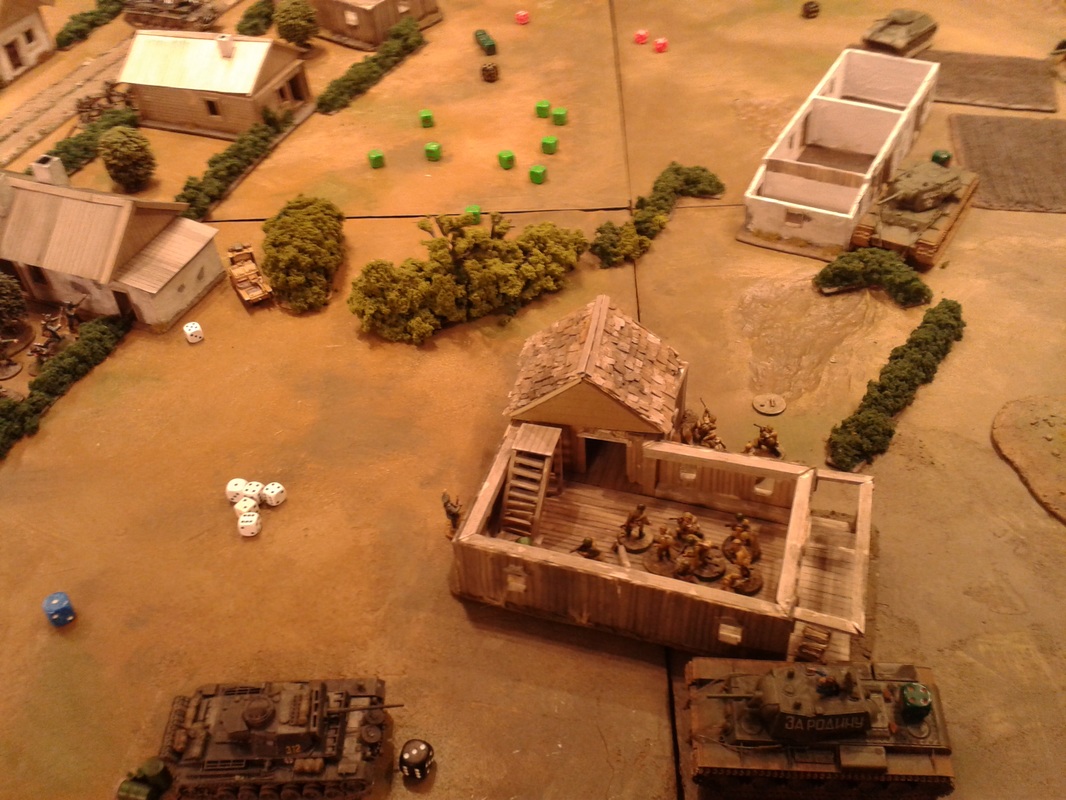 We finally got an real armor clash - which knocked out no armor! Despite my own experience of being thrown out of the game early by the Italian infantry/German Panzer-combo, this was a very exiting game. It hung in the balance and every shot from the tanks could have counted for a victory, at least that's what we felt during the game! The Axis managed to turn a losing streak as this counted as a victory in Turn 5 for the Italians on the western column and for the Germans at the centre column Turn 6.
0 Comments
As seen in the previous updates, there are some some things hobbywise that we found ourselves missing when we started out playing the Campaign. One of them was proper minefields, and a lot of the times a well placed minefield can dictate how the game will be played out. We played around with loose counters that could mark out the edges of the mine fields, or simply use the barbed wire pieces that we had. However, the area they marked had an uncanny ability to swell or shrink as the game progressed and players accidentially bumbed into them as they moved their forces around. Fortunately our Italian player jumped into the fray, and produced enough minefields to last even for the bigger four-player games. The solution of making them out of a square of MDF had a hidden bonus as well, as the act of deploying them is now less fidgety, as you don't have to measure every length of the area. 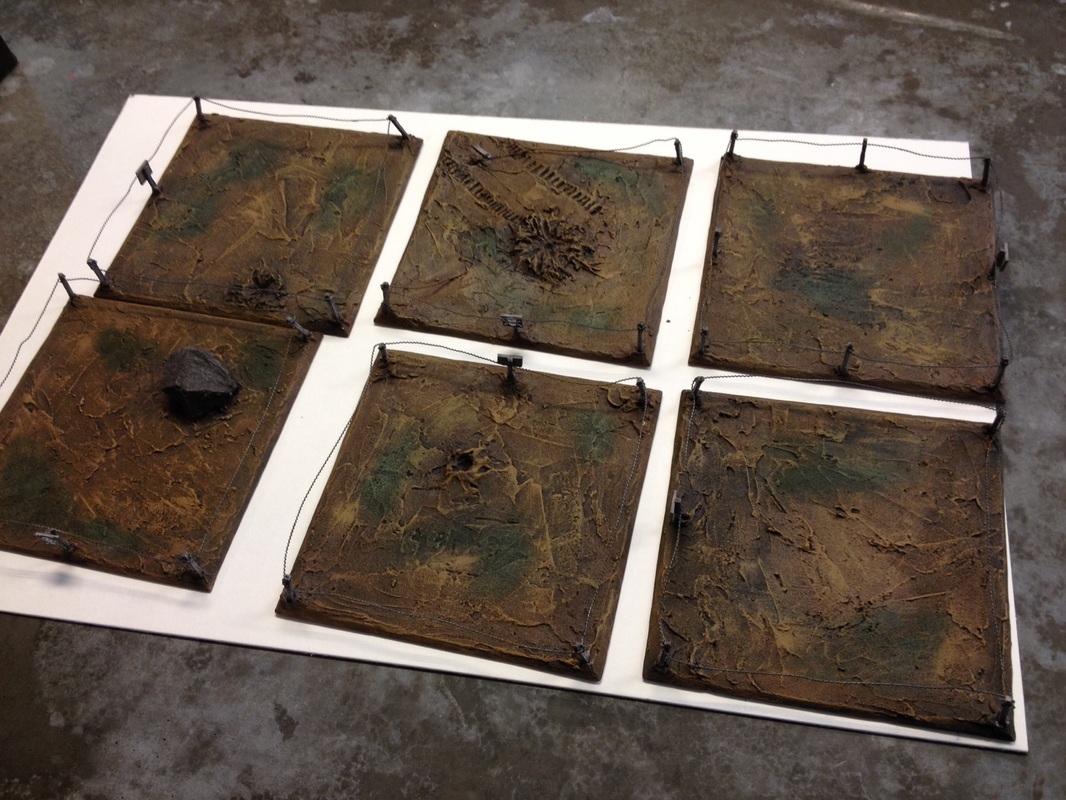  The minefields were based on the same MDF that we use to base all our buildings, and the ground is made of spackling paste. Some tread marks, explosion craters and universally legible signs add a nice flavour.
/Jonas |
WW2 Campaign BlogThis blog follows the second Chain of Command club campaign, set in the intense fighting over Stalino in October 1941. Archives
January 2018
Categories |
 RSS Feed
