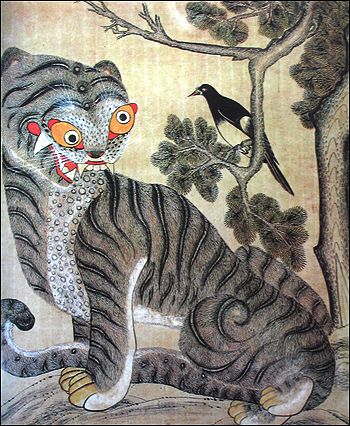
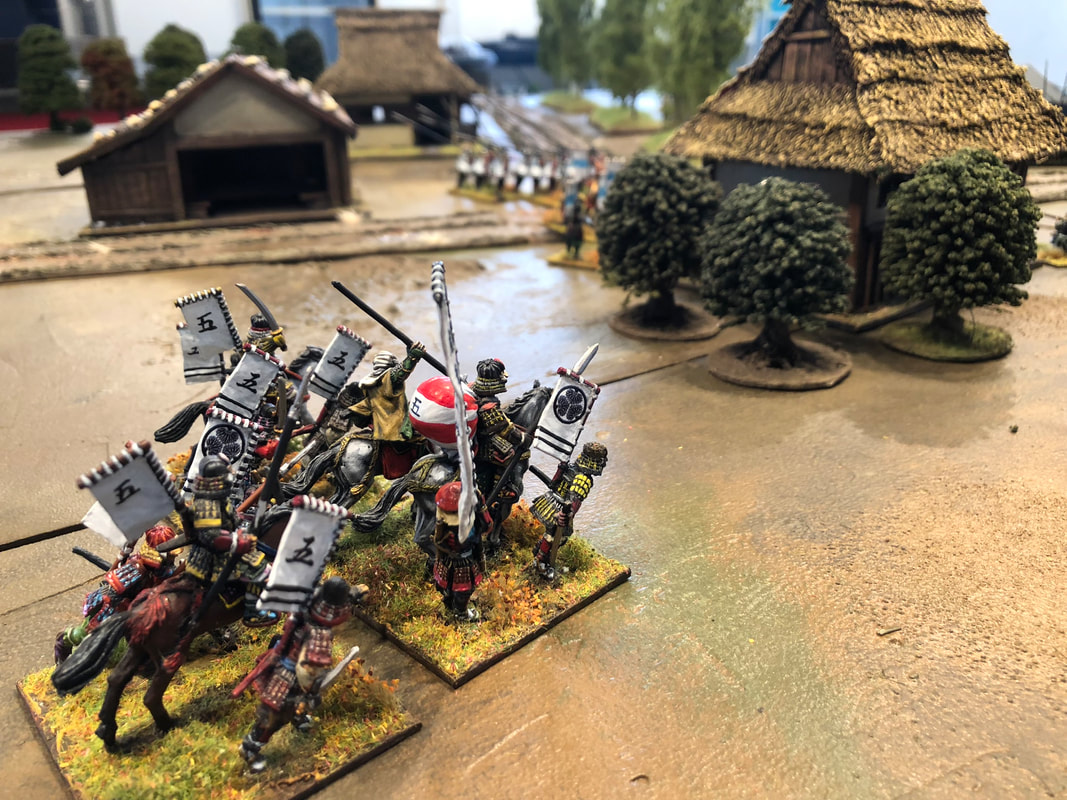
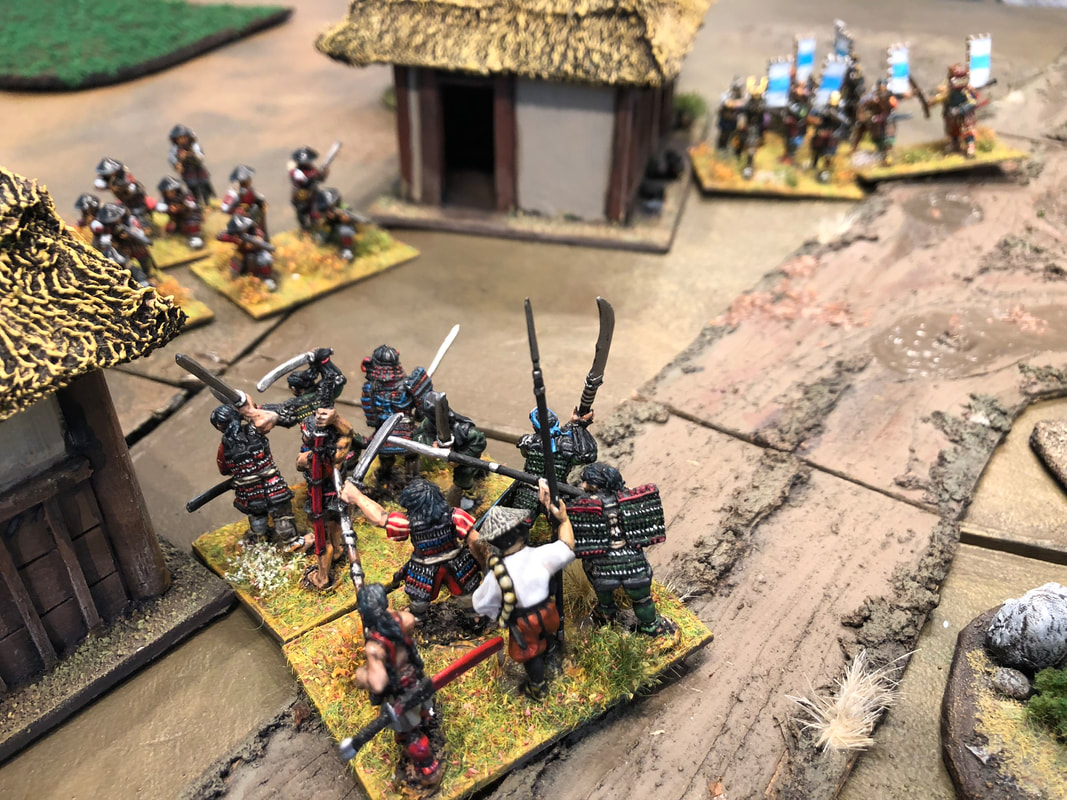
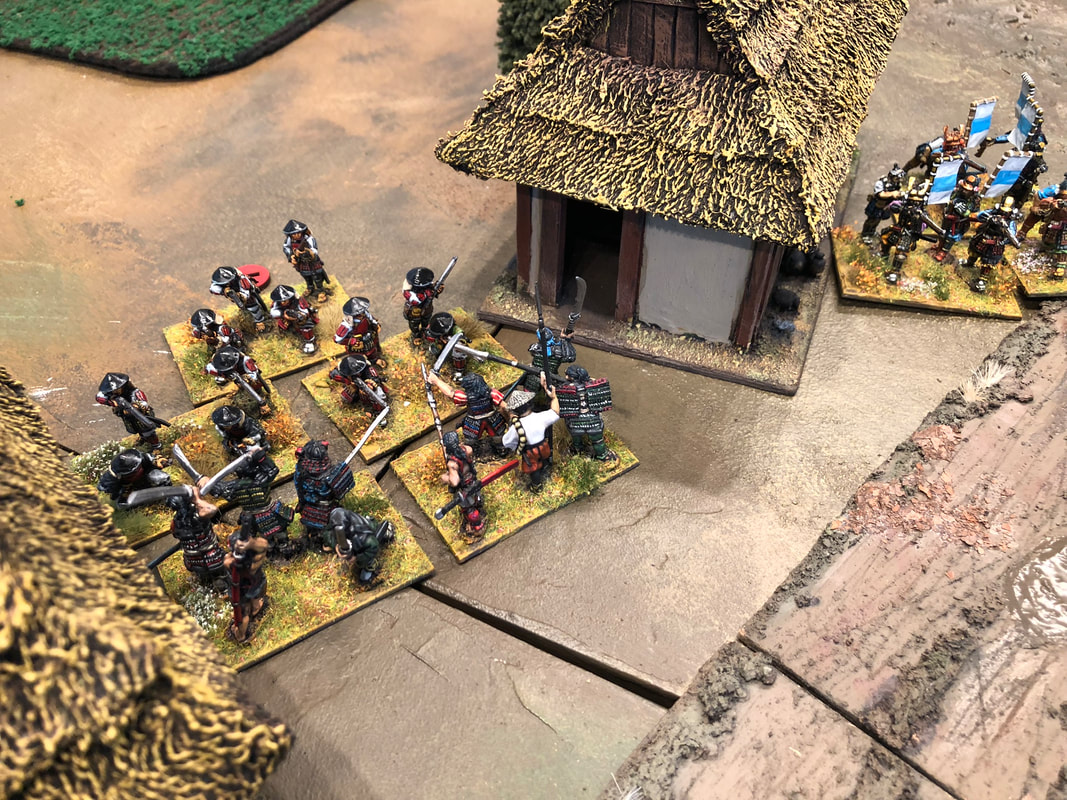
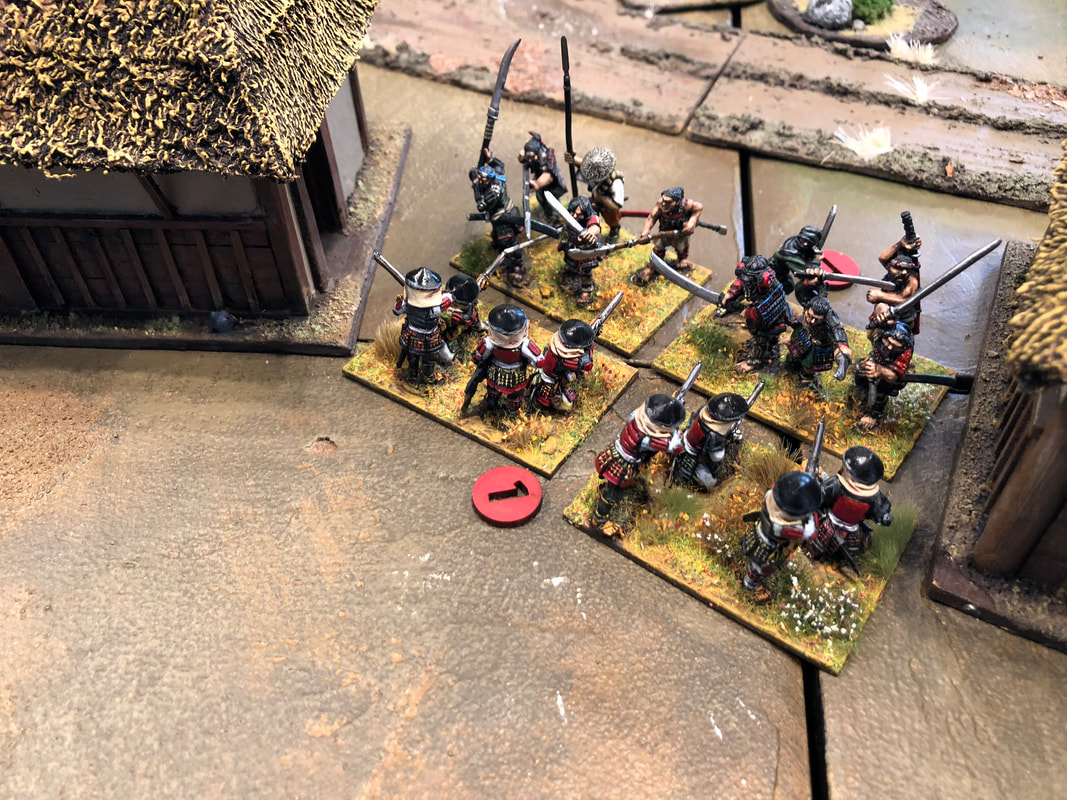
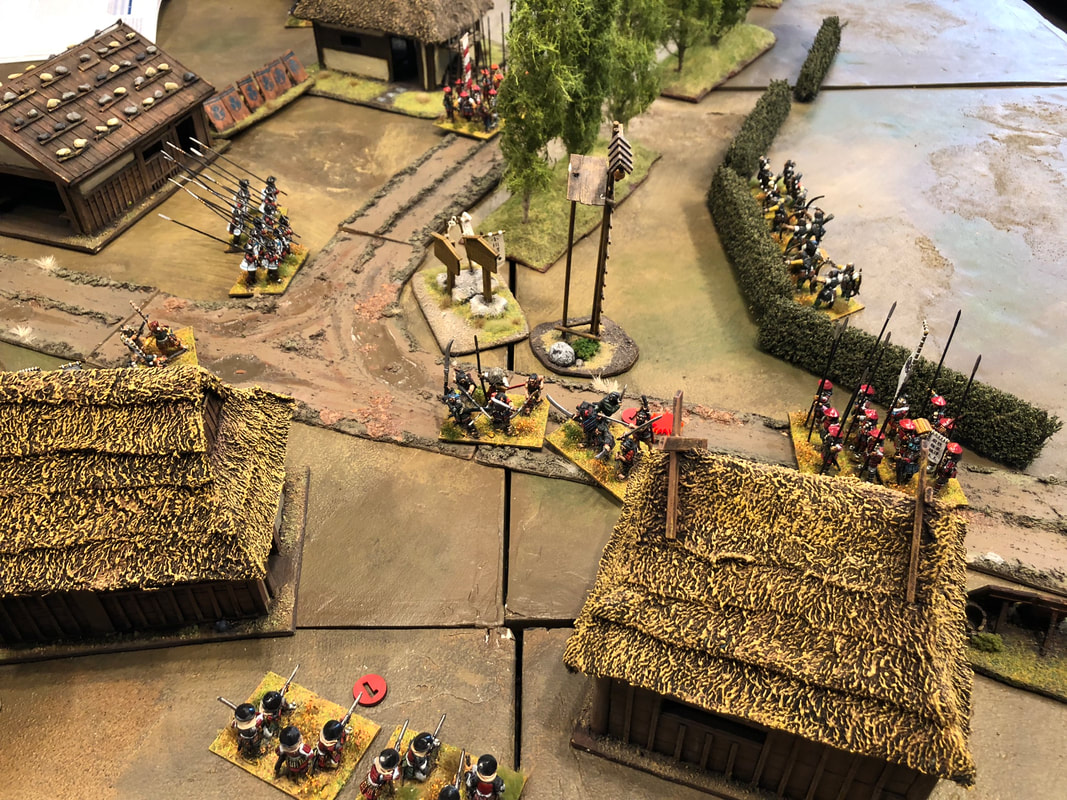
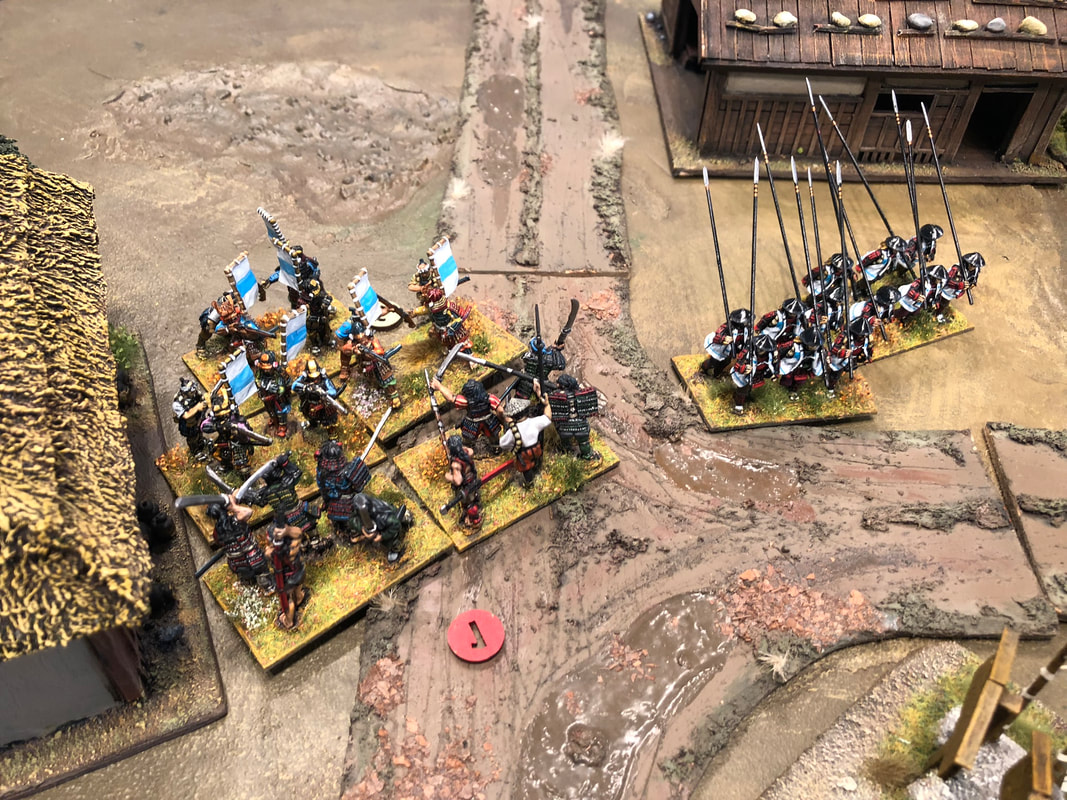
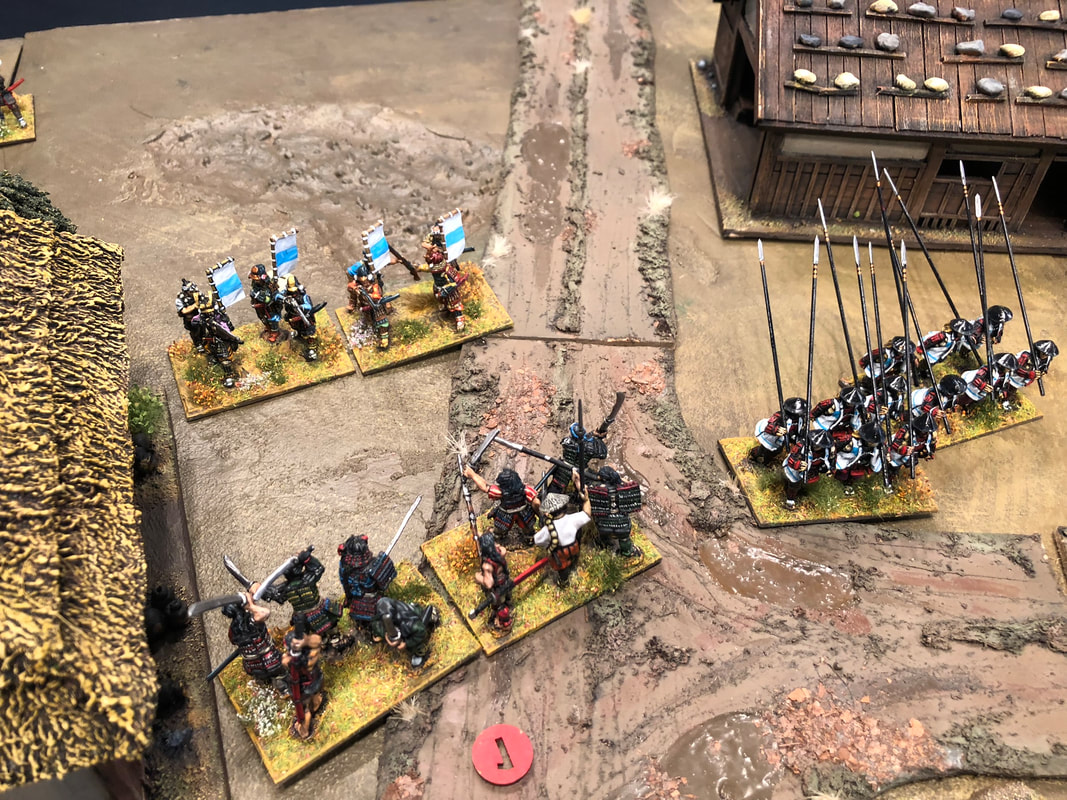
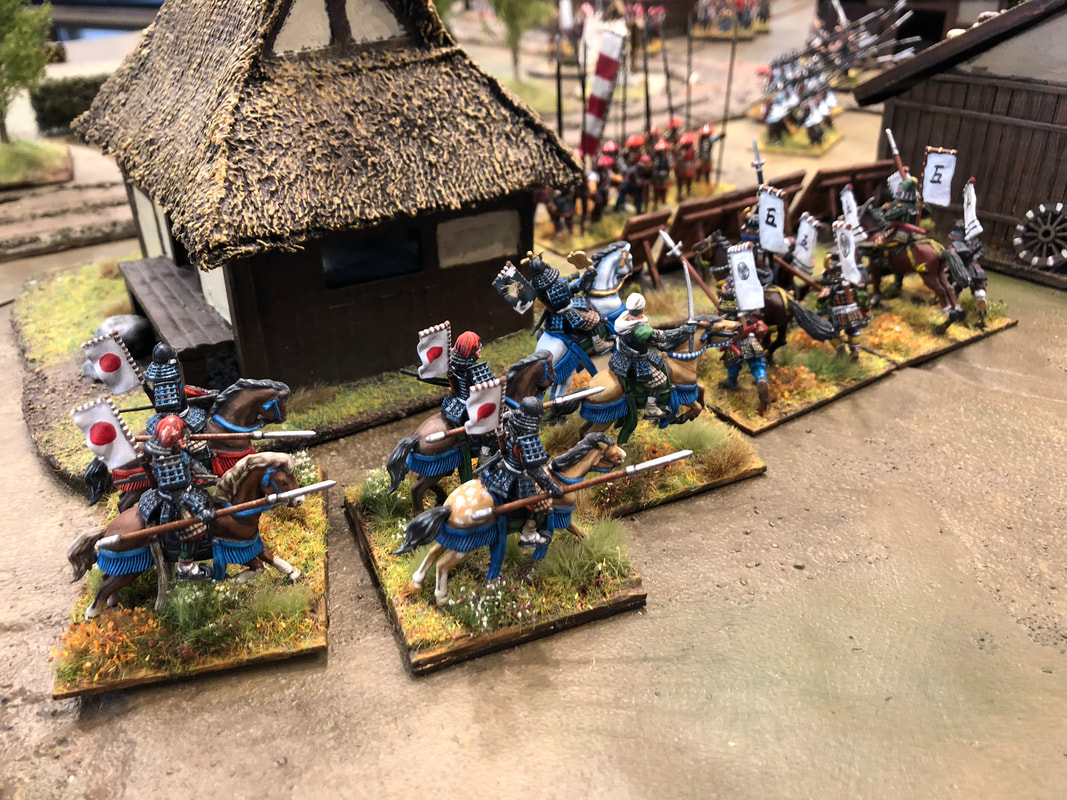
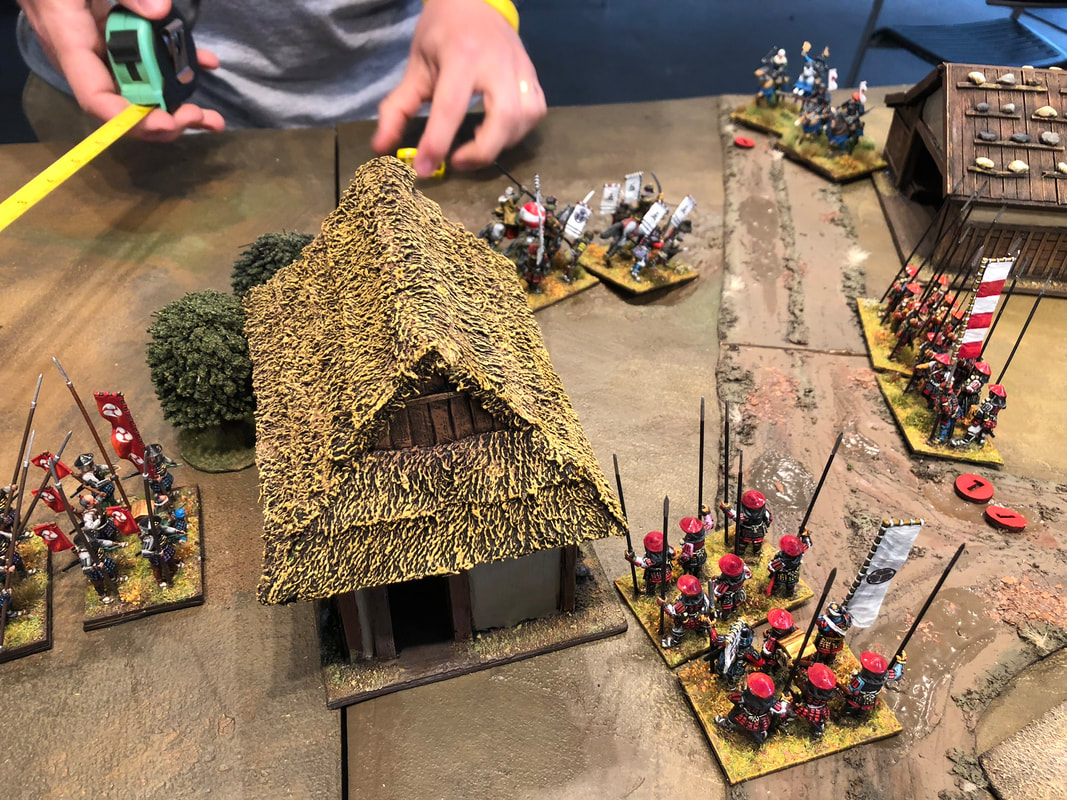
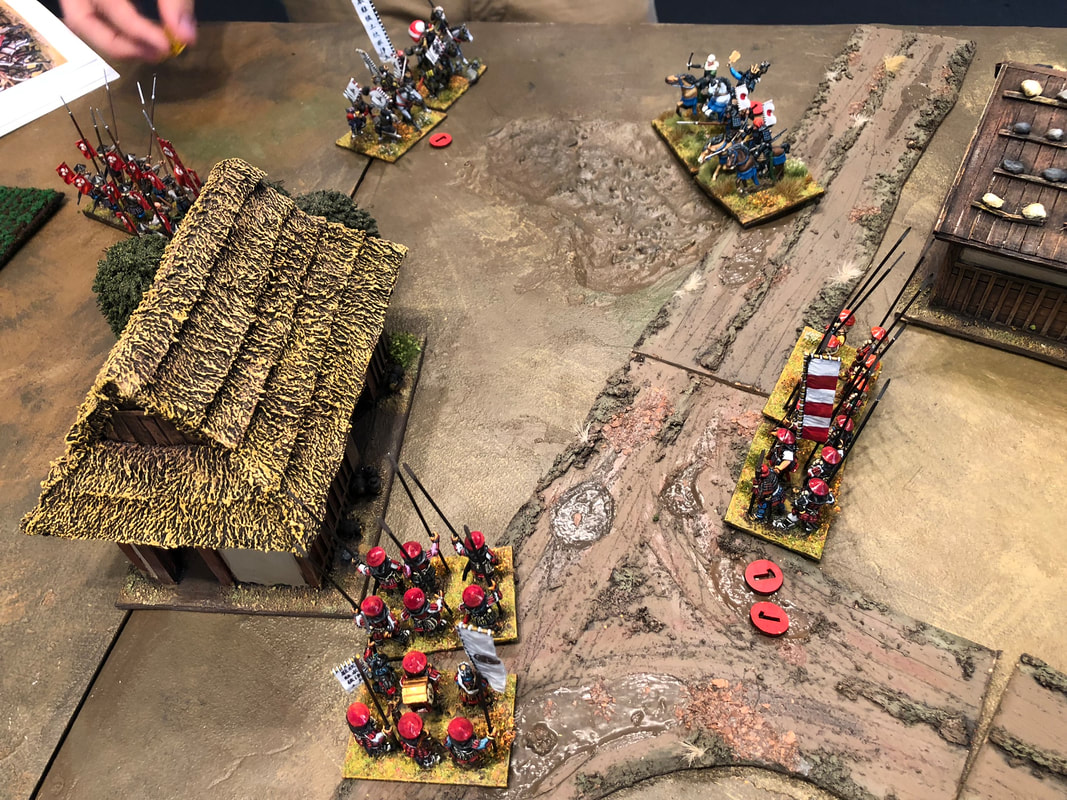
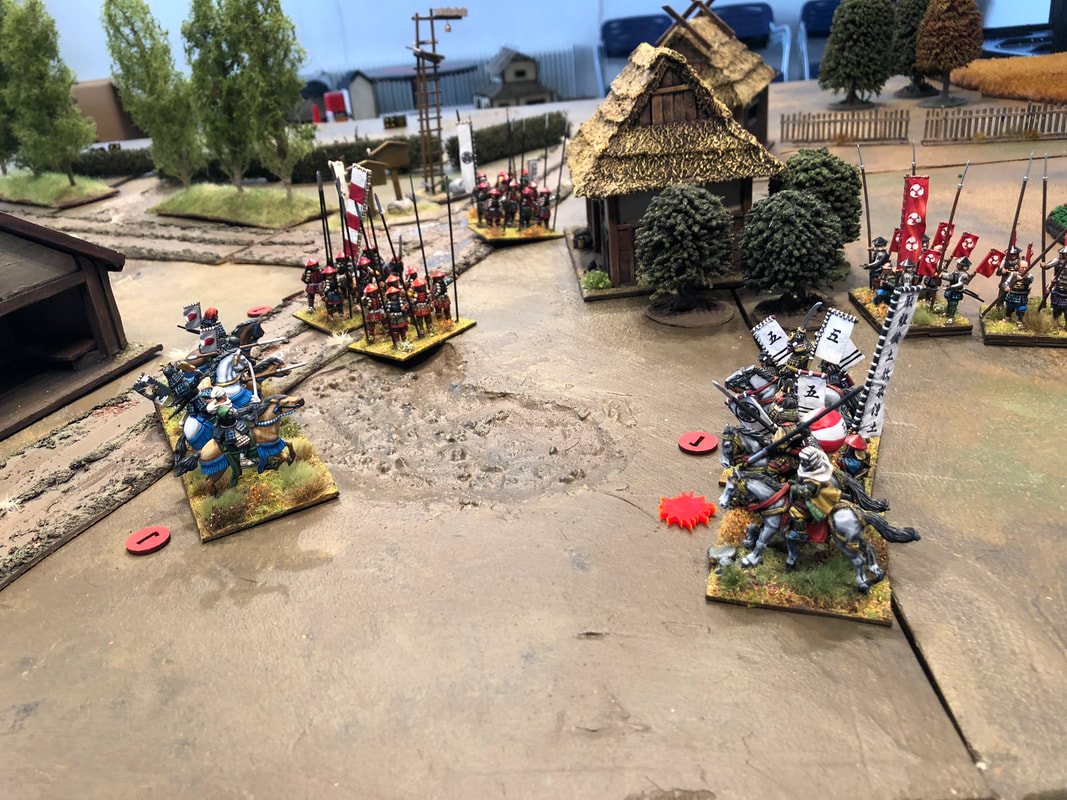
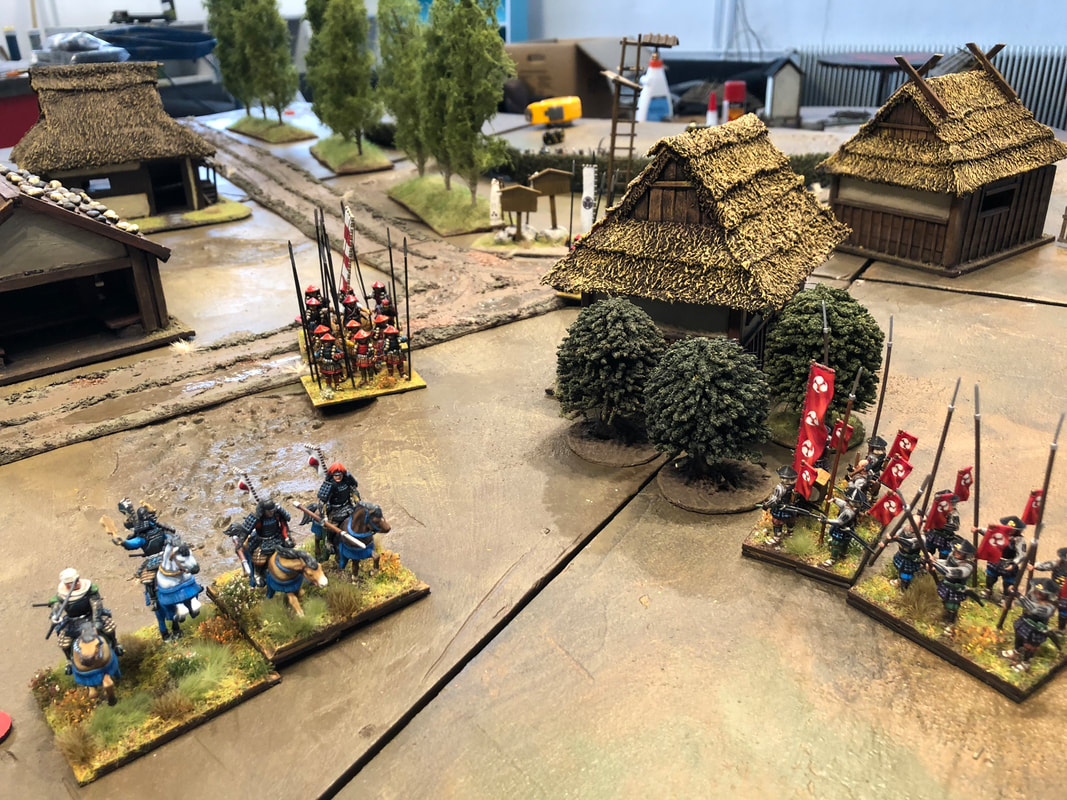
 There are not many lions in Asia, so here's a tiger. A stupid tiger. There's an entire Korean folk art genre (Kkachi horangi) of well, pictures of stupid tigers getting owned by smart magpies. Yes, it's a thing. On the Prowl for RulesetsA lot of our preparations for Renaissance wargaming has been to find suitable rulesets. While mostly geared towards more medieval settings, Zach and Jonas set out to test the Lion Rampant ruleset. It's written by Daniel Mersey and published by Osprey Publishing, which has released quite a lot of tabletop rulesets lately. Lion Rampant at a GlanceThe game is a kind of semi-skirmish one, where units of usually 12 miniatures operate quite freely without flanks, wheeling or other restrictions. Each player takes turn activating their units, where each activation requires the player to roll a target value on 2D6, which varies by unit type and activation (move, charge into combat or shoot). So a unit of infantrymen might require a 5+ roll, while the more scary prospect of getting into combat might require a 6+. Once a player fail a roll or has activated every unit, it's the next player's turn. Combat is also simple, with each unit always having 12 dice if more than half the men are alive, and 6 dice if the unit is at 50% or less strength. Both player rolls against a target value for each die that depends on unit type, say 4+. You then count the number of successes, and compare with the opponent's armour value. An armour or 3 means that for each three successes you score, one man is removed from the unit. Less than three successes means that it's unscathed. Taking casualties means that the unit becomes more and more vulnerable to psychological effects, but the big threshold is the 50% line where its combat effectiveness takes a big dive. There are some more rules involved, but once you grasp these things you're pretty much golden. Sounds simple enough right? Let's see how it works in practice. Let's Ramp Up These Tigers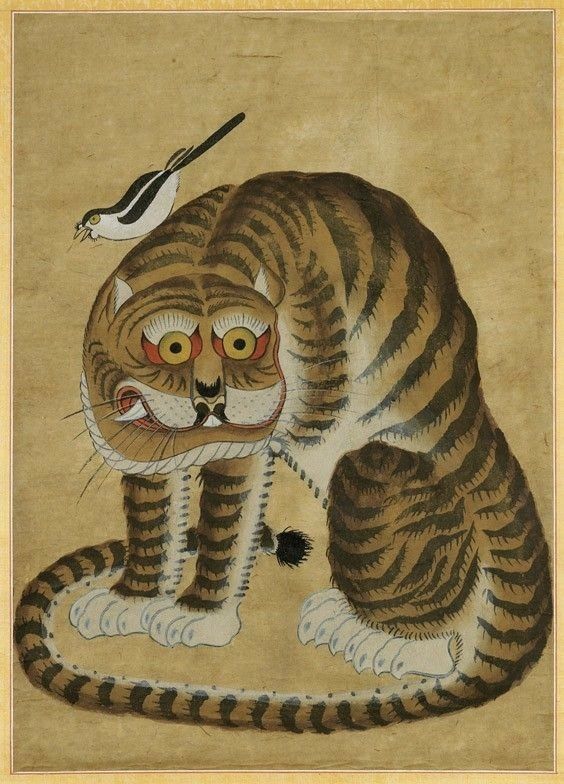 Ok, I promise this is the last stupid looking tiger. 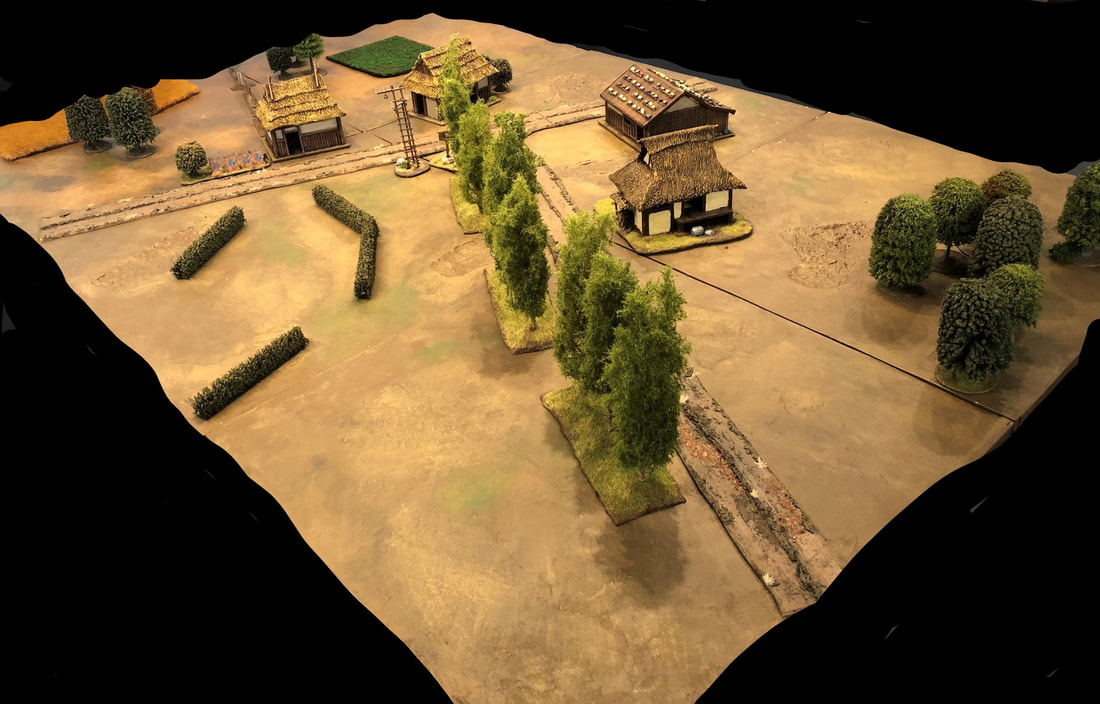 The battle would take place here, at the small hamlet set around a crossroads. These houses were built more than a decade ago, and has been in gaming club storages since then. They are badly in need of some touch-ups and repairs, but they will do anyway. Our main problem was a lack of thematic scatter terrain, meaning that a Russian road and some generic trees and hedges helped out. But if we play more then this lack of terrain will have to be adressed. Jonas Mighty Retinue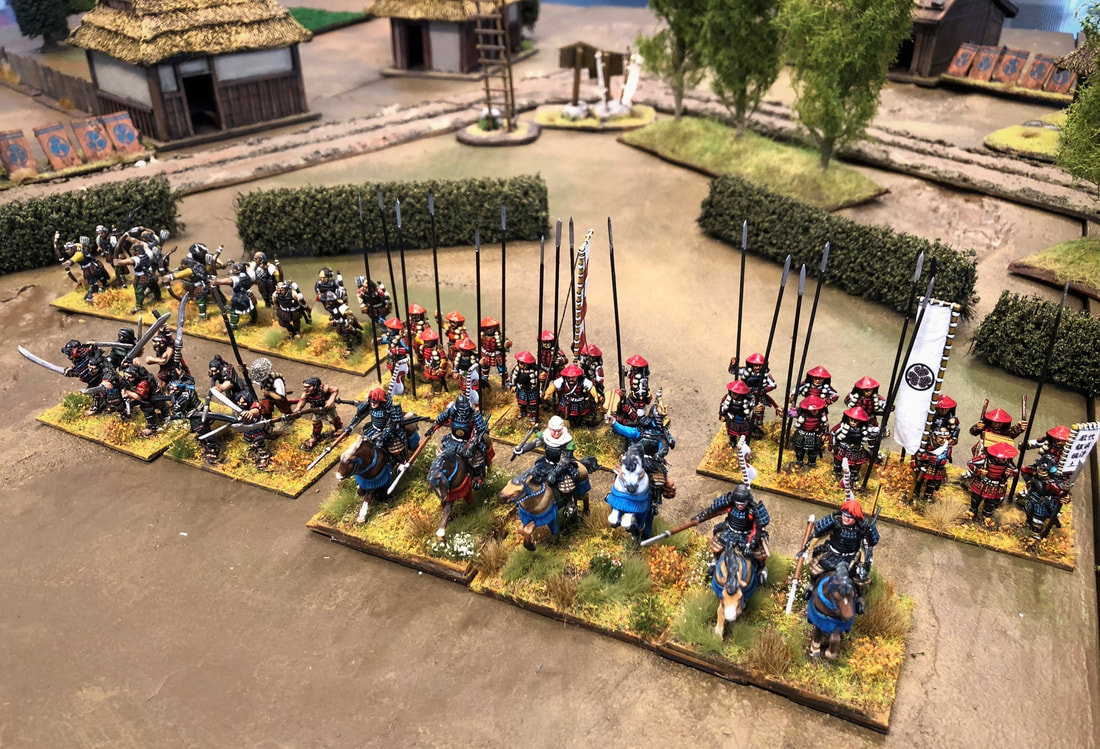 We decided to use the stock army lists in the ruleset for our test game. The lists are simple enough that it shouldn't be much trouble making our own more thematic lists later on. We used the standard recommended size of 24 points per side. My force was led by a leader commanding a unit of mounted men-at-arms, basically the toughest and most impetuous cavalry available, It's even easier to make them charge than to move around the battlefield. They are backed up by two units of foot serjeants (the ashigaru), which are good on the defensive but not the most impressive attackers. This core is supported by one unit of expert archers and one of fierce foot, in this case a bunch of unruly ronin who are good at breaking through enemies but vulnerable when charged themselves. All geared up, my general prepares to take the hamlet and chase off any opposition he meets. The Forces (kind of) DeployBoth sides start off table, and we take turn to roll to bring them on. Most units need a 5+ or to do standard move actions, but my impetious cavalry require a 7+. As this is the biggest risk for a turn-over, I start out activating the infantry first. They make it on the table and start to fan out into a defensive formation behind a hedge. 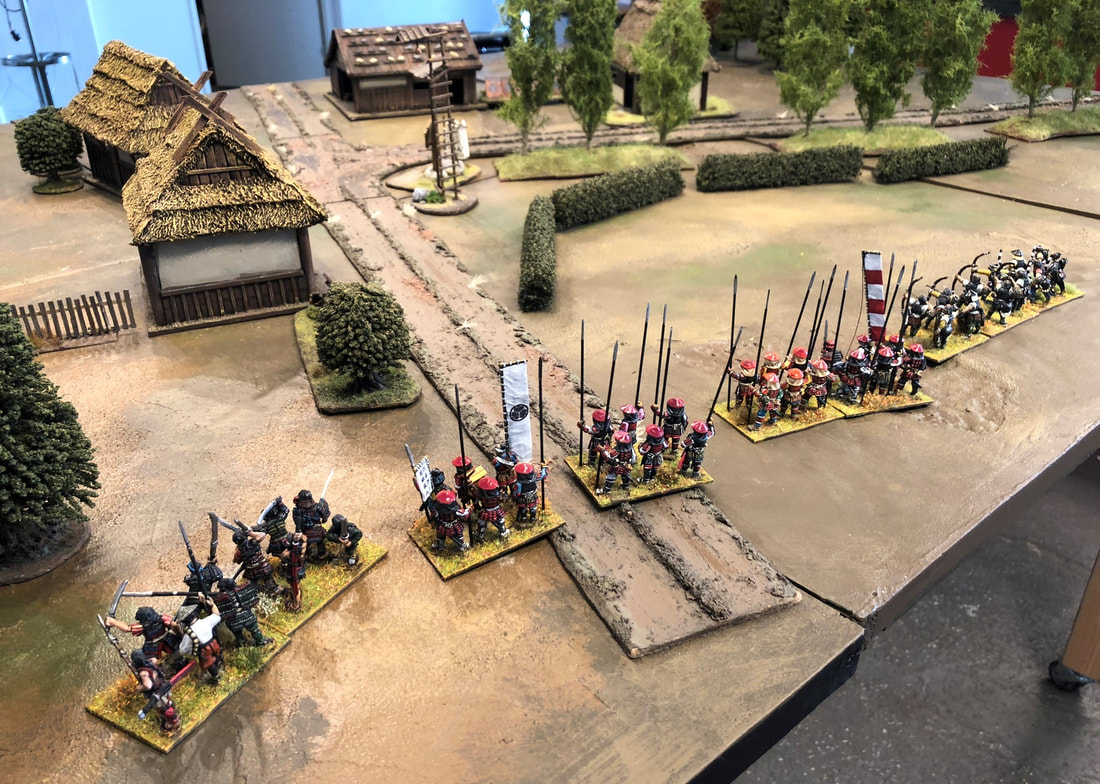 My mounted general, however, decided to sleep in, and remains off table after a series of snake-eyes. Will Zach take the opportunity to seize the initiative, given that my forces are practically leaderless? 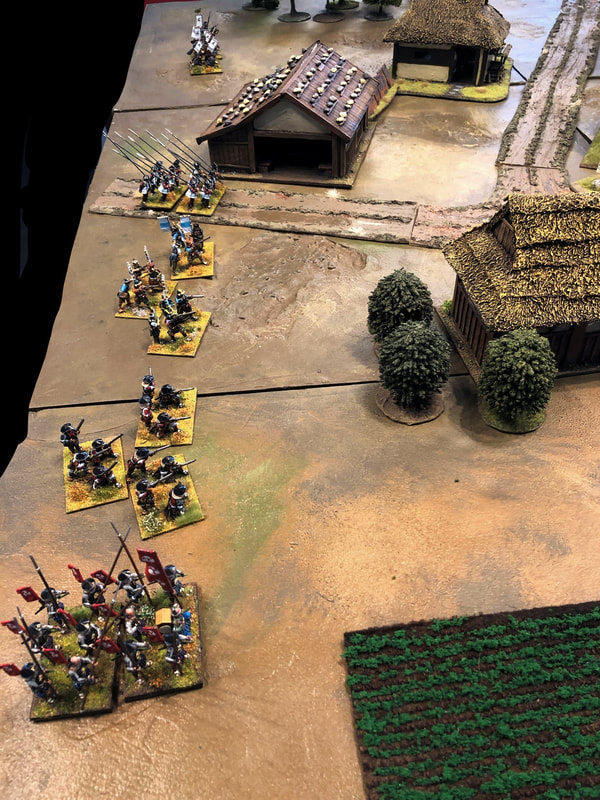 Not really, as it turns out that his general is also late to the action. But his retinue starts to form up, with two units of arquebuses (we count them as crossbows for now), two units of spearmen, and a unit of less heavily armoured cavalry on the left flank. Eventually we both manage to get our generals on the table, and the first couple of turns go back and forth. My forces start to forma defensive line while my cavalry sets off to my right flank, while Zach starts to get his arquebuses into range for a shoot-out. A Ferocious ChargeWith Zach's missile troops outnumbering mine two to one, a missile duel doesn't sound so tempting. Instead, I take the chance on my ronin troops, which has a slightly longer move and good chances to activate when it comes to attacking. I push them towards the middle of the hamlet, doing my best to get them into charge range. I steel myself for the incoming hail of bullets, and urge them on. 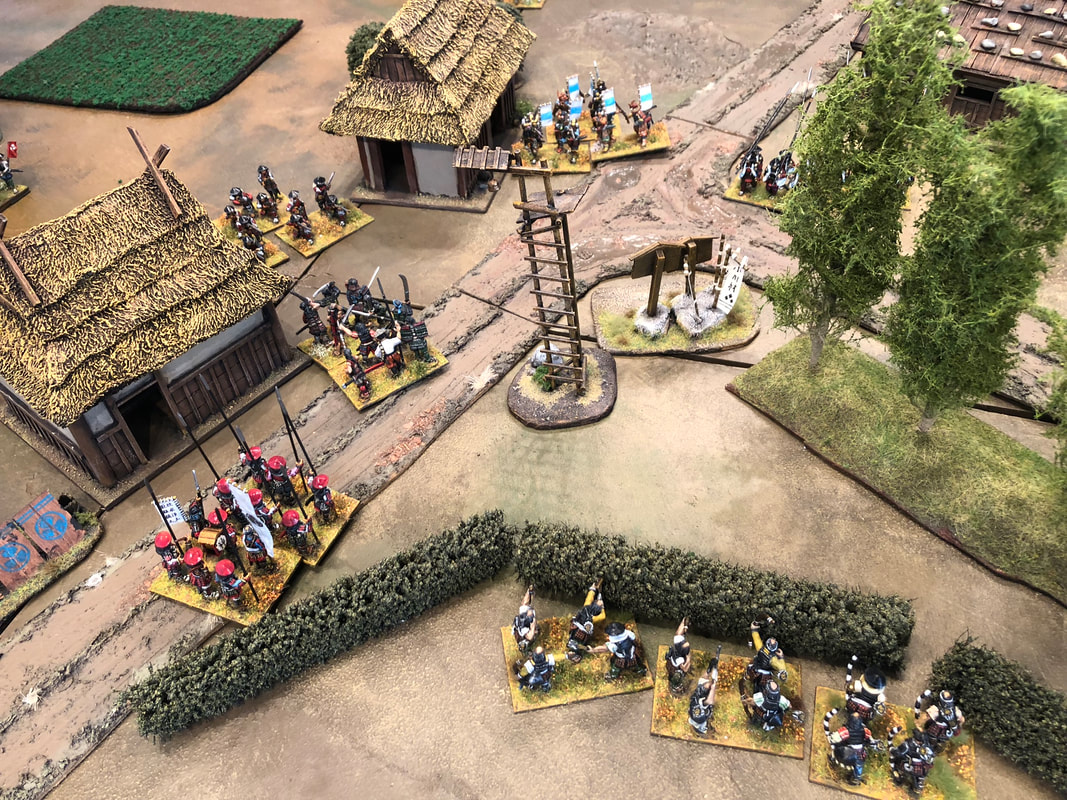 The sight of a dozen angry unwashed madmen running towards them is clearly shocking enough, because the gunners fumble their activation! Any failed activation means a turn-over, so if you're lucky and your opponent fails, you get to exploit it immediately. My warriors easily pass their 5+ test to attack, and crashes into one of the arquebus units without taking a single shot. The fighting is fierce, and both sides take casualties (we used markers since we can't remove men). However, his arquebuses take far more as five men are slain to a single ronin, and so they are beaten back and "battered". This means Zach will need to roll courage rolls every turn until they are rallied, taking more casualtes and continue fleeing in the meantime. My men also fail their courage test though, and turn back, wavering. Will they be a one-hit wonder, leaving the field as well? After all, they are now just in sight of Zach's untouched arquebuses, ready to wreak revenge. Luck continues to shine on my general, as the ronin not only manage to rally, but to yet again seize initiative. Zach has tried to cover up the impeding attack, but it's too late. The charge lane towards the remaining arquebuses is open, and the now very confident ronin charge home again, killing off a bunch of enemies and pushing them back. 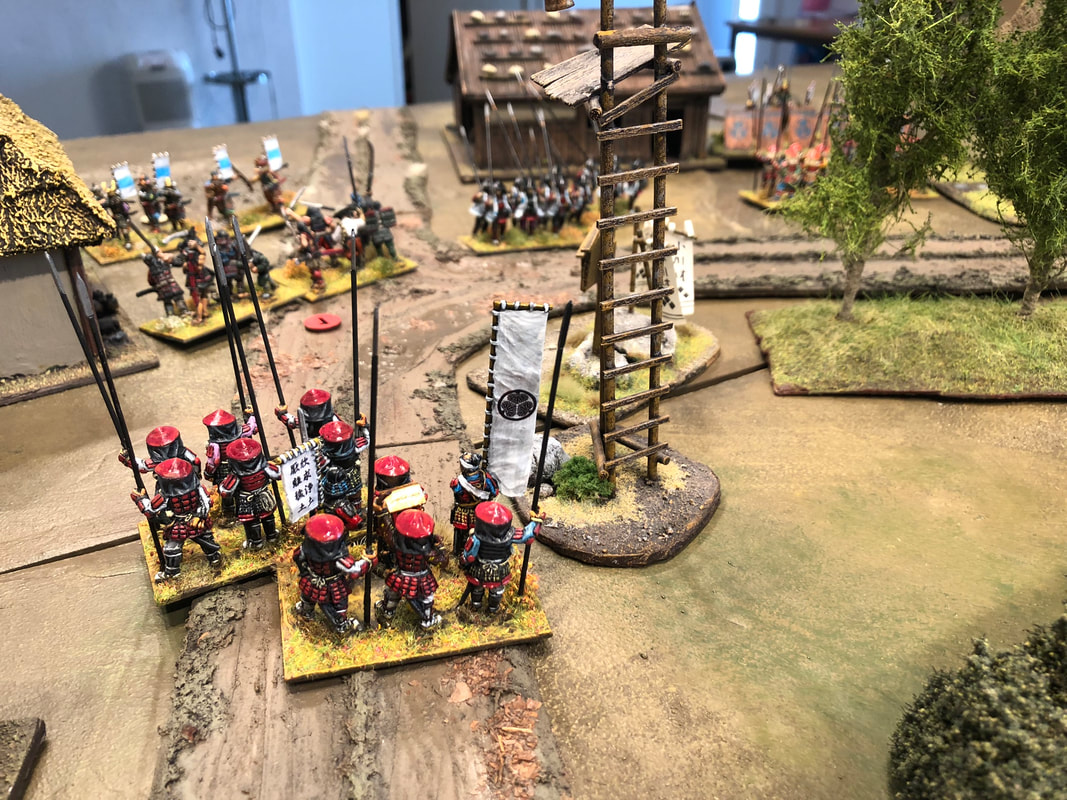 My ashigaru enjoy looking at the ronin doing all the hard work for them. Flanking Action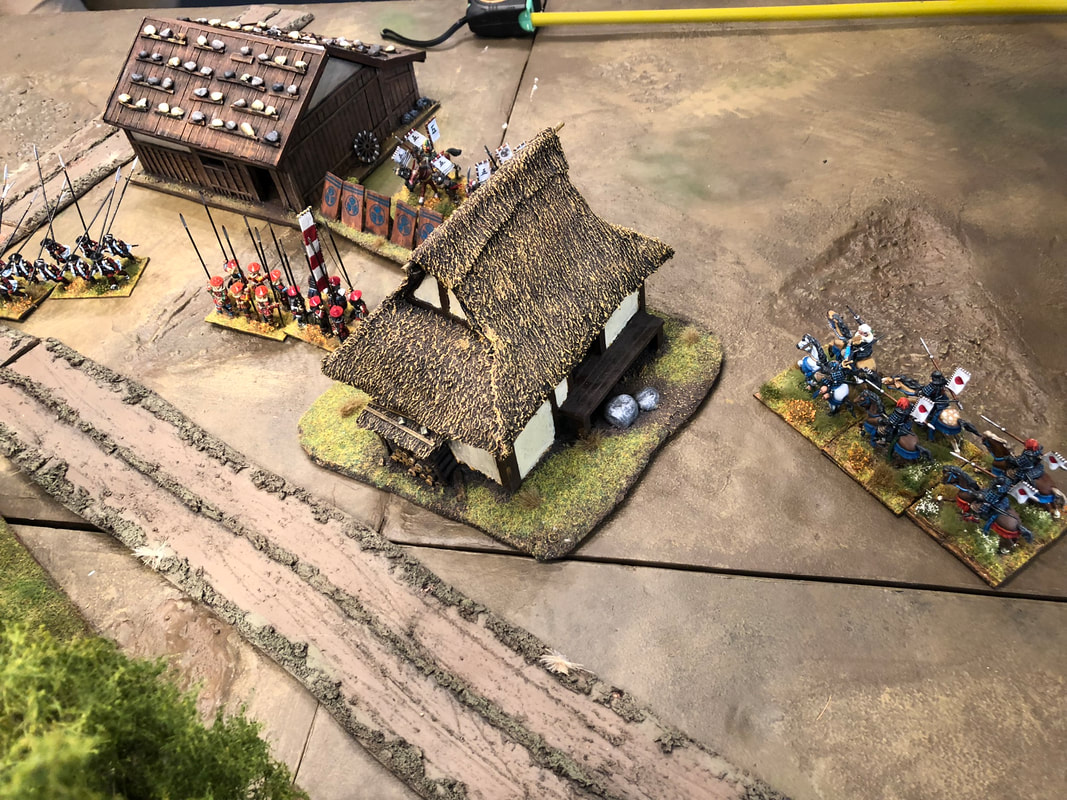 Meanwhile, my general makes a slow but steady arch around my flank, sizing up the opposing cavalry. This is a fight that would favour my heavier horsemen, so Zach wisely backs off, postponing the fight. This makes for a "double pincer" - his cavalry is stuck between my cavalry and my red-helmeted pikemen, while my pikemen are stuck between his cavalry and his black-helemeted pikemen. This led to our first discussion about the rules. As combat is resolved immediately upon contact, and there are no flanks, neither of us could really exploit this situation with a tandem charge, something that would have been devastating in most rules. Instead, Zach ended up backing off with his cavalry even more, as any fight would be disadvantageous to him - the pikemen are better on the defence than offence, and my cavalry would probably overcome his in a fight. But after a short retreat it becomes clear that Zach's cavalry can't back off much longer, as my general pushes closer and starts to approach charging distance of the rest of his army. A furious set of charges and counter-charges begins, ending with his cavalry routed and mine blunted but still dangerous. A Bloody MeleeZach's general clearly has had enough, and wants to turn these initial setbacks around. Thankfully for him, there's a unit of ronin standing in the open with a bulls-eye painted on them, and so it's clearly time to charge them. 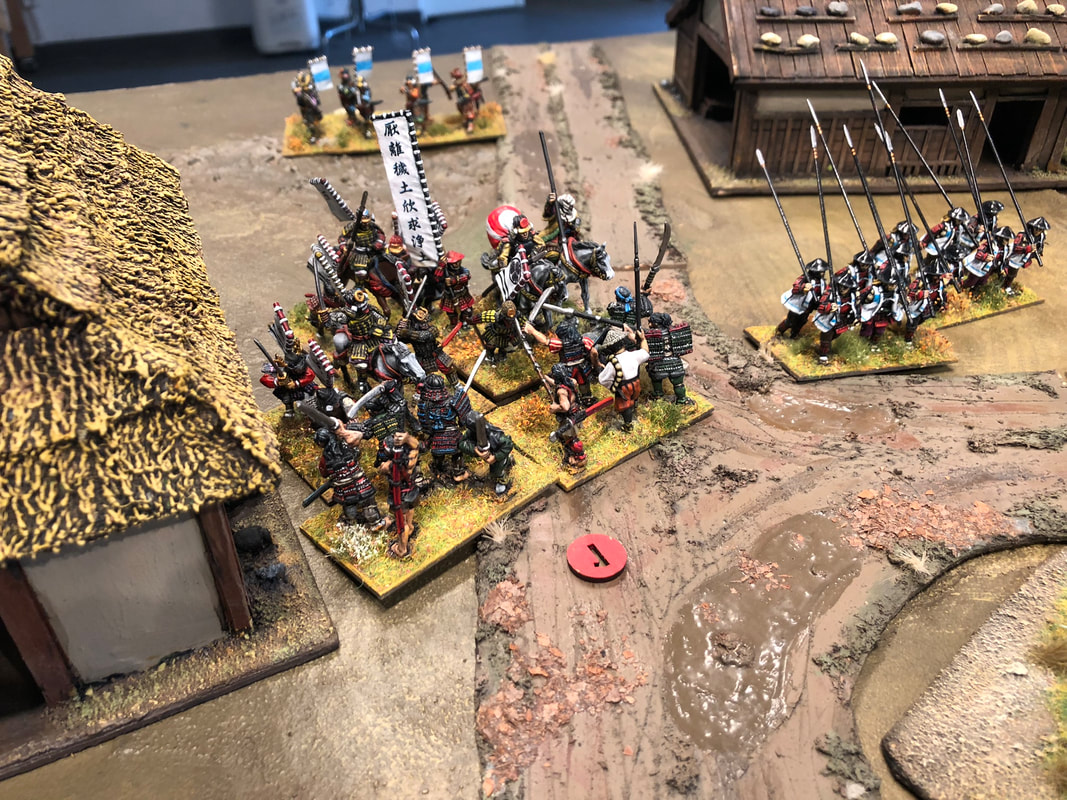 The charge is successful, and the ronin stagger back in confusion. Zach's pikemen follow up the inital attack, mopping up my remaining ronin, but taking several casualties from my archers in between charges and counter-charges. 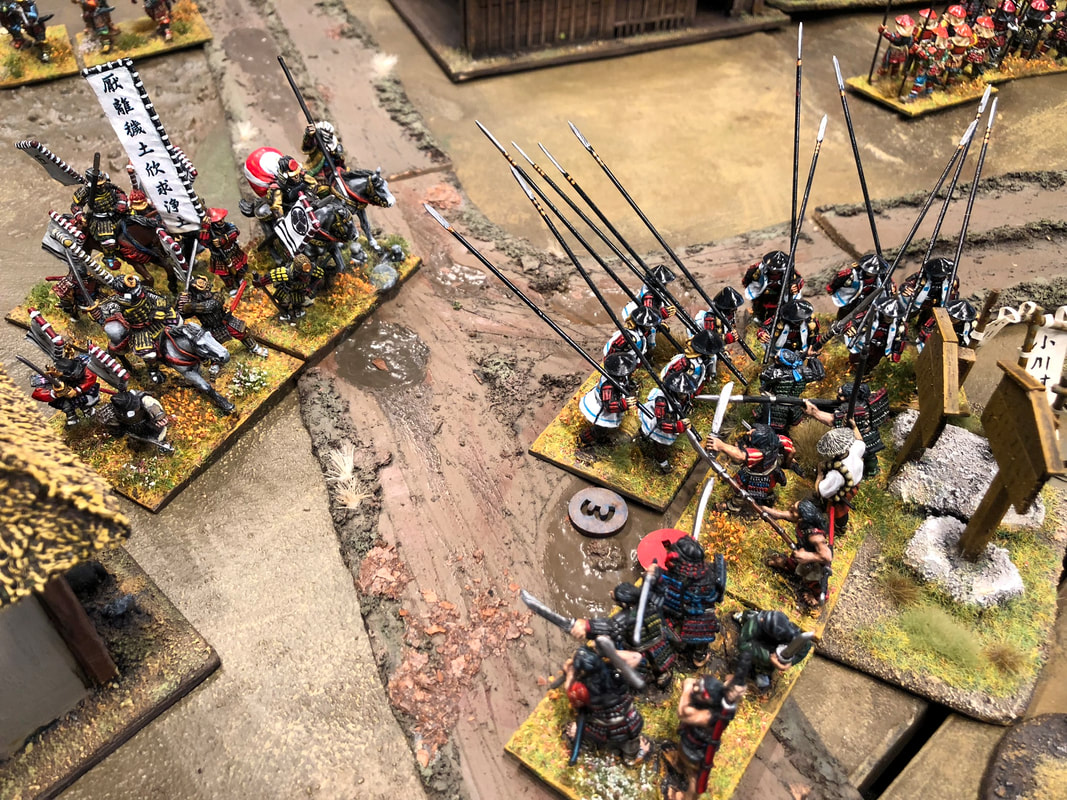 The Final ShowdownBoth sides have now taken a bunch of casualties, though the noose is slowly tightening around Zach's retinue. My cavalry finally make their way around the flank, finishing off the remaining arquebuses. 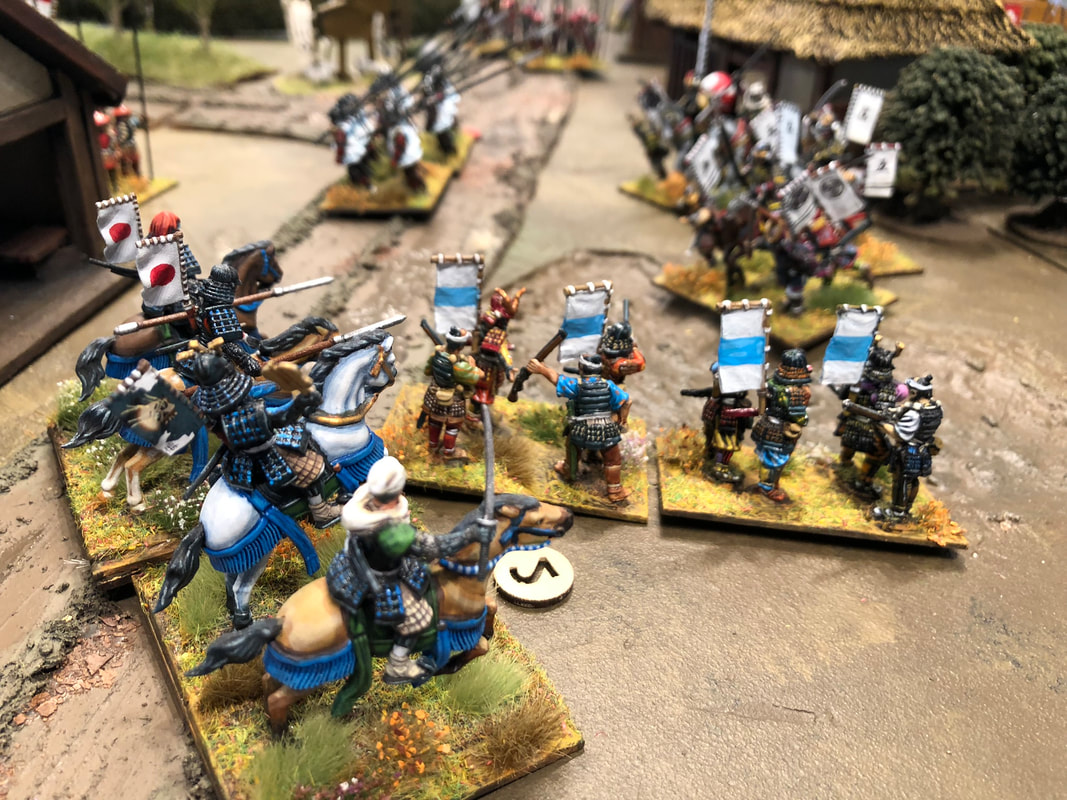 My units surround Zach's general, pinning him against a house. The general desperately attempts to break through my general's unit. While his cavalry is less scary in combat, my accumulated casualties could be enough for him to get an edge in the engagement.  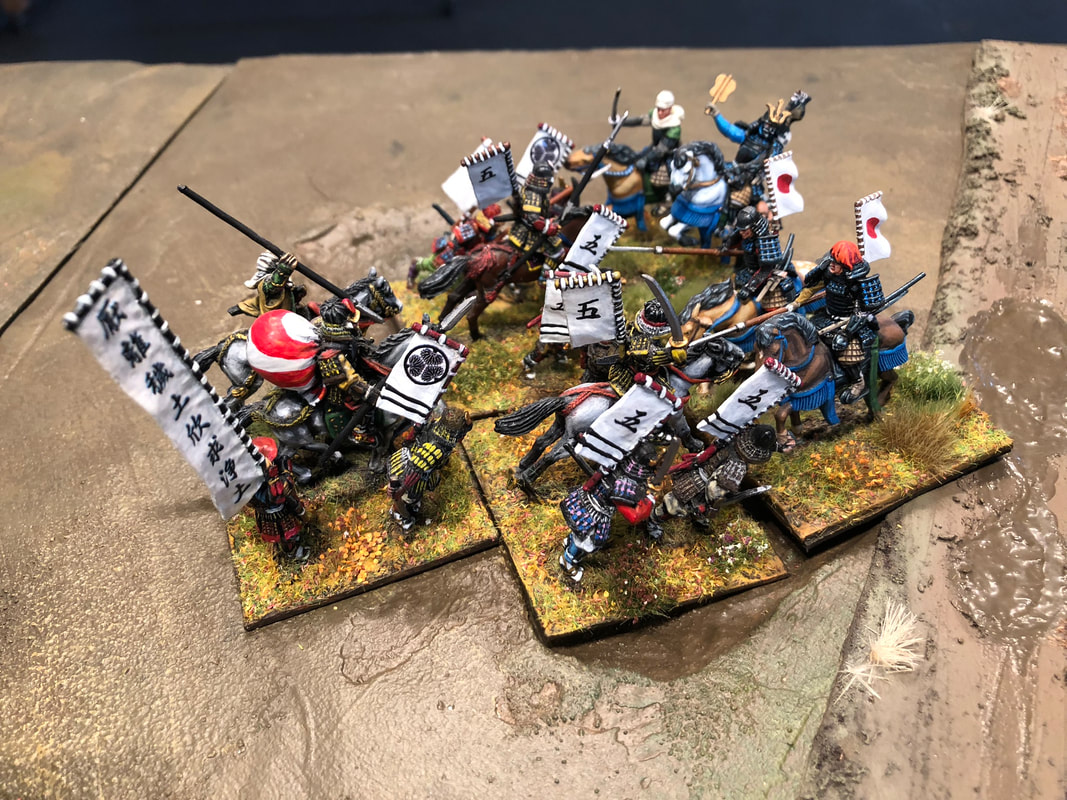 But my general continues to cut a bloody path through everything he encounters. Zach's general is pushed back, taking losses, and now he's facing a battle of attrition that is bound to end badly for his retinue. With all arquebuses fleeing the field and the sole remaining pikemen unable to come to his rescue, Zach's general is eventually run down and routed. First ImpressionsPositives: This was a very quick and simple game, both to learn and to play. Overall it took maybe two hours, and that's with me not having read the rules at all, and Zach playing it for the first time even though he read the rules in advance. So it certainly hits that sweet spot where you can set up, play and tidy up before lunch on a weekend, or in an afternoon. But simple games can be either boring or interesting. In this case, I still had several tactical decisions to do each turn. First of all you have the risk management of choosing which units to activate first. Do you start with the parts that are crucial to your plan, or do you start with the rolls most likely to succeed? It's very much like Blood Bowl in this manner, if you've played that game. In this game, activations proved crucial as I managed to charge and beat Zach's missile troops before they could cause any damage. I also like that the target number to activate helps balancing the units. While my cavalry was dangerous in combat, they also needed a 7+ on 2D6 to move, a real liability at around 40% chance of a failed activation and handing over the turn to your opponent. Moving the troops around was also extremely simple and quick, especially when based in groups like this. Each unit has a 3' bubble around them, and you can move freely in any direction, meaning that there was little fine details taking time each turn. The frequent turn-overs also meant that you rarely spent more than 5-10 minutes without being active. Negatives: The only noticable negative thing we encountered was the inability to used combined charges to attack a defensive position. This meant that in my case I could quite freely position my pikemen in the middle of Zach's army, confident that any attacks against them would be to my advantage. A half-ways solution to this is simply to have a unit that's great at attacking to deal with any defensive units standing around, but that's not really a very tactically clever idea compared to a carefully orchestrated pincer charge or a "hammer and anvil" manoeuver. A Roaring SuccessAnd the verdict is... *drumroll* ...that we liked it quite a lot! We'll see how we think about the tactical pro's and cons of the "no flanks" system after a few games. But overall it's a quick game that's easy to grasp, and after a few turns and a combat or two you'll get the basics. It was great fun to get out my samurai for battle for the first time in about a decade, and it got me inspired to both paint up more troops and to make some more terrain to go with them. Overall it's a good candidate for a shorter game slot, much like What a Tanker, and I can definitely see us playing more. Both using my samurai armies and trying out with medieval and renaissance armies. /Jonas  What, you seriously expected there not to be more stupid tigers in this blog post?
/Jonas
3 Comments
|
The Renaissance BlogWhat started as a blog about Renaissance gaming in general quickly turned into a blog about samurai miniatures. Archives
March 2022
Categories |


 RSS Feed
