|
It was time to give Sharp Practice 2 another try, or more specifically, for me to try to win this bloody game against my club-mate Jonas! My Russians have had an bad habit of getting beaten up every time I field them. With a campaign coming up, I felt that it would be nice for my enjoyment of the coming battles if I could even out the score a bit. It's always good to know that you have a sporting chance, at least! I have always been a big fan of attack/defense scenarios, probably since I have read way too many books on military history. Most battles have this "one attacks when you have superior forces thing" dynamic to them, as otherwise attacks tend to turn out really bad. All the even match-ups you see in tabletop gaming make for some strange scenarios, and maybe most important - they don´t get the feel right. When I play the summer of 1812, I want to play many games including attacking French and defending Russians. So, this time we tried a home-brew attack/defense scenario. We kept it very simple: Jonas would attack with the French, with a 100 point force. He wins if he takes my Russians' Primary Deployment Point. The Russians get to field 80 points, as they have an easier task defending. The reason for why we just gave a relatively minor boost to the attacker is due to our feeling that you often don´t get that much of an advantage as the defender in most tabletop games. They are almost always designed for equal forces fighting it out, and the TFL games I played so far have been heavier on skillful tactics and adopting to the situation, than a proper simulation of grinding down your opponent with military science and superior numbers. Good so, but any good tabletop ruleset should be able to stand up for a fun attack/defense bash. Also, this was the first real test of using both our own lists for the invasion of 1812 (available here), so it was exciting to see how it would turn out! So off we went! The first troops to deploy was a Russian formation of four regular Jäger groups. They are led by my most senior leader, a level 3, and sits at the right hand of the Primary Deployment Point - the main objective of the game. 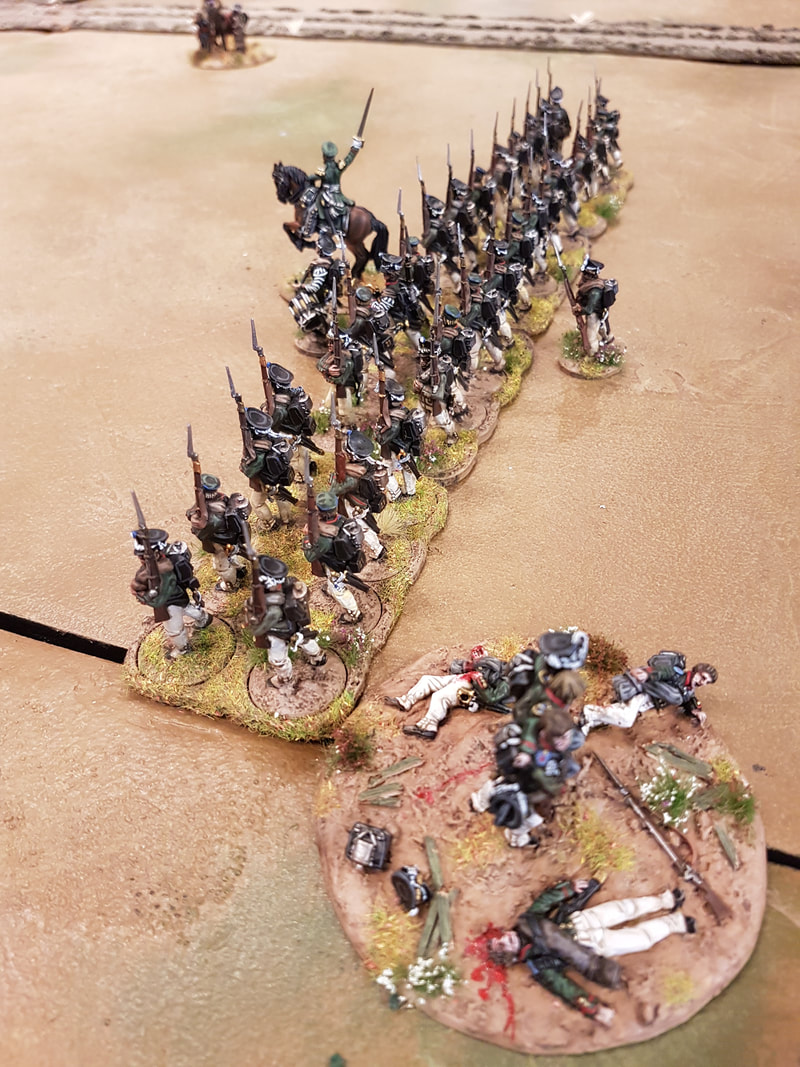 The French attack, and the bulk of the attackers show up: Two groups of Carabiniers (according to our army list both Elite and with the Sharp Practice special rule!) Two groups of skirmishing light infantry Voltigeurs (light infantry skirmishers, also with Sharp Practice) Three groups of line infantry Fusiliers. In the far distance you can see two more groups of skirmishing voltigeurs, this time slightly less trained line infantry Voltigeurs, at the curve of the road. The Fusiliers push forward, going "over the top" of the roadside to get into range of the Russian defenders. 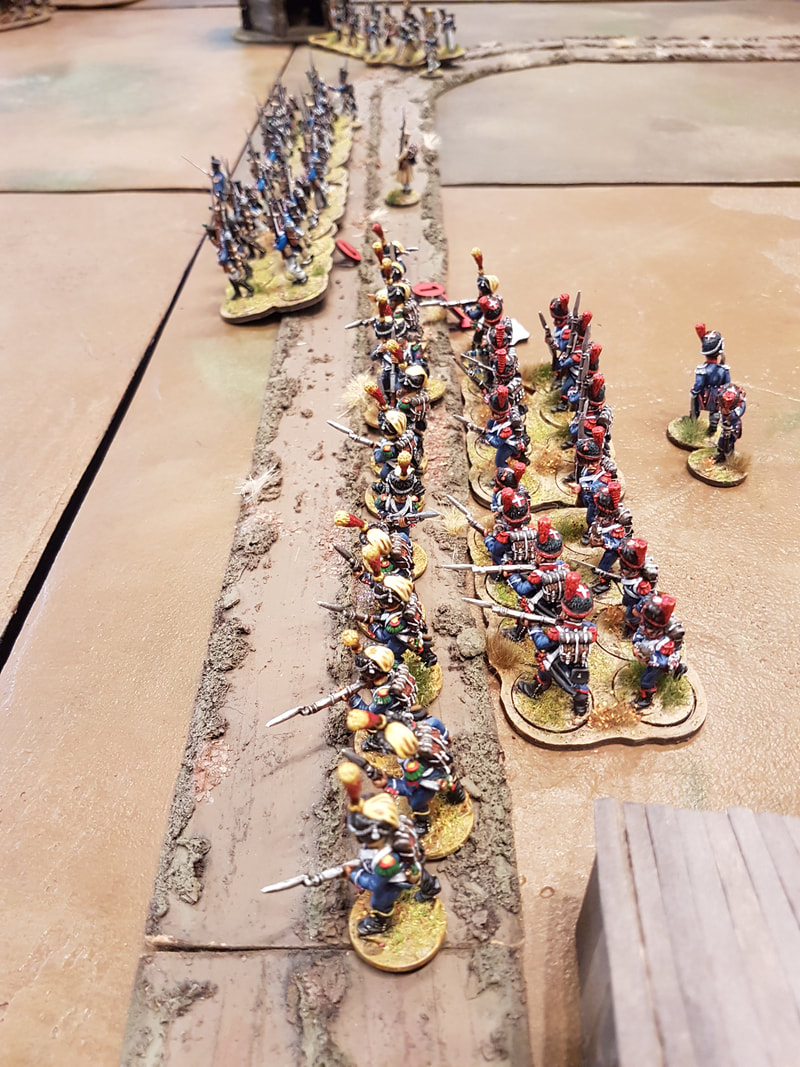 The Russian response: Strelski skirmishers fan out in front of the Jäger regulars. This for three reasons: 1) They exhanged fire with the voltigeurs, with surprisingly good effect (luck!), 2) they screened the Jägers behind them from the voltigeurs return fire (units behind a skirmish screen counts as in one higher level of cover), and 3) they got more units into the mix, making it less probable that my lvl 3 leader would be shot. With his ability to give orders to three formations at the same time, I needed him badly to organize the defense! 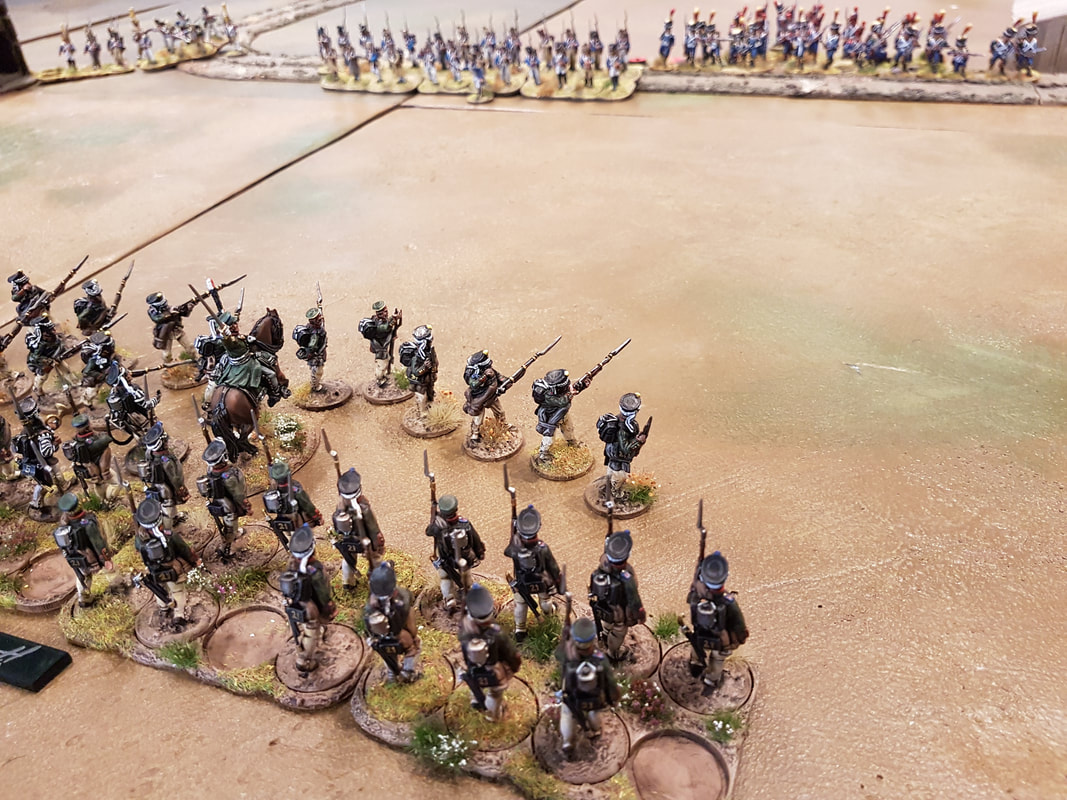 On my left flank, Cossack irregular skirmishers deploys in the woods. With their ability to shoot better from cover, they did a good job in pouring more fire into the attackers. My movable Deployment Points proved to be a disappointment, as I did not know my rules properly and thought I could move them within line of sight of the enemy, which you can´t. So they did not go far from where I put them in the first place. But as the French deployed a cannon and more infantry, I managed to push one of the movable Deployments Points even further to the left inside the woods. Now came the most nervous moments of the battle - I had two units of mounted Cossacks, ready make a sneak attack. Initially they were in potential range to ambush the cannon, but as the game progressed they were in range of both the cannon and the Voltigeurs. If I could activate them with the ambuscade rule (which would normally cost three command cards, but in this case only two since they have the "Tactical" special rule), I had the chance of hitting the Voltigeurs in the flank and then overrun into the cannon, leaving my Cossacks at the back of the French advance. Quite possibly, this move could halt the entire French attack with just a bunch of irregular Cossacks! What was needed here was to get two flags, and then the Cossack leader activation in the same turn, so I waited. And waited. And waited! These kinds of moments make this game so exiting. Would I ever be allowed to unleash my Cossacks? 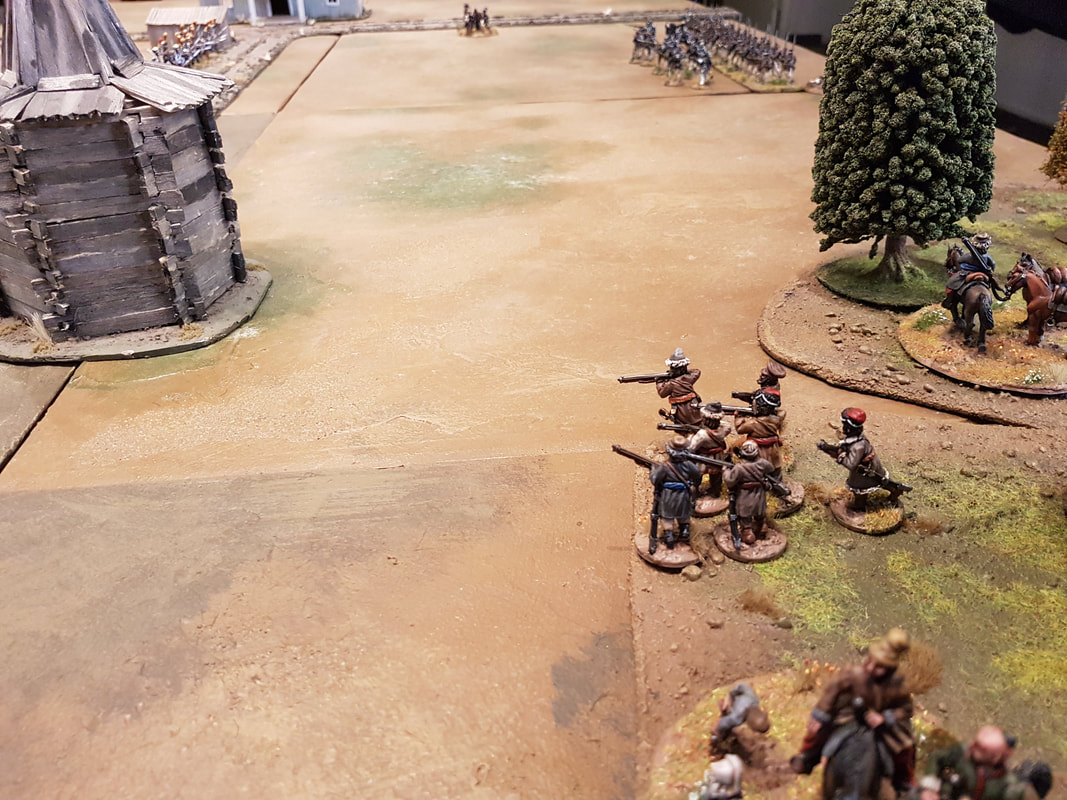 At last two flags and the Cossack leader showed up, but my most golden opportunity had already faded away. Now the Voltigeurs had advanced and were no longer in position where I could strike the cannon as well. Their new position meant that the Cossacks would be arriving in the midst of the French line. Not the best place for irregular cavalry to be! But, I had waited and now the time was here! Hurrah!!! 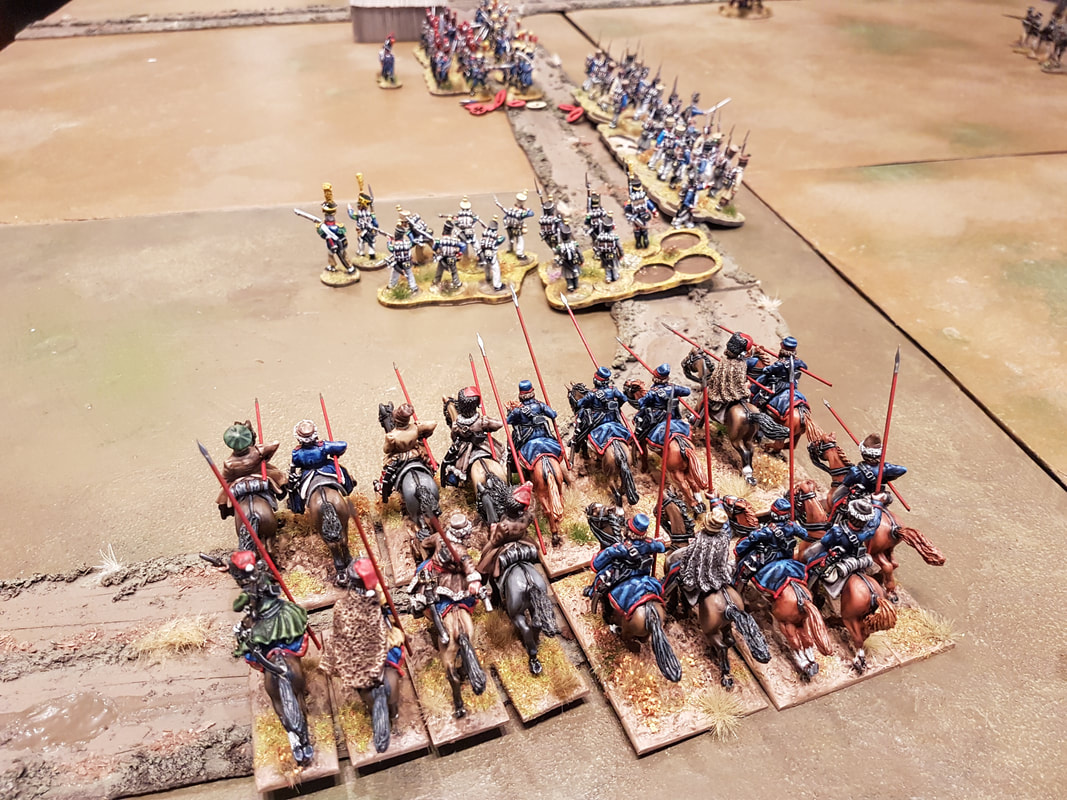 I also deployed my second Jäger formation, three units of conscripts, and these came with a barricade! Now my whole defense was in place. The second unit of Cossack skirmishers also took position in the woods. 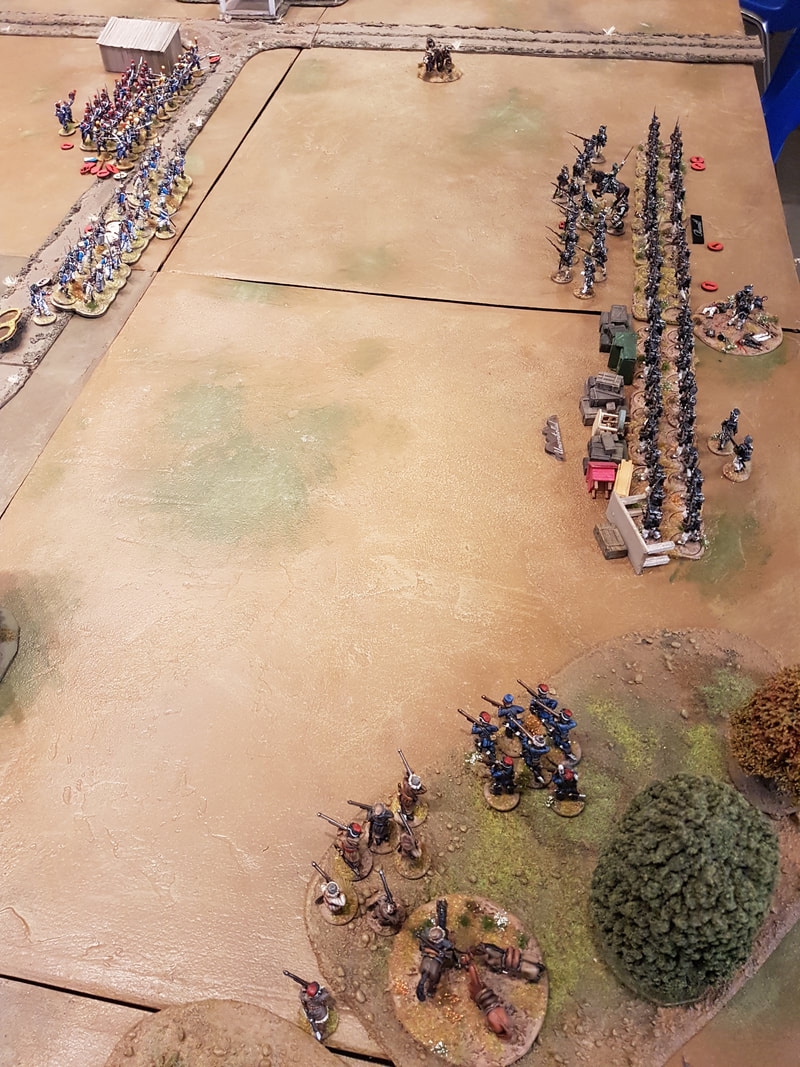 After some nervetingling dice rolling, the Voltigeurs managed to evade the Cossack ambuscade. And the Cossacks were now in grapeshot range from the French artillery. Ouch! Were they to survive this? 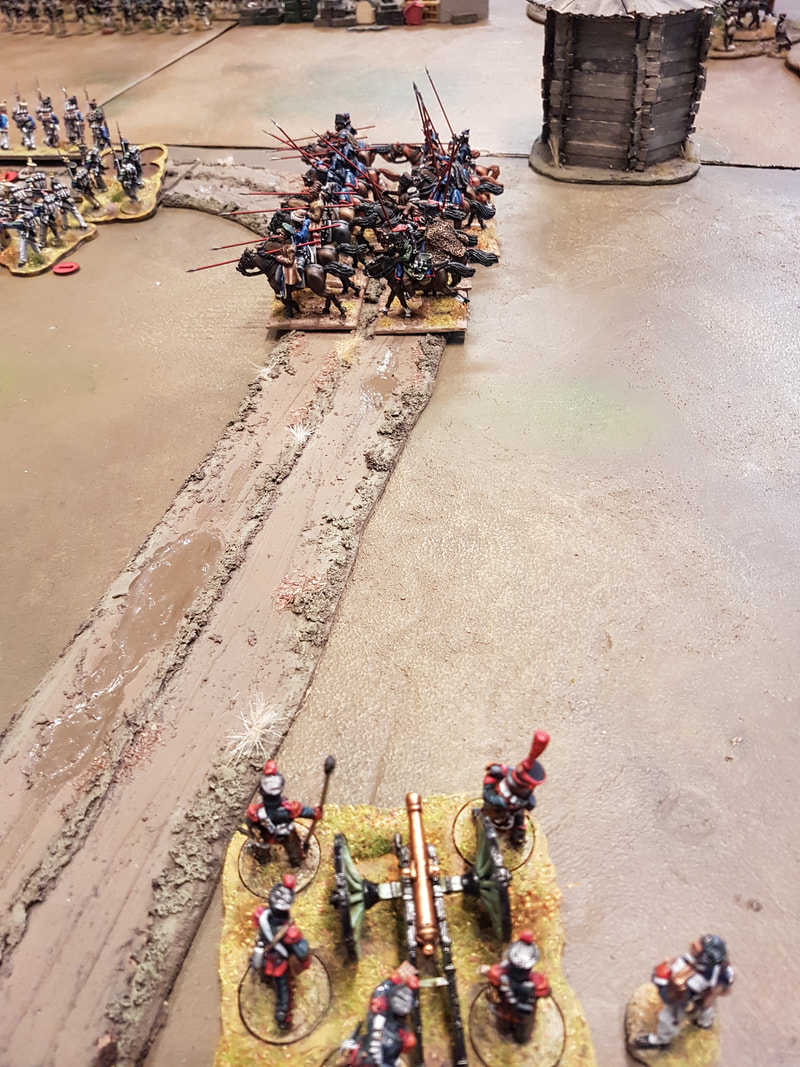 "Steady in the ranks"! The officer (lvl 2) commanding the Jäger conscripts behind the barricade strides up and dow the line to keep them in good order.  The Shock is mounting on the attackers. The Cossacks gets their fair share of canister, but they continue the headlong rush behind the French lines. The French infantry pushes closer to the objective. 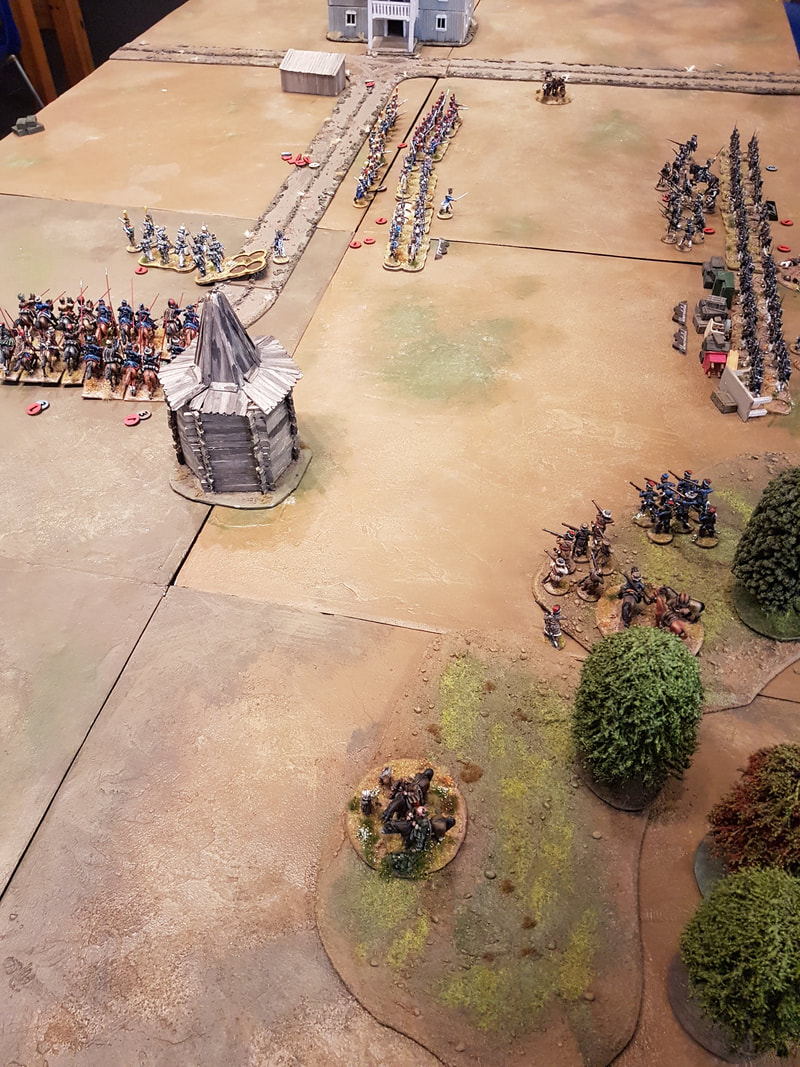 A moment later, the light infantry Voltigeurs have broken under fire. The Fusiliers casulties are mounting. The Jäger Strelski skirmish screen shuffles away to clear the field of fire for the Jäger regulars, already presenting their muskets, who join the firefight. 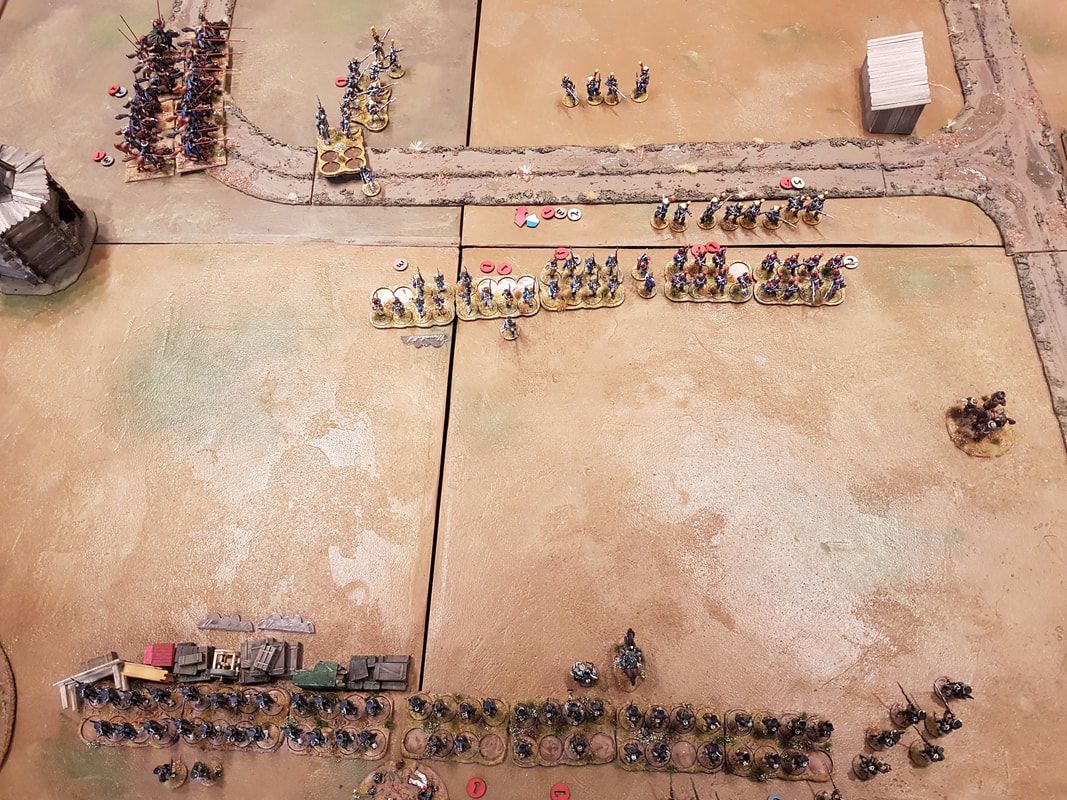 The Cossacks recive fire from the Voltigeurs they are pursuing, as well as a second round of canister. This is too much and one of the units break. But by now the French attack is called off. Due to collapsing morale and a great deal of Russian infantry still quite unshaken and in the game, they throw in the towel. Victory for Shirty with his Russians, at last! 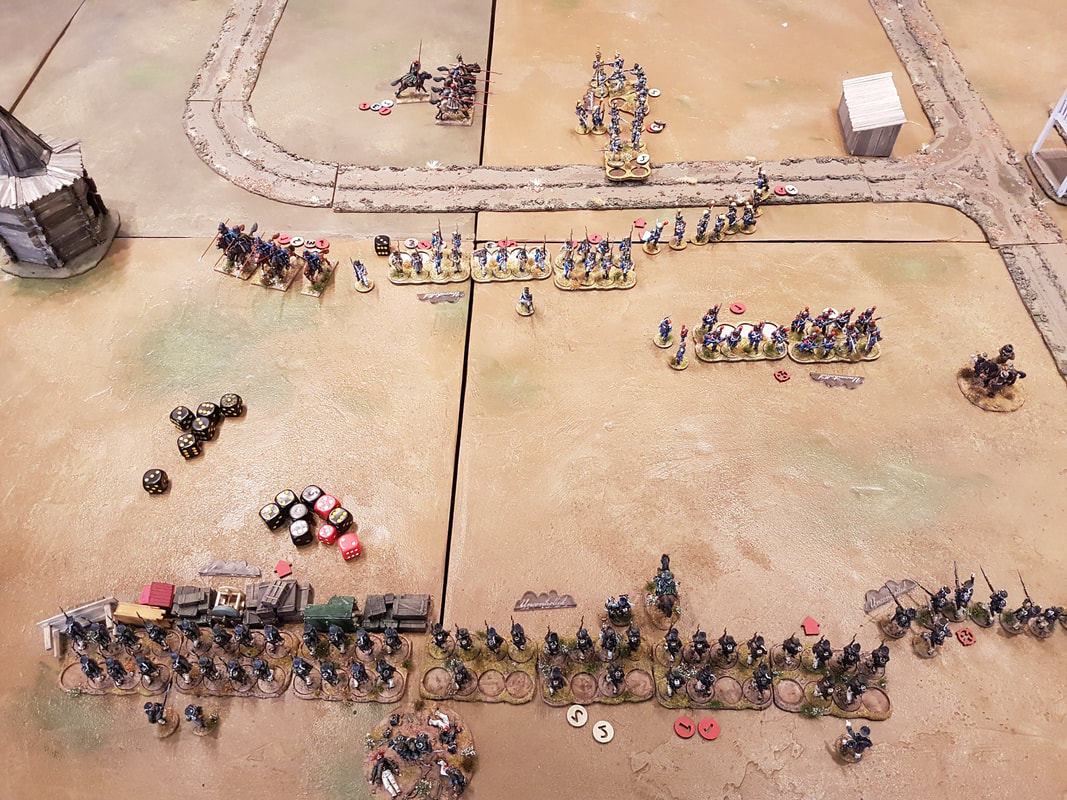 So, another great game of Sharp Practice 2, even if it was the least exiting I´ve had so far. Jonas put up a good fight, but I never felt as threatened as I should have in a attack/defense scenario.
Probably 100 vs. 80 points is too harsh to the attacker, they need at greater advantage to push home the attack. We discussed to test it with 120 vs. 80 points instead, but Jonas would like me to test being the attacker in a 100 vs. 80 game first, and I can´t disagree to accept the challenge. Despite this I was very pleased with my Russians. All troops did what they should, and I felt that my army composition was really solid for a defense scenario. Steady infantry in defensive position, with Cossacks both on horse and foot helping me make the attackers plans awry. That said, I think the barricade is way too powerful in this sort of game, so it should be restricted in some way to uphold playability! Next time it´s the Russians who will rush into the storm of lead and black-powder clouds! Hurrah!! /Shirty
1 Comment
Jonas Svensson
20/10/2017 15:03:11
Ah, the sting of defeat! ;) Leave a Reply. |
"Glory is fleeting,
|
 RSS Feed
