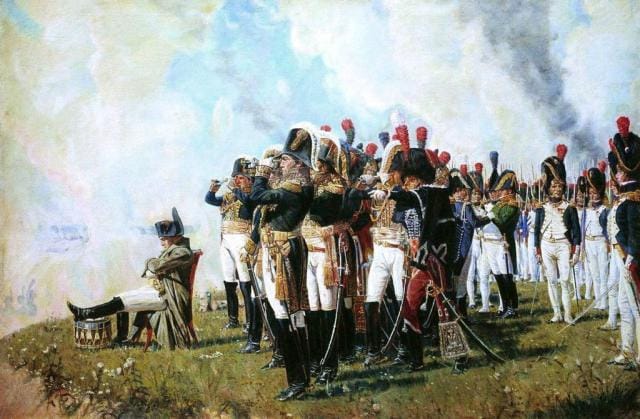
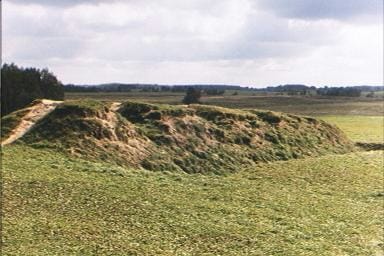
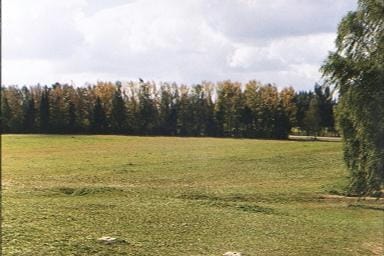
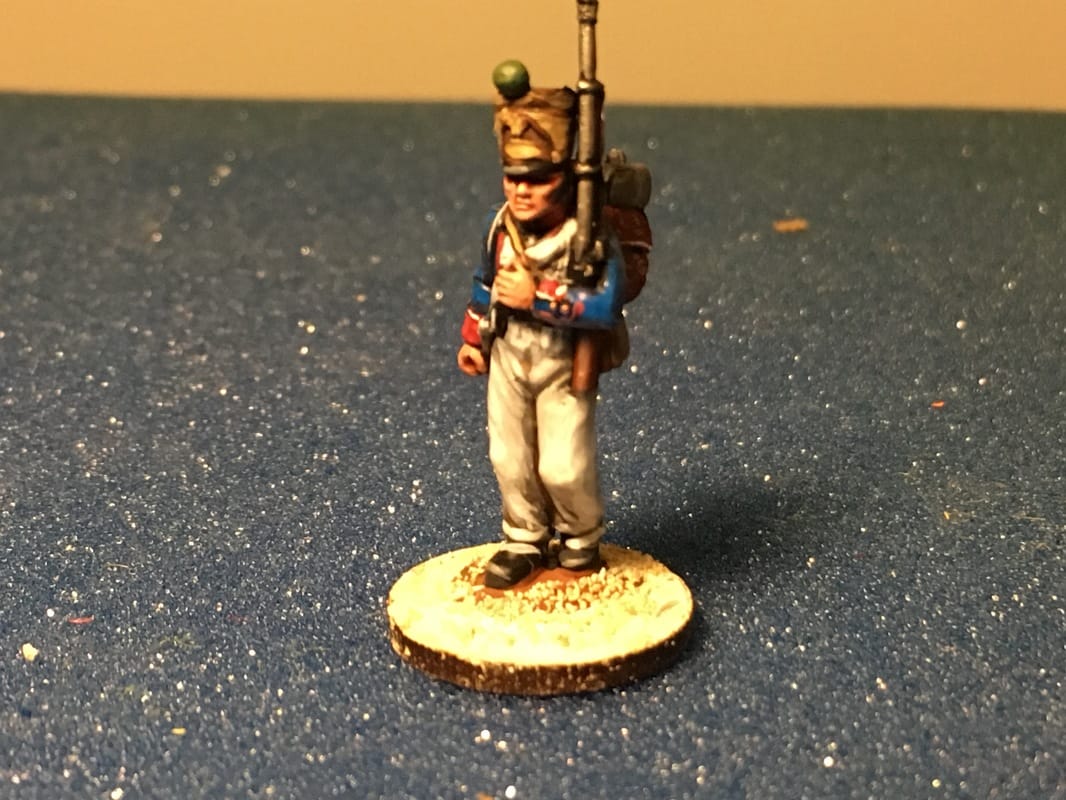
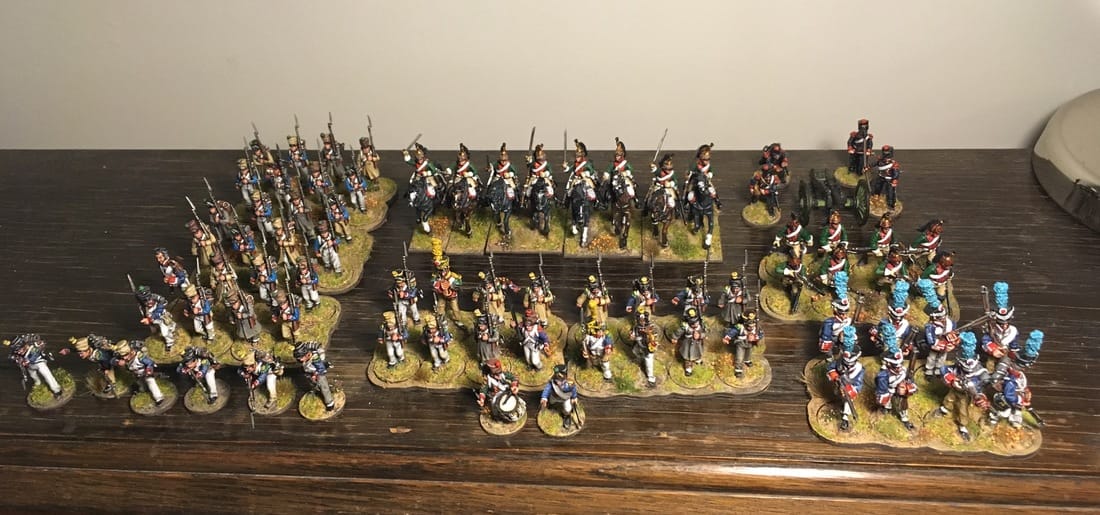
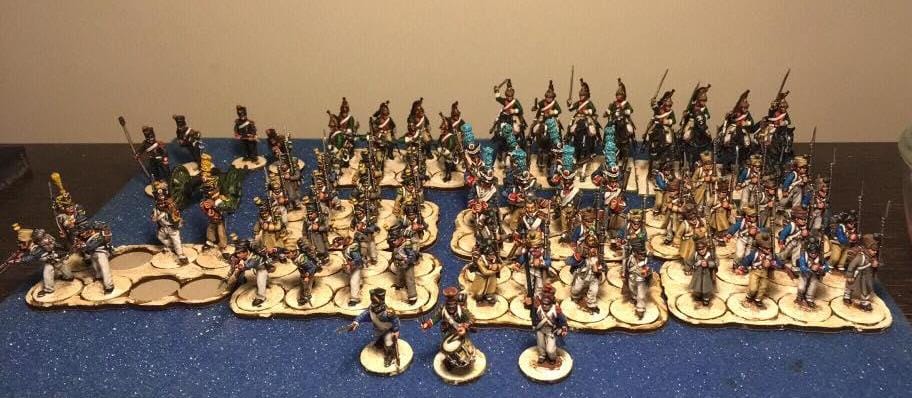
 Basing for BorodinoI've been painting the French force since Summer, but couldn't decide on how to base them. I wanted to take the opportunity with this completely new army to experiment with a slightly more ambitious basing scheme than my ordinary one, where I just drybrush some browns and then glue on ordinary static grass. But where to start? Step one, in such a situation, is research. First of all I googled images from the fields of Baradino, both in old paintings and present days photographs. What I found was a wide range of nature, but most of all a lot of greyish and ochre ground showing through the grass. The more romanticised paintings, like the one above, add a few flowers here and there. The second source of inspiration was googling for nicely based napoleonic miniatures. One site that impressed me was djokergaming.wordpress.com/ and the combination of grass tufts and nicely blended static grass. With these two sources of inspiration in mind, I ordered a bunch of various basing materials, and got to work. Step 1: Preparing the bases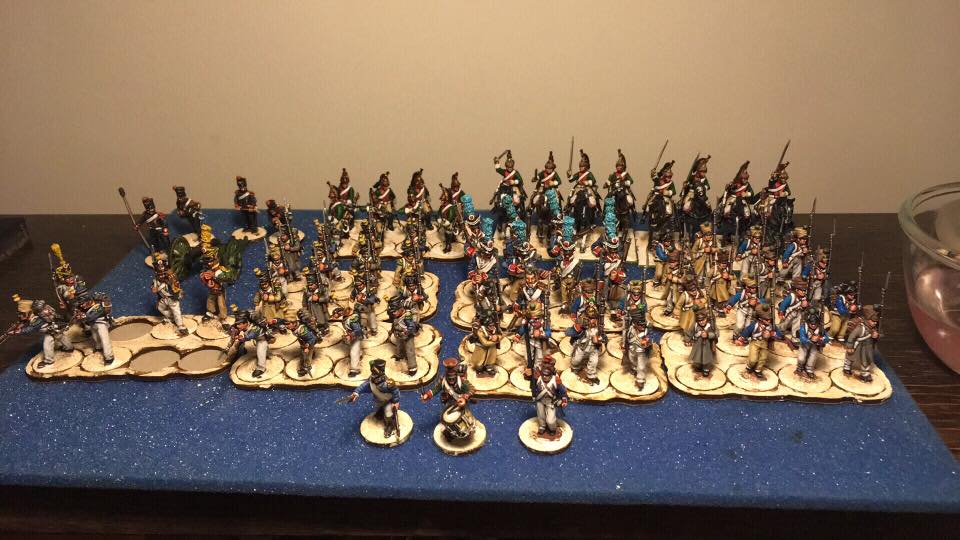 I wanted sabot bases for the infantry, which would enable me to quickly move units during play, but still be able to remove individual casualties in Sharp Practice. Unit bases would also hopefully make the individual miniature bases blend into each other. I ordered my bases from www.supremelittleness.co.uk/ and asked for custom sized sabot bases. I use 20mm bases, so I was recommended 20.5mm sized sabots on the unit bases. After all, you need a tiny bit of margin, and half a millimetre is just snug enough after you've painted the bases. I glue the miniatures to the bases, and then I use fine grade spackling paste (wall filler) to even out the base. I simply take a dentist tool with a broad blade, and smear a small amount of paste around the base to cover the edge of the miniature's integral base and the 20mm base. Use water to make it easier to smooth it out, and wipe of the blade now and then to avoid getting a lot of dried up paste on it. Once the paste is dry, you can use an old blade to easily scrape off any paste that got on the side of the bases or into the sabots. The final step of preparation is sanding the bases. I water down some wood glue (PVA, white glue, etc.) brush it onto the base with a big disposable brush, and then sprinkle some fine sand over the base. In hindsight I might even have skipped this one, as we'll be covering a lot of the base with static grass, but it helps if you want your ground to be a bit less even. Step 2: Painting the BasesI often mix paints for my basing, but this time I wanted a solid, out-of-the-bottle solution so that I can replicate it easily when I expand the army. After some advice from the gaming group, I was looking for a grey-brown base, and then a desert yellow highlight. The actual shades I was recommended were sold out at the store, so I took what I could find. Basecoat: Vallejo Panzer Aces Track Primer The Track Primer paint is a grey-ish brown, that in the bottle looked very much like the kind of grey clay that you often see in fields. This should be perfect, and I can use it for the large amount of tanks that are waiting in the painting queue as well. It ended up drying a little bit more brown than grey, but it did a decent job. Just slather it on to cover the bases completely. If you used spackling paste, the paste will soak up the paint, especially if you add a bit of water, so that you merely have to touch the paint for it to almost cover itself. Perfect for big lots of miniatures. 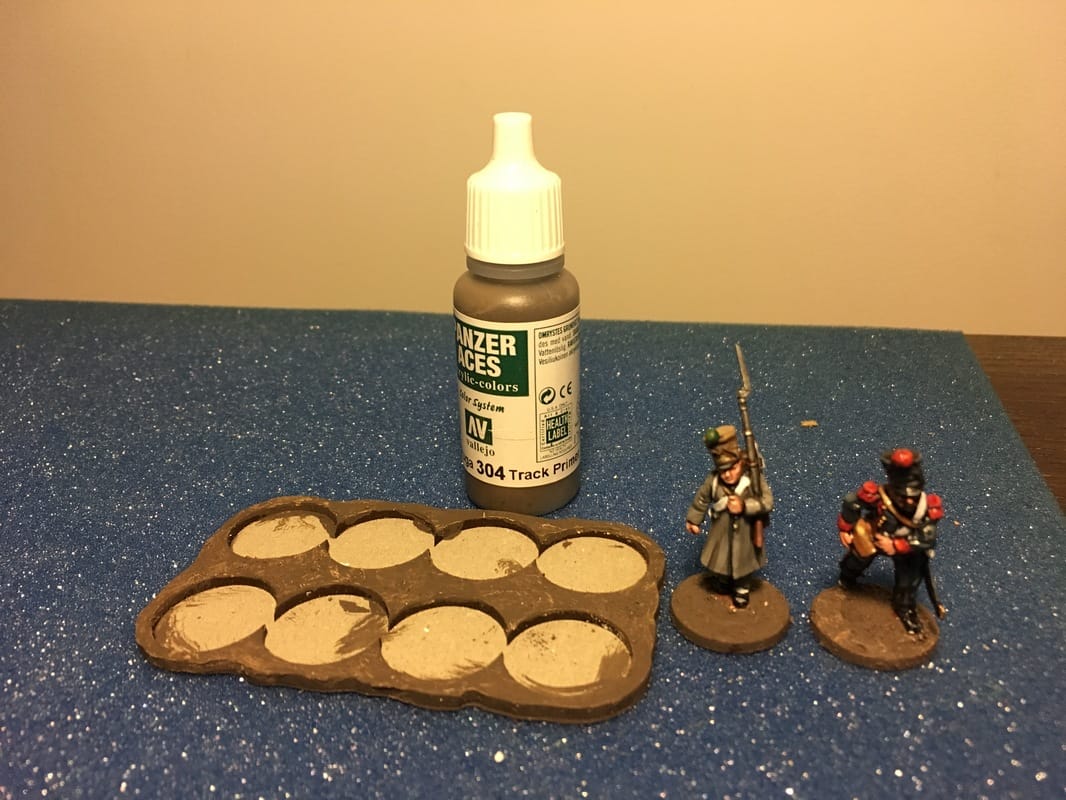 Track Primer First drybrush layer: Army Painter Desert Yellow Once dry, I apply a very, very liberal drybrush layer of desert yellow. Again, the desert yellow I could find in the shop was from Army Painter, so it had to do*. It didn't have excellent coverage, so I ended up hitting the unit bases with a second drybrysh layer. (*My clubmates asked me to point out that AP's Desert Yellow is not the best one out there. It's a bit runny. It has a rather bad coverage. If your shop has another similar paint, please go ahead and pick it up instead.) 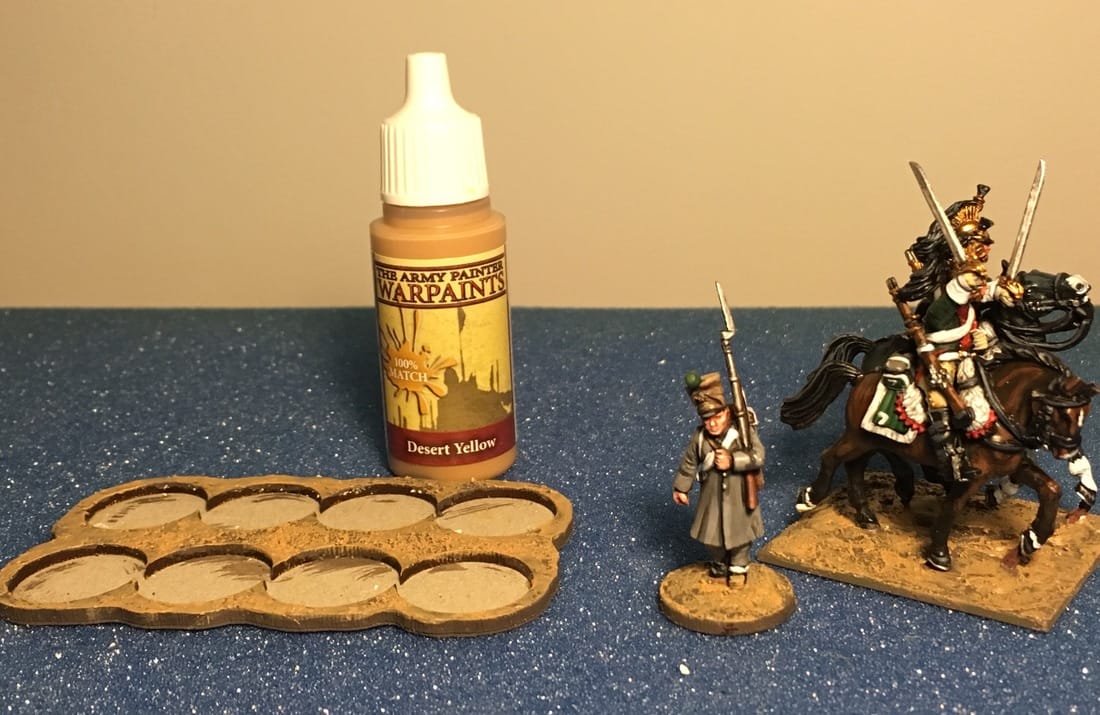 Desert Yellow Final highlight: Vallejo Panzer Aces Highlight British Tank Crew The Desert Yellow turned out a bit darker than I wanted, so I looked for something to brighten it up a notch. And my saviour turned out to be a bottle of British Tank Crew highlight. This brown colour has turned out to be one of my favourites, I use it a ton for anything from dirt marks to chords and pouches. And this time it was just the yellowish brown to give some extra definition to the ground. 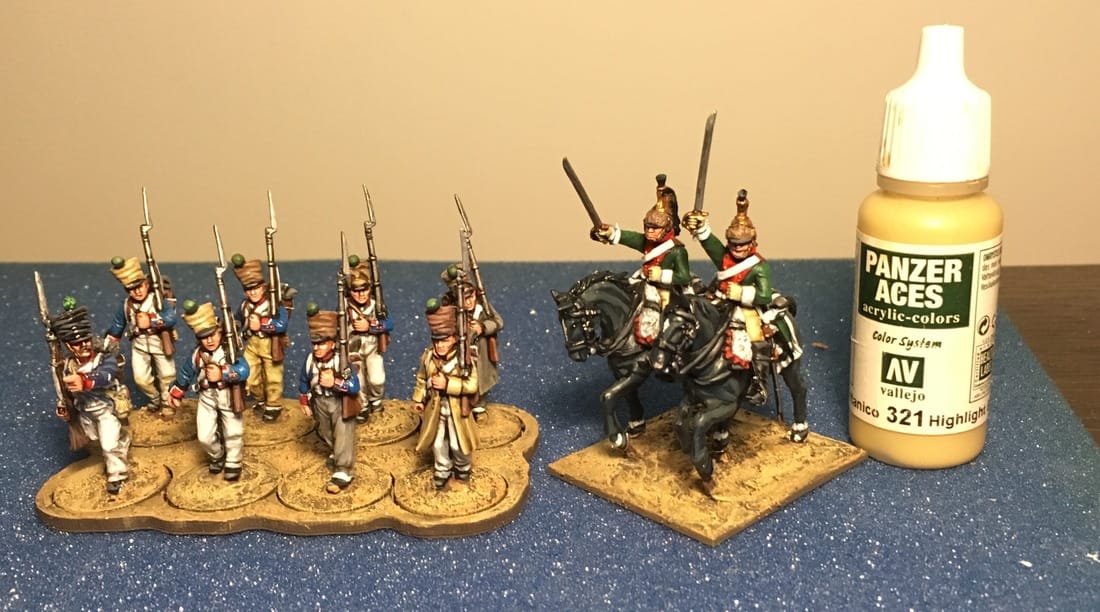 Highlight British Tank Crew Step 3: Tufts Static grass was for a long time pretty much the go-to product for recreating nature on bases. But unless your troops walk on a perfectly tended lawn, you might want to spice it up a bit. Tufts are a similar fabric to static grass, but they are glued into groups and attached to a plastic film. You use them by simply pulling them off the film, and attaching them to the base. They have some glue on them already, but I've found that you better put a small amount of superglue on them, or they tend to fall off easily. These days you can get tufts in all manners of colours and types. I recommend tufts that are not a single colour, as they'll look much more realistic. For this project I bought 5-6 different types of tufts from Mininatur, both brown ones representing dead grass, and tufts with various colours of flowers. I put down a few tufts on each unit base, and then on a few of the 20mm bases. I don't put tufts on every single base: they might be walking on a verdant field, but not through a garden show!  Various tufts applied with superglue Step 4: Static GrassFinally, it's time for the grass. I've always struggled with getting static grass to look realistic, and I also wanted an Autumn feeling. So I tried out a different kind of static grass, that is mixed with some differently coloured flakes as well. I think you're better off looking at either blending different colours of static grass, of buying a pre-mixed type, as single coloured static grass often look a bit artificial once applied. Noch meadow grass First I brush watered down PVA glue on the base. Then I sprinkle on static grass, turn the miniature upside down, and tap the base from above. That way excess static grass fall off (prefererrably into some container you put on your work area), and it will make the grass stand up. You can also gently blow at the grass, again being careful not to blow into the bag of static grass. Then leave it to dry.  Static grass added That's it! The final results are not exactly like the Russian fields in the images I used to start out, but I'm happy that they look better than my ordinary brown bases with the same old static grass. And I kept to my goal of using out-of-the-box solutions for both paints and basing materials, so it should be simple enough to reproduce when I have more minis to base. After doing this about a hundred times, I have a finished starting force for Sharp Practice, and even some empty unit bases left for the next addition. Will it be more line infantry? More Dragoons? Something entirely different? We'll see! In the meantime, me and the Shelf Corps wish you a Merry Christmas!  /Jonas Clickable for bigger size:
3 Comments
|
"Glory is fleeting,
|


 RSS Feed
