|
By Jonas 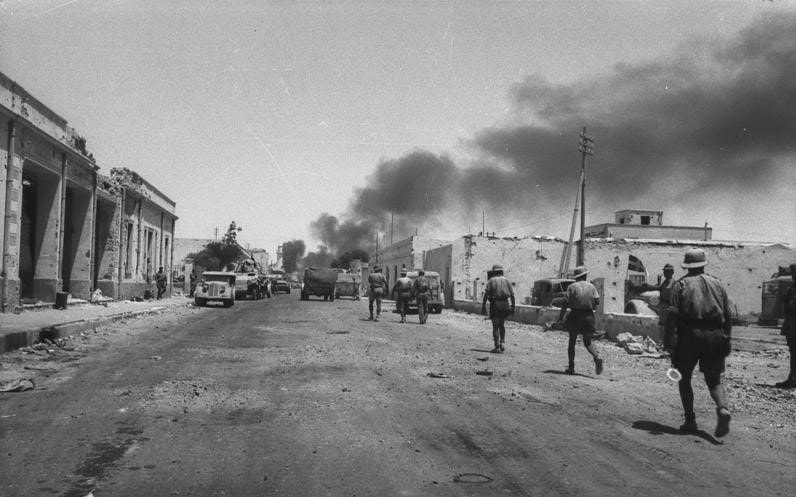 Cape Town Highlanders vs. FallschirmjägersBefore we embark on our Gazala campaign, it's time to do some playtests. This is useful whenever you have new platoons, but most of all new terrain, as it's not always clear how they will affect your tactics. In one-off games you can try out new things in a more casual environment than in campaigns. I have spent a lot of time painting the Fallschirmjägers, so it was really nice to get a chance to command them for the first time. Marcus was eager to get a game in as well, and chose the Cape Town Highlanders. Instead of rolling for scenario we went with one that we have not played that much: Delaying Action. This meant that the stout South Africans would be defending a small village at a road crossing somewhere in Tunisia. One of their Jump Off Points would be within a designated area at the back of his table edge. A small kampfgruppe of Fallschirmjägers of Ramcke's brigade with some attached DAK forces would try to get through the Highlanders and seize the JOP, and thereby the village, to seize victory. 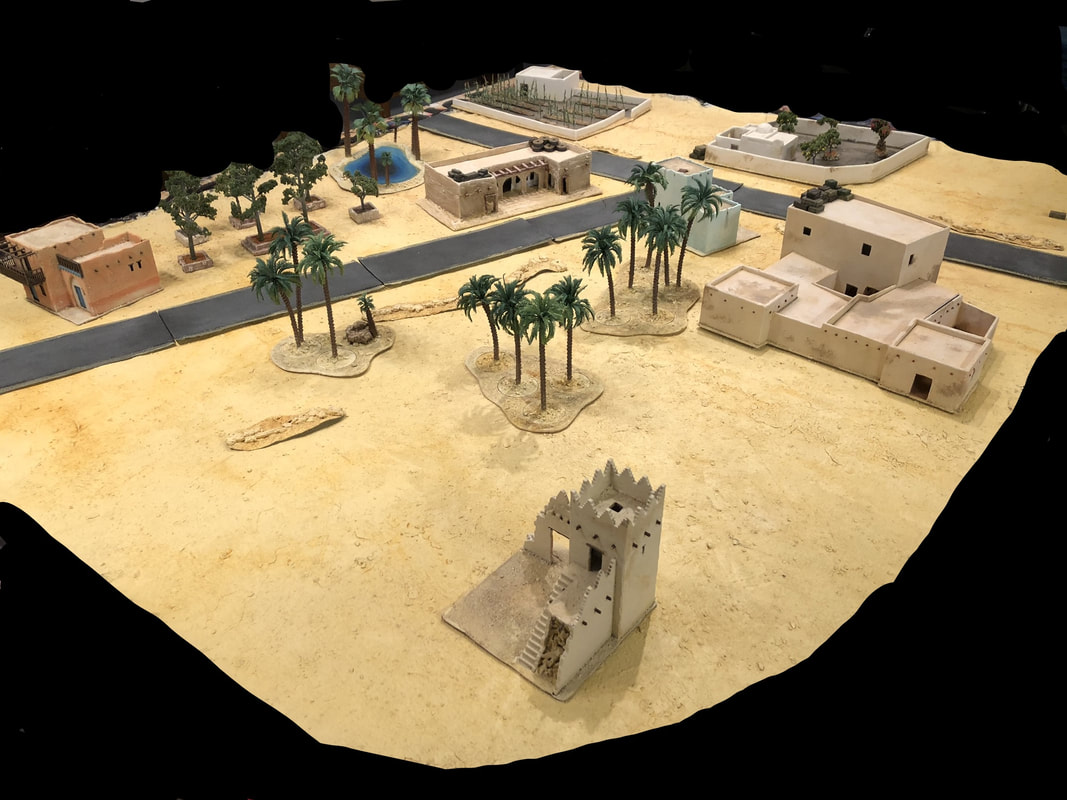 The small Tunisian village at the crossroad, with a valuable oasis Patrol PhaseIf you are unfamiliar with Chain of Command, the patrol phase is where you'll jockey for positions from where to deploy your troops. In this scenario, the Allied defenders start with four markers within an area at their part of the table, while the attacker enters at a single point at their table edge. 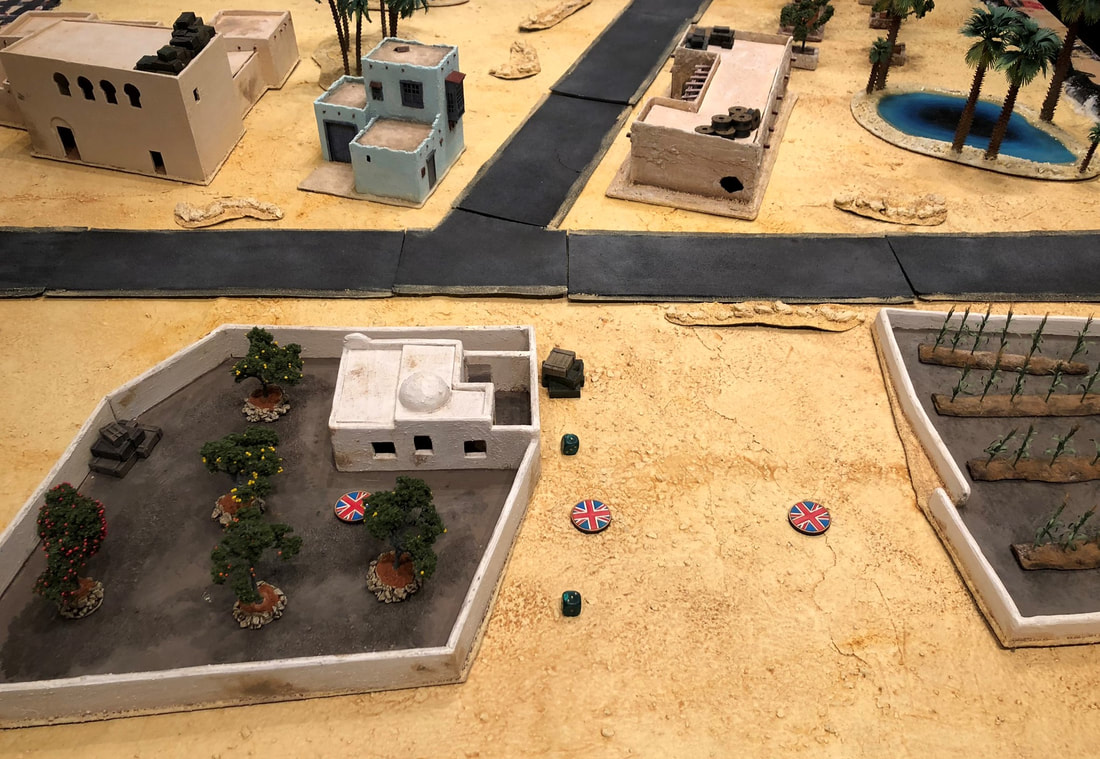 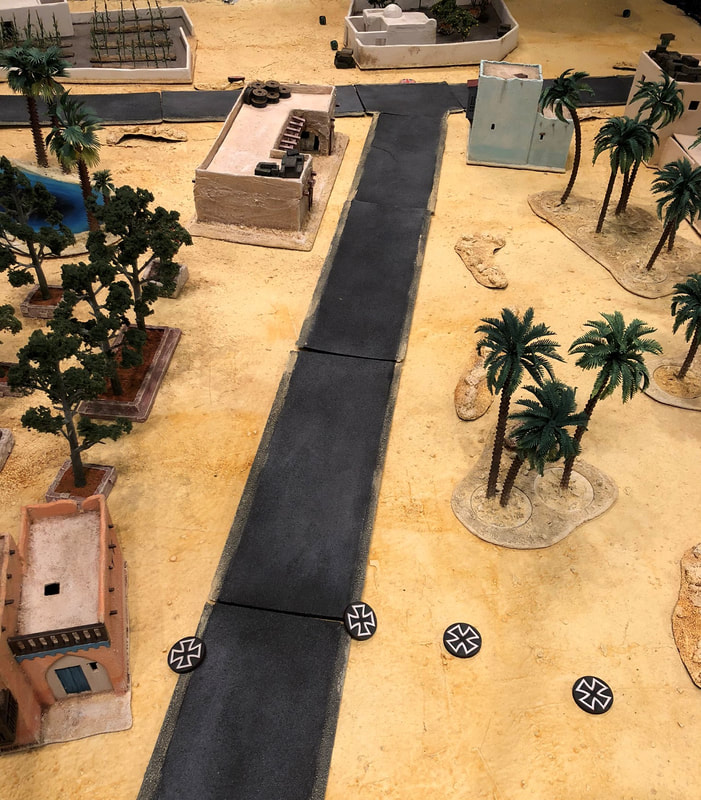 The Germans come in along the road. Shamefully enough we have neither custom Cape Town Highlanders nor Fallschirmjäger markers. 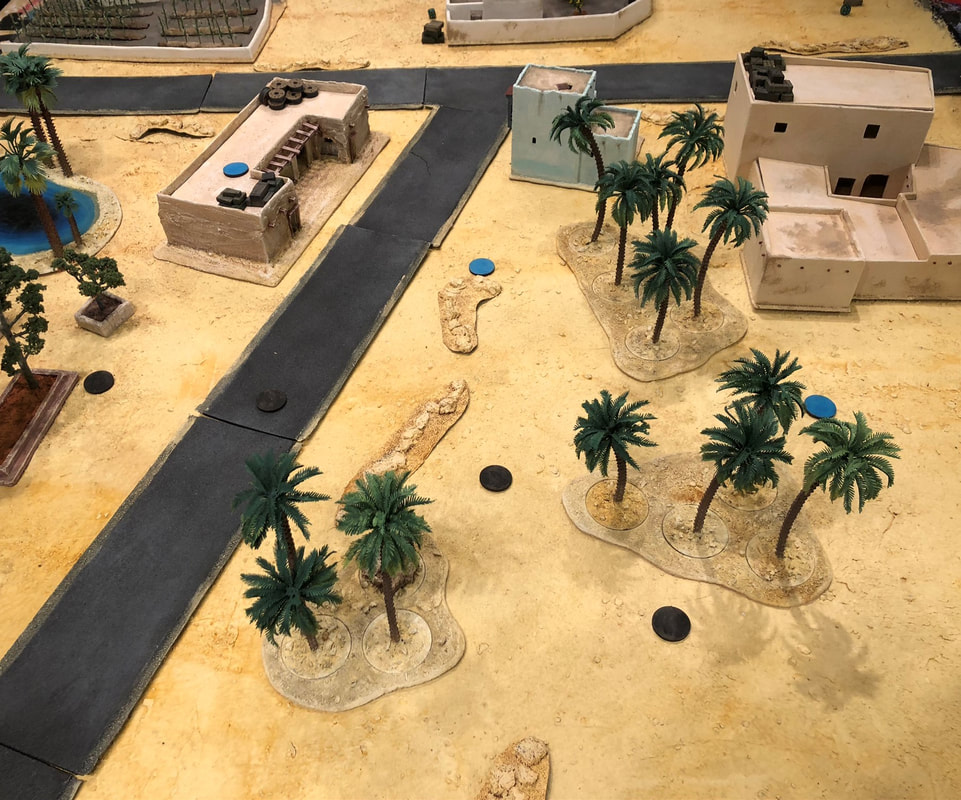 The Highlanders decide to push forward and the German scouts are quickly stopped. This means that the South Africans can place their deployment points quite a bit forward on the table, between two of the houses at the crossroads. The Germans have to settle for Jump Off Points in the palmtrees and the small park on either side of the road. Finally, the objective JOP is placed by a house at the back of the Allied table. 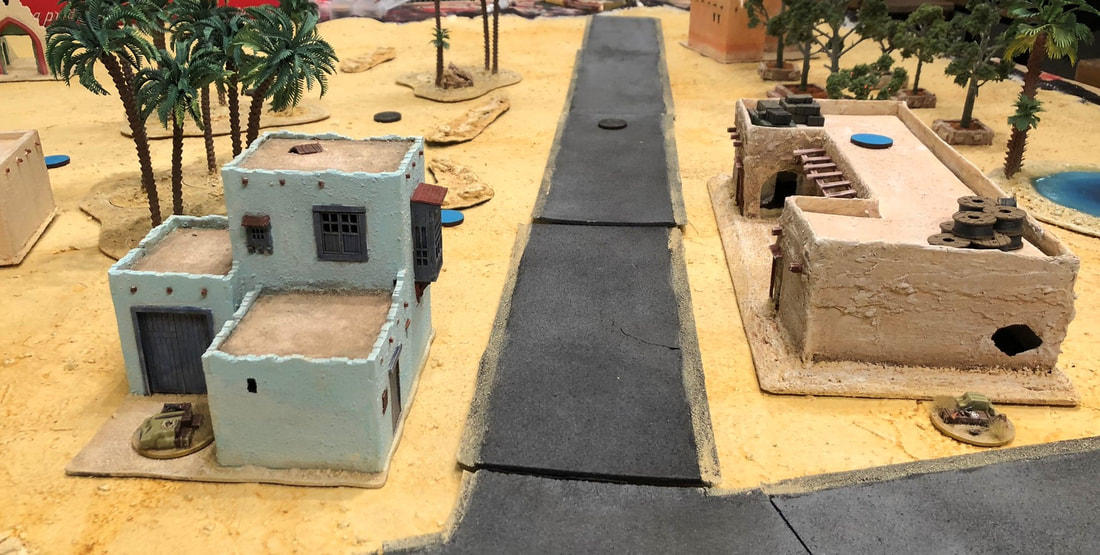 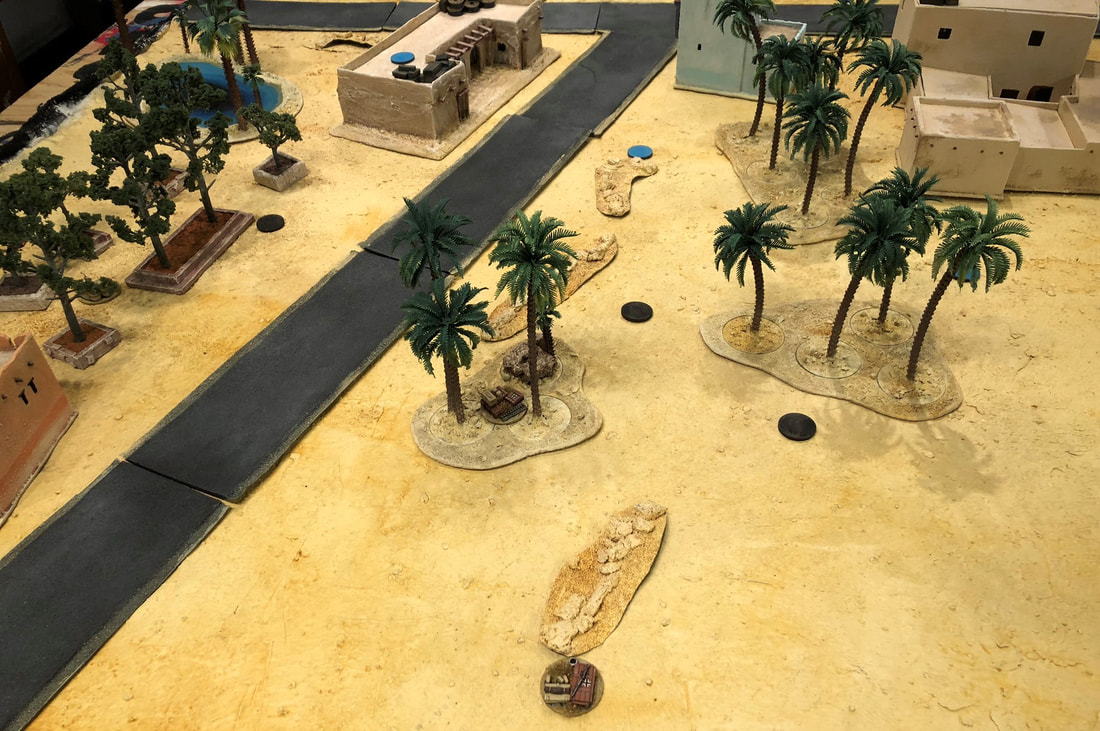 The Germans AdvanceTasked with taking the village, the Fallschirmjägers decide to quickly march towards the crossroad. They make sure to use the cover of palm trees, while a Panzer III aufs J slowly approach the village. It comes to a standstill once it can see the crossroad, and wait for a target to appear. 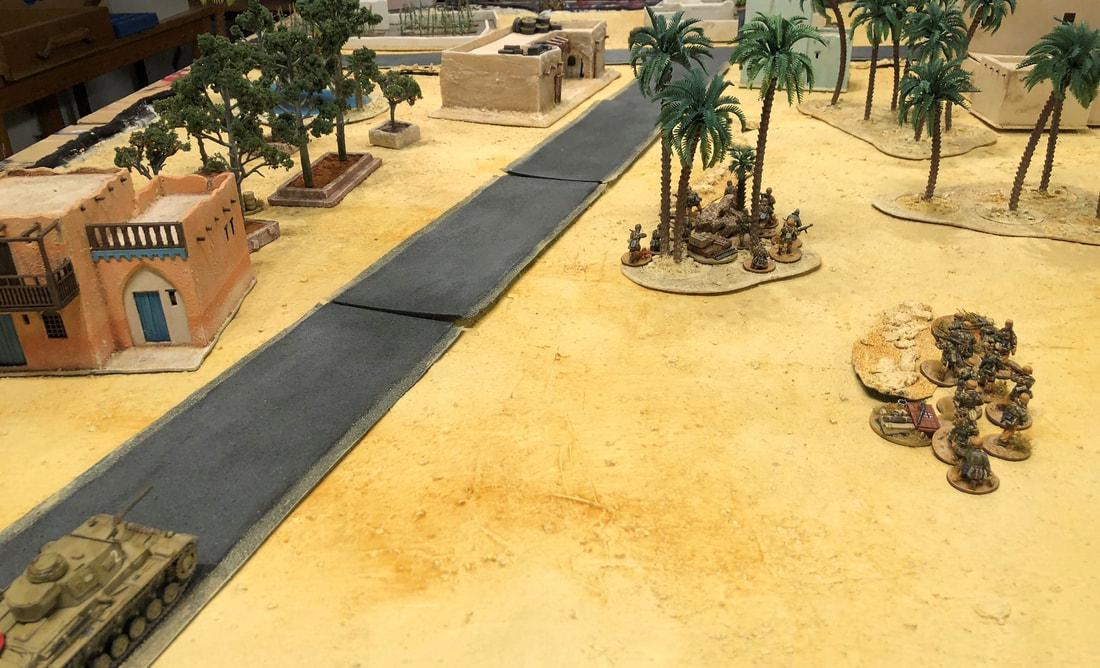 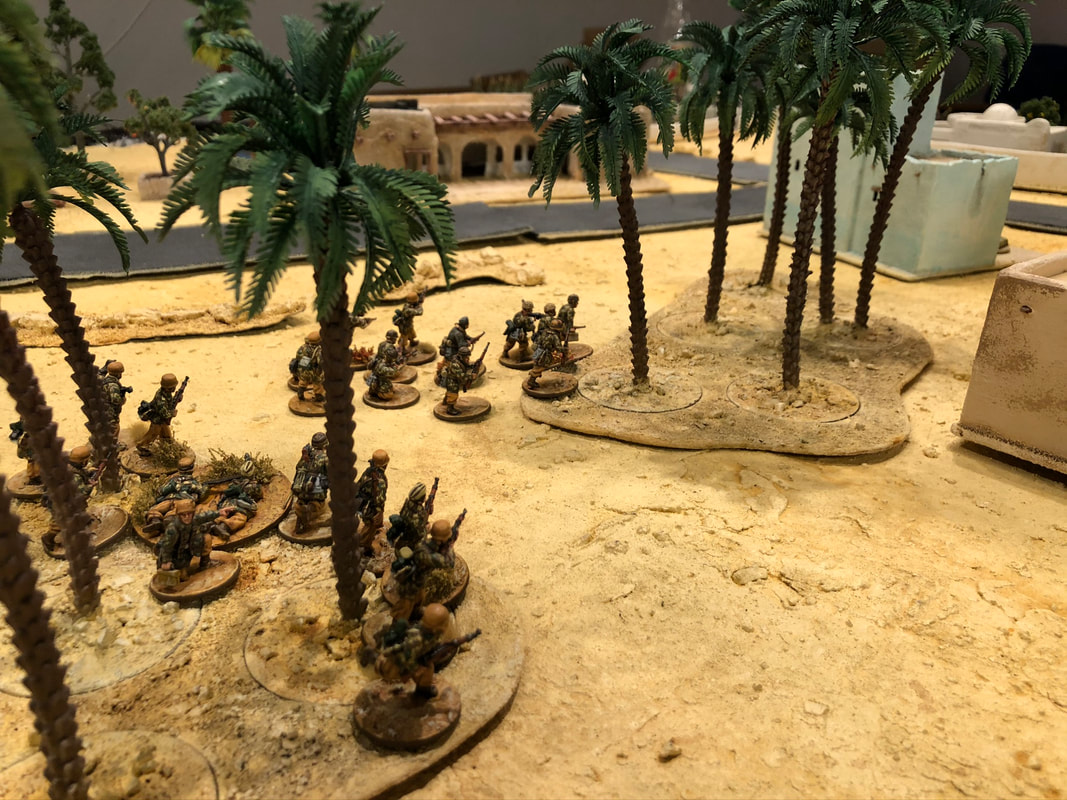 Suddenly, a burst of heavy machine gun fire spews out of what looks like an abandoned café. A team of Highlanders in a forward position unleashes their Vickers, claiming first blood - killing a FJ rifleman and wounding the NCO in the closest section. 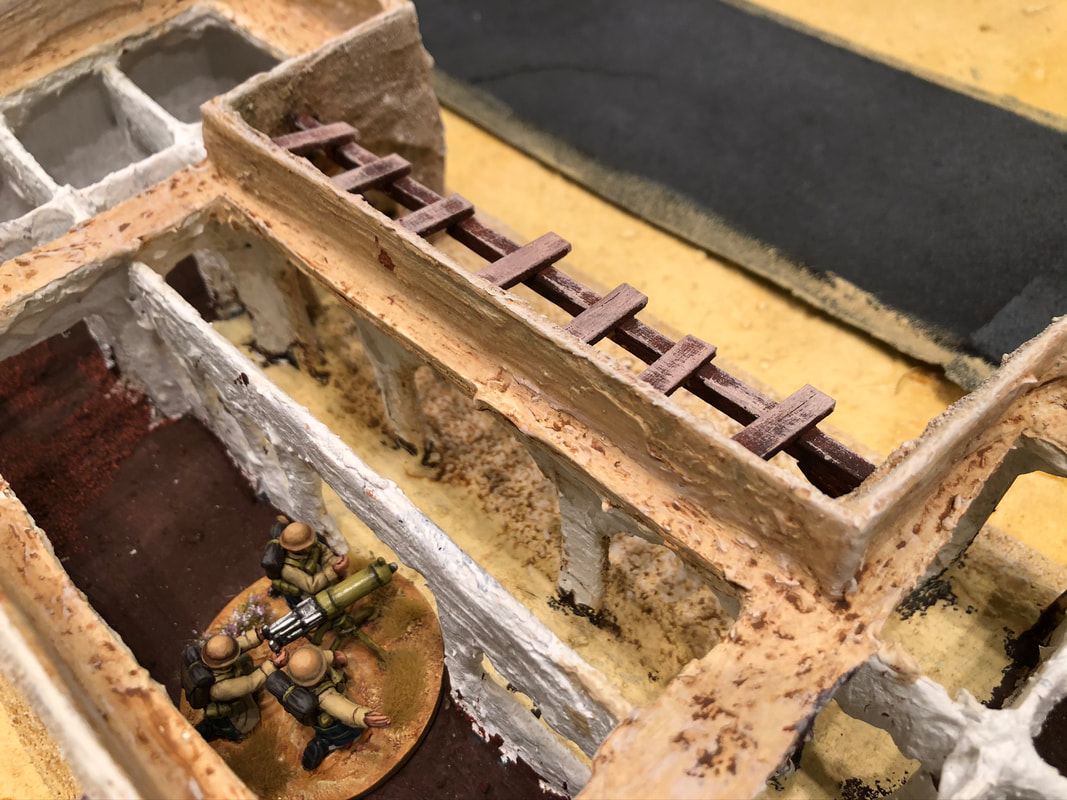 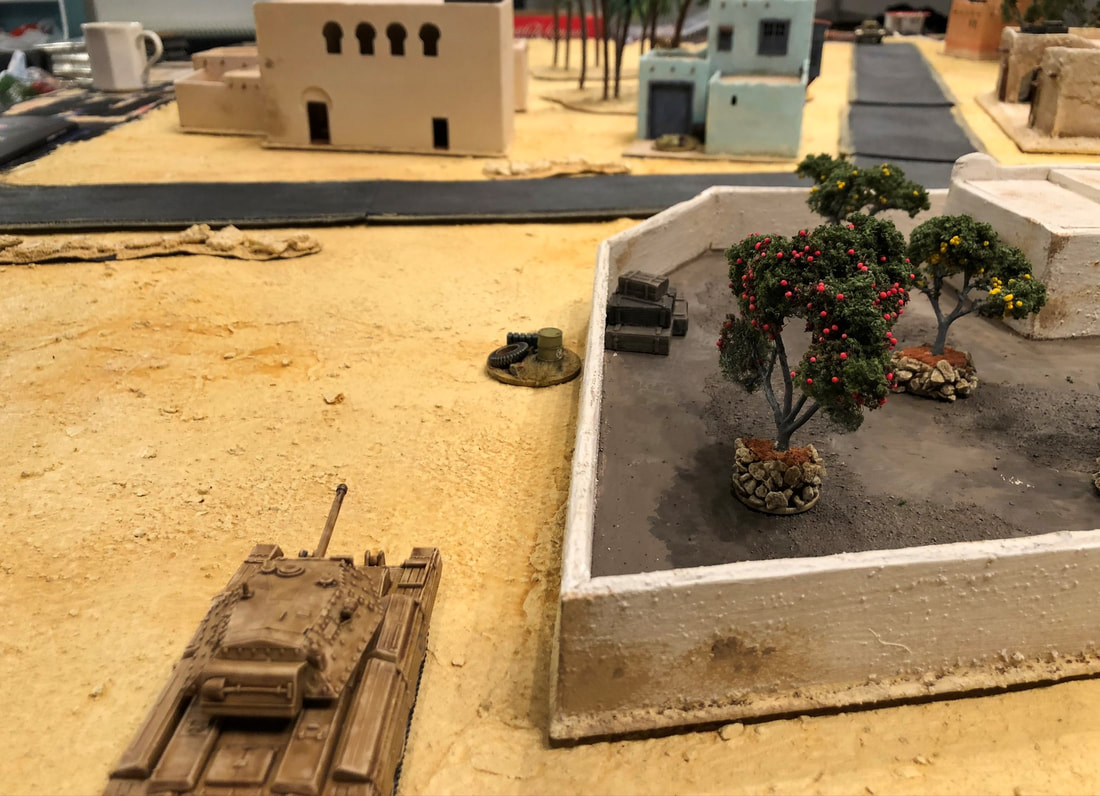 A lone Crusader tank rolls into the village, ready to take on the approaching Pz III. The Highlanders start to deploy, as a deafening roar of small caliber fire echoes across the streets. The Fallschirmjägers recover from the surprise attack from the Vickers, and returns the favour. The single Allied gun team makes a bold stand, but the team is quickly overpowered once the two German sections can combine their firepower. Soon an eerie silence settles. 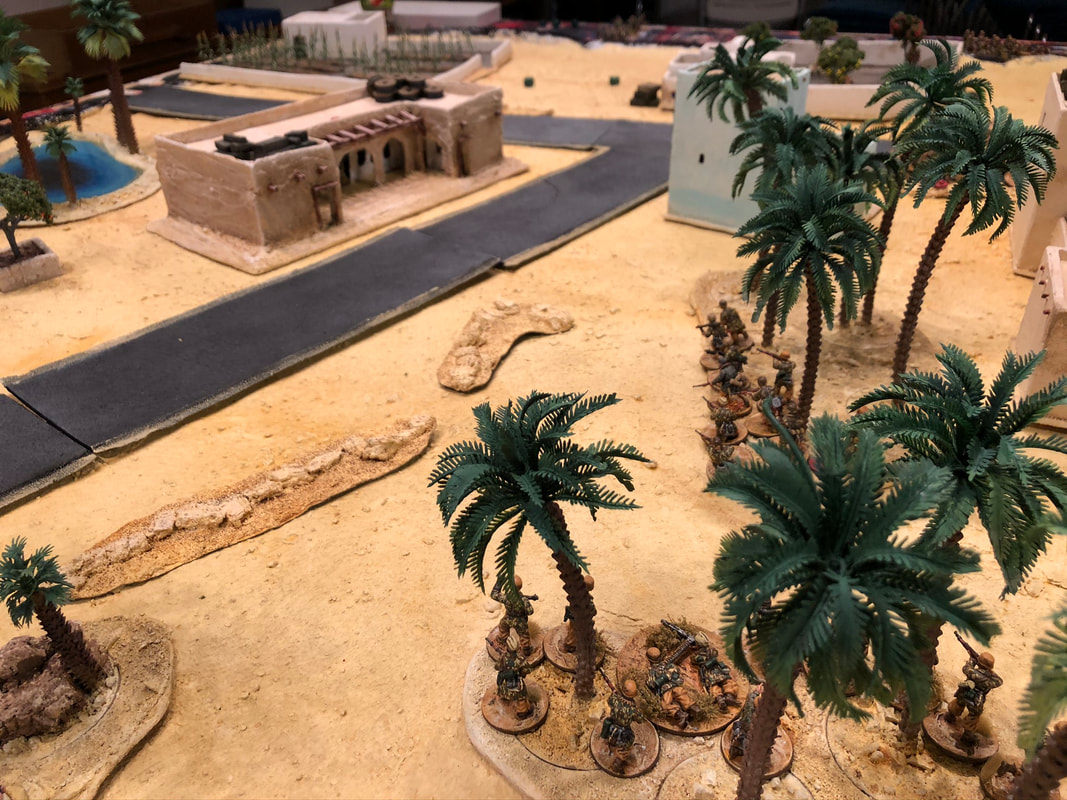 The Allies AdvanceEager to avenge their friends, the Highlanders advance on both sides of the road. One team starts to move up the café alone, while the other moves behind the Crusader by the gap between two buildings. 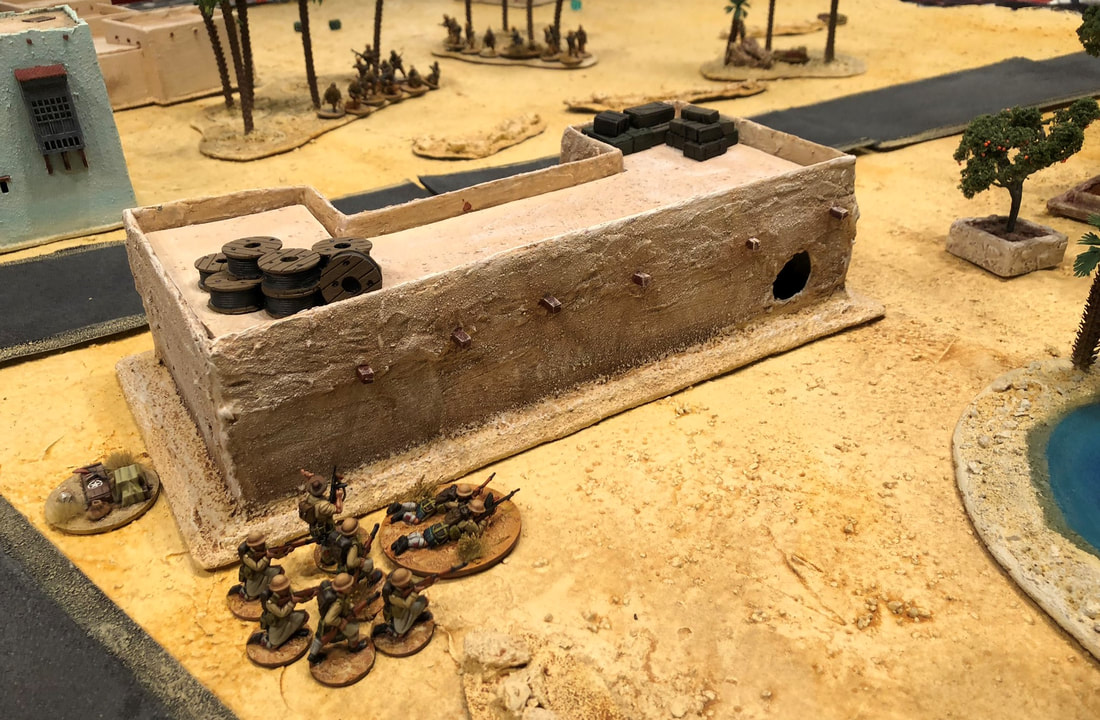  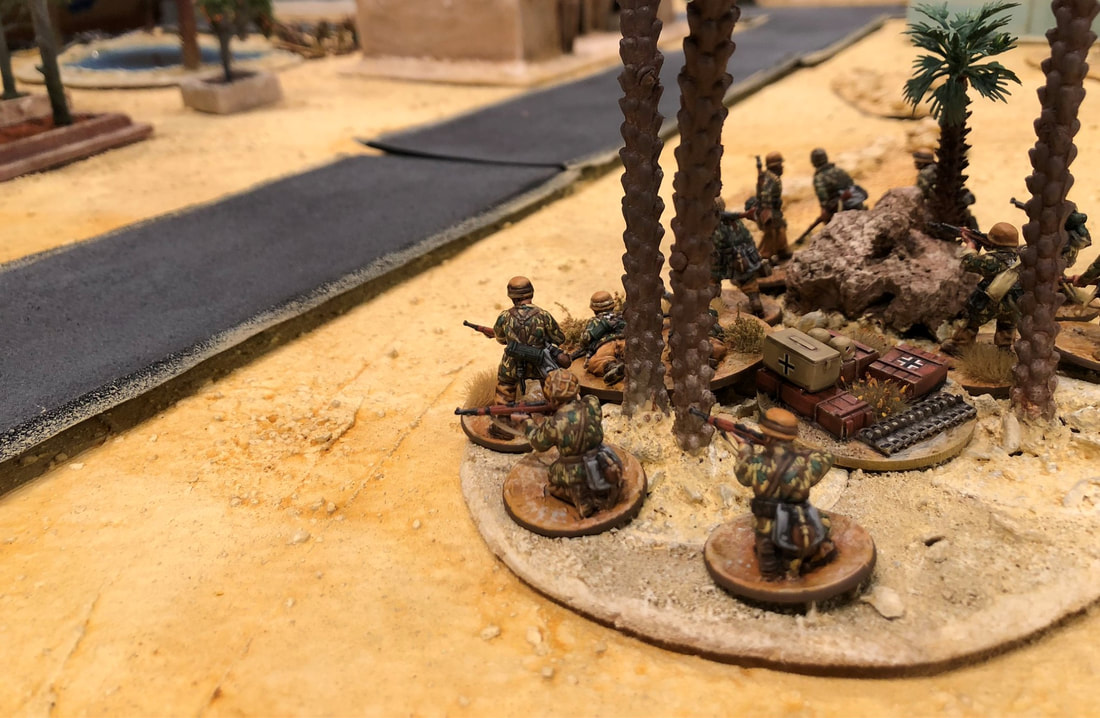 The German attack stalls, as they hunker down in overwatch to keep the Highlanders from moving up their flank. A brief spurt of machine gun fire is not enough to stop the Allies who soon wade through the oasis covered from line of sight by the small park. 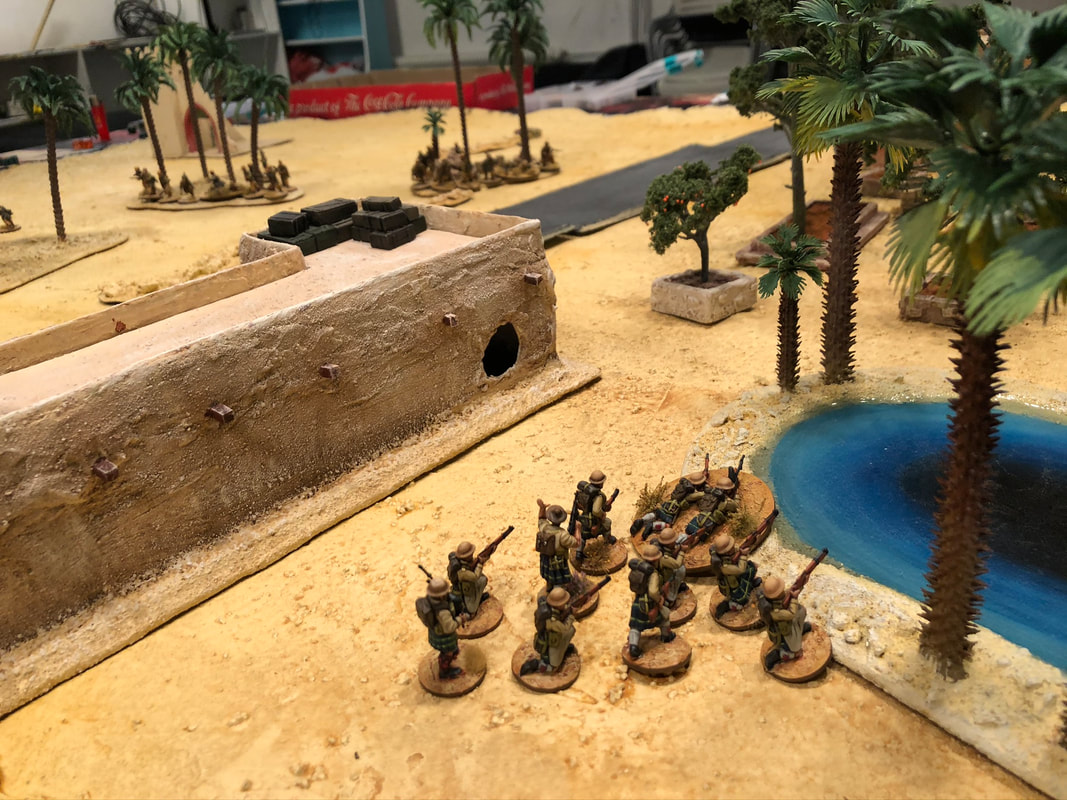 The Tank Duel BeginsThe Crusader also moves into sight of the Panzer III and begins to throw shells into it. It is greatly helped by the platoon light mortar that previously covered the Panzer with smoke, forcing it to move around to gain line of sight instead of shooting. 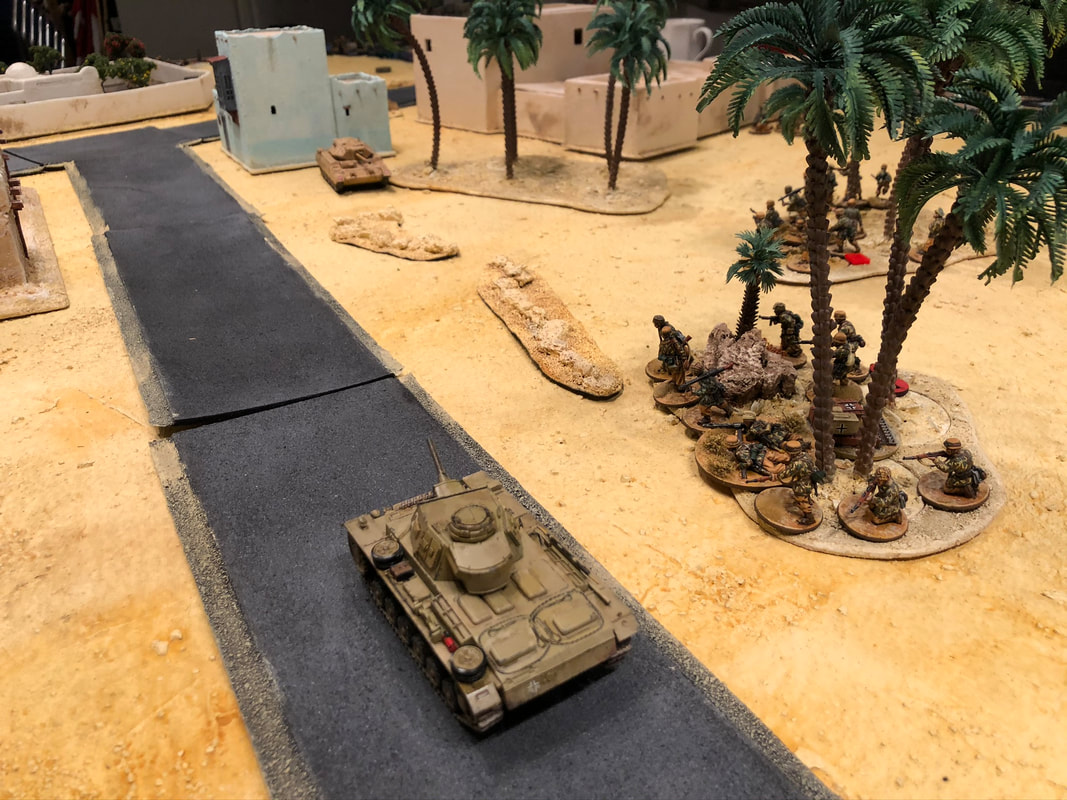 The Panzer takes several hits, badly shocking the crew. Soon the men in the tank are teetering on the brink of bailing out, with their driver killed by fragments bouncing around the hull. A DAK PaK 38 deploys to help the Panzer, but the South African mortar team quickly sends a few smoke rounds towards it, blocking its view of the Allied tank. 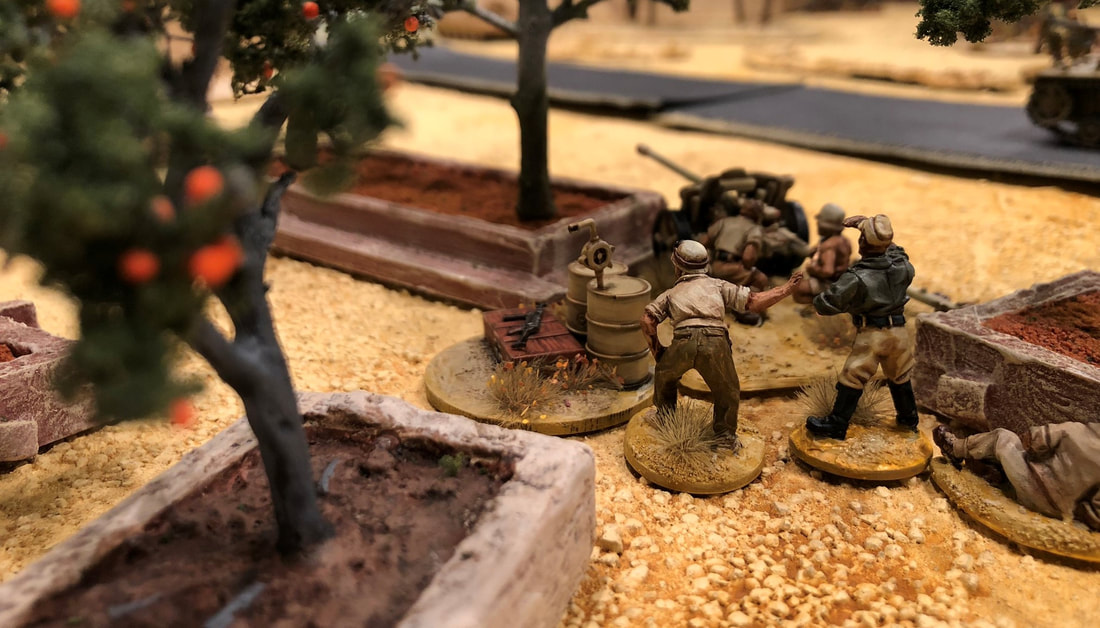 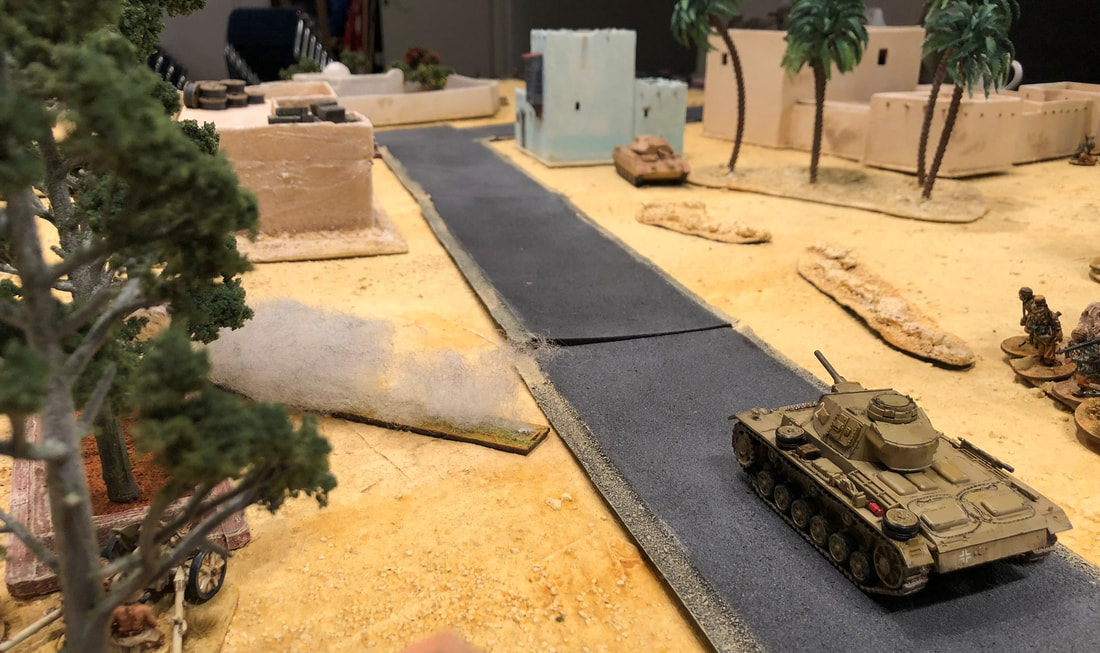  The remaining two Highlander sections are ready to defend the crossroads, hoping that the Crusader will keep them safe. German CountermovesWith their attack completely stalled and in a useless position, the Fallschirmjäger platoon leader divides his forces. One section is sent to run behind the Panzer III, around to the PaK, to defend it from the approaching Highlanders. The other two sections is sent forward, one to attack in the gap between the houses and one to make its way through the larger house itself. 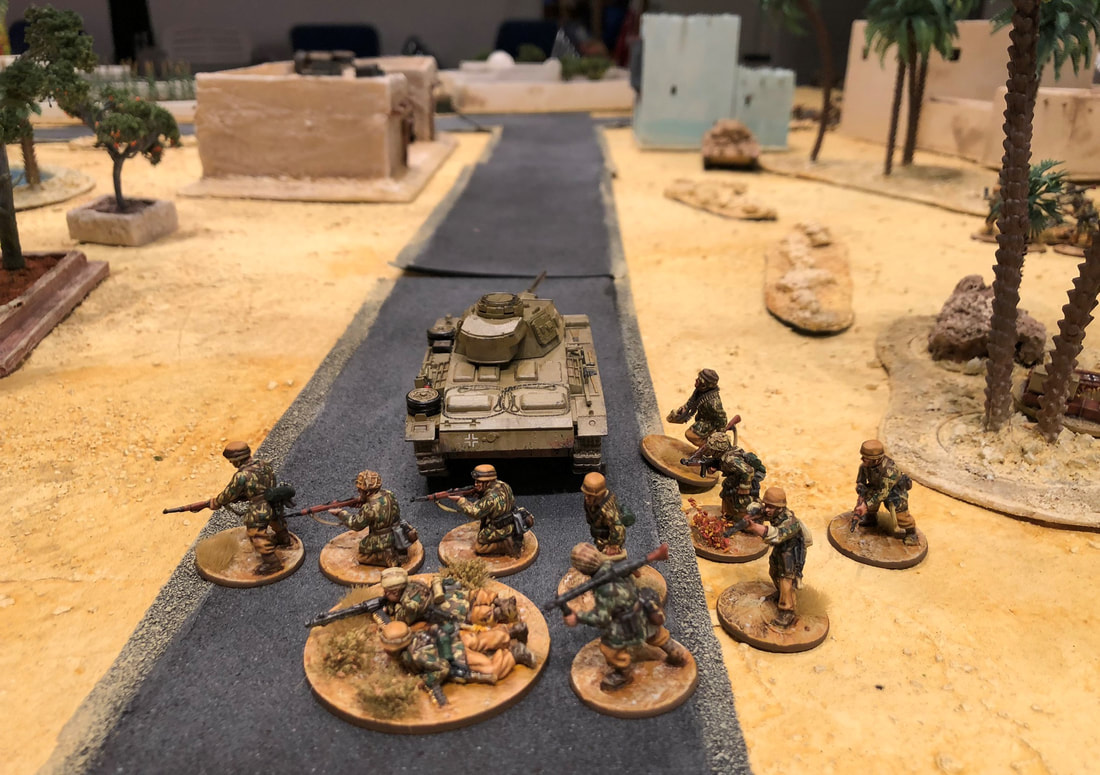 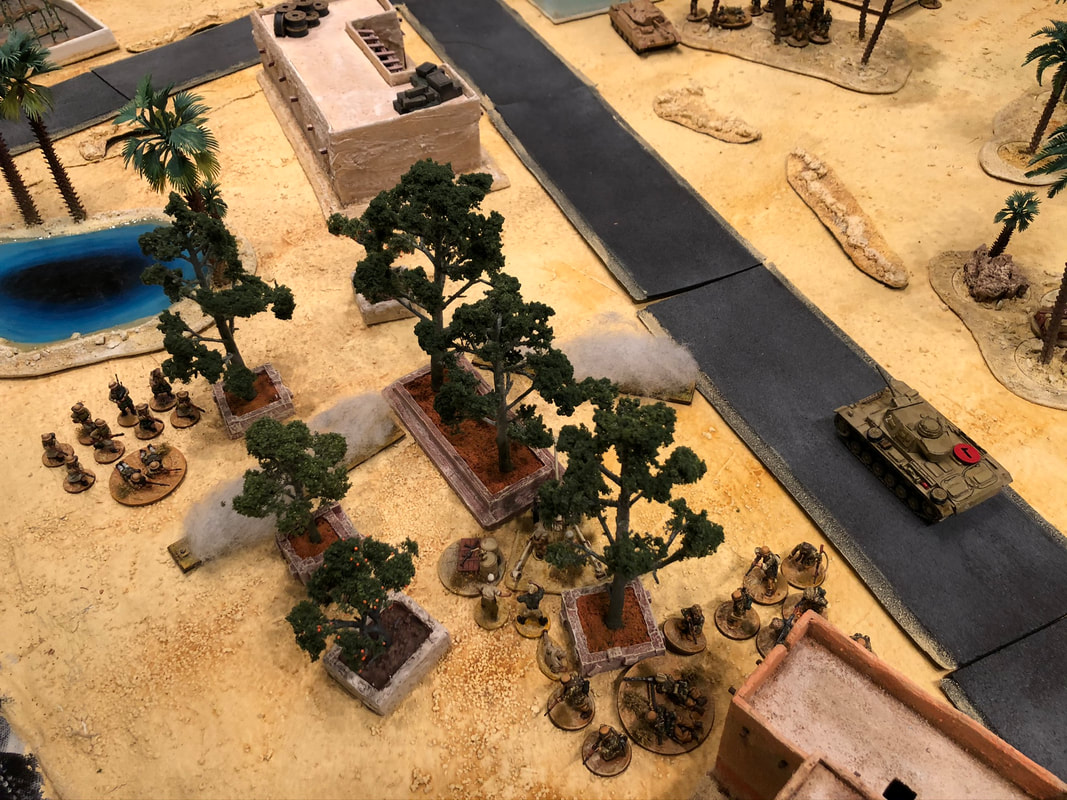 Neither Germans nor South Africans dare to advance through the smoke-filled park, afraid to walk into the view of each other's machine guns. 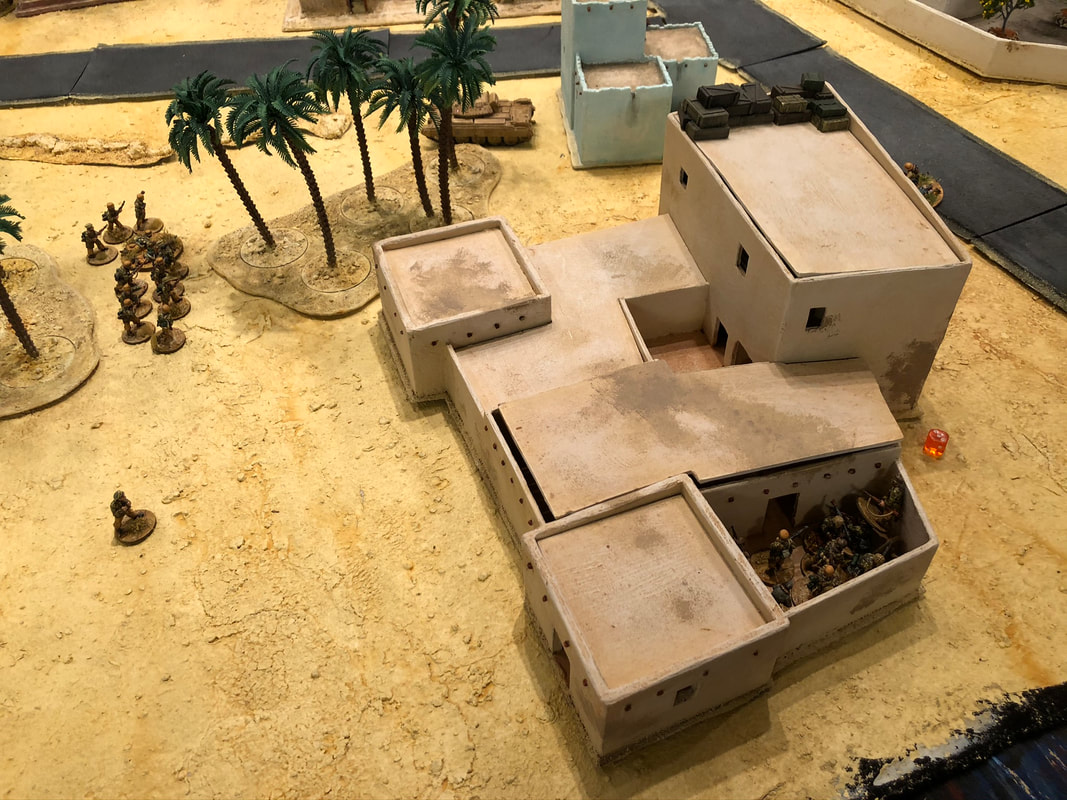 The building turns out to be a complicated compound, a veritable maze or rooms. As they make their way forward, the Germans can hear commands shouted in English within the very building. A South African section has rushed into the building as well, forcing a deadly stand-off. 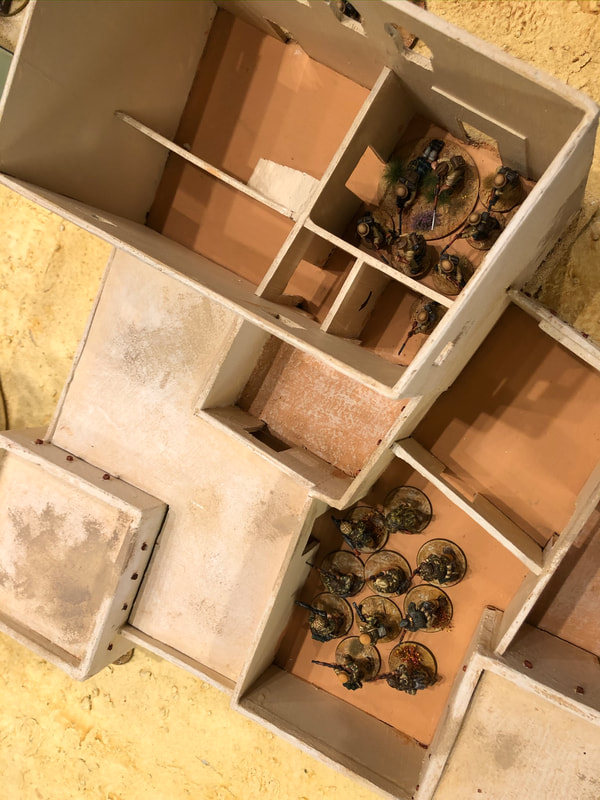 With two of his three sections just holding their positions, the Fallschirmjäger platoon leader urges his last section forward. The Crusader is big, but has rather bad anti-infantry weaponry. Defying this beast, they rush forward and into firing positions next to it. Here a deadly shoot-out begins, with the section's two light machine guns against the mortar and a single Highlander section just a few metres between each other. 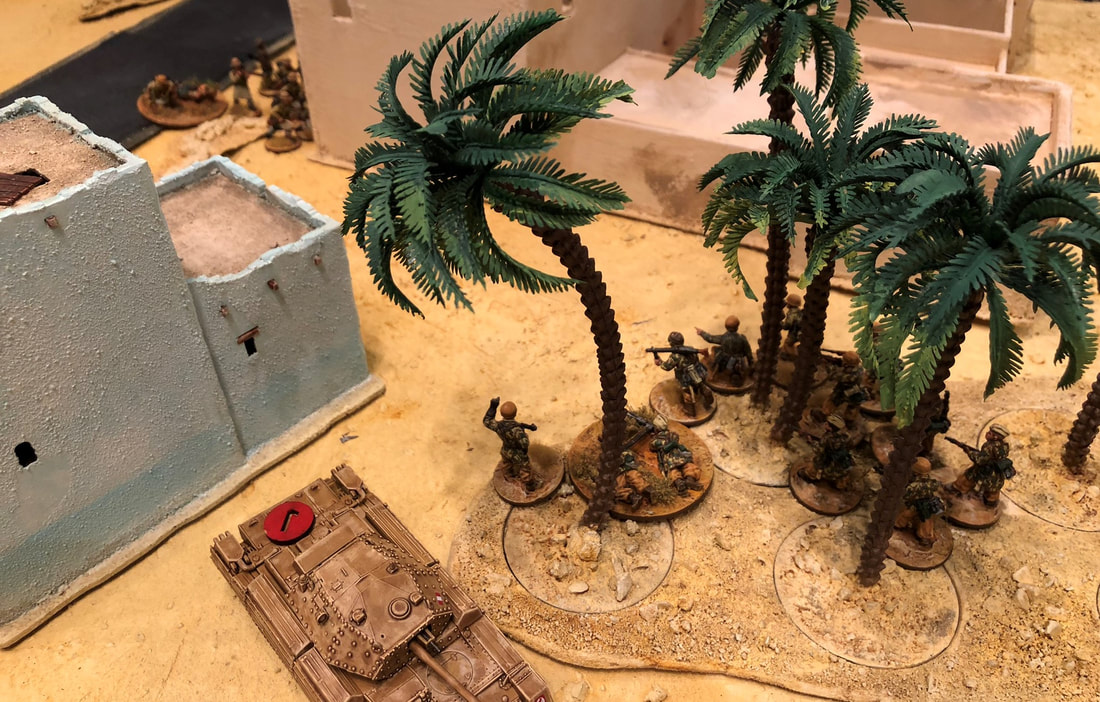 There Can Only Be One (Tank)By now both tanks have been badly mauled, but neither has been able to finish the other. The Pak38, covered in smoke, make a heroic push as the crew raise their gun and quickly roll it forward into view of the tank (rolling two 6's for distance when they have to discard the highest dice!). The NCO manning the gun turns out to be less prone to panic than the panzer commander. While the Crusader is focused on its prey, the anti-tank gun fires a rapid succession of shots. It's unable to destroy the tank outright, but after a few hits the Crusader crew has had enough and bails out of the vehicle. 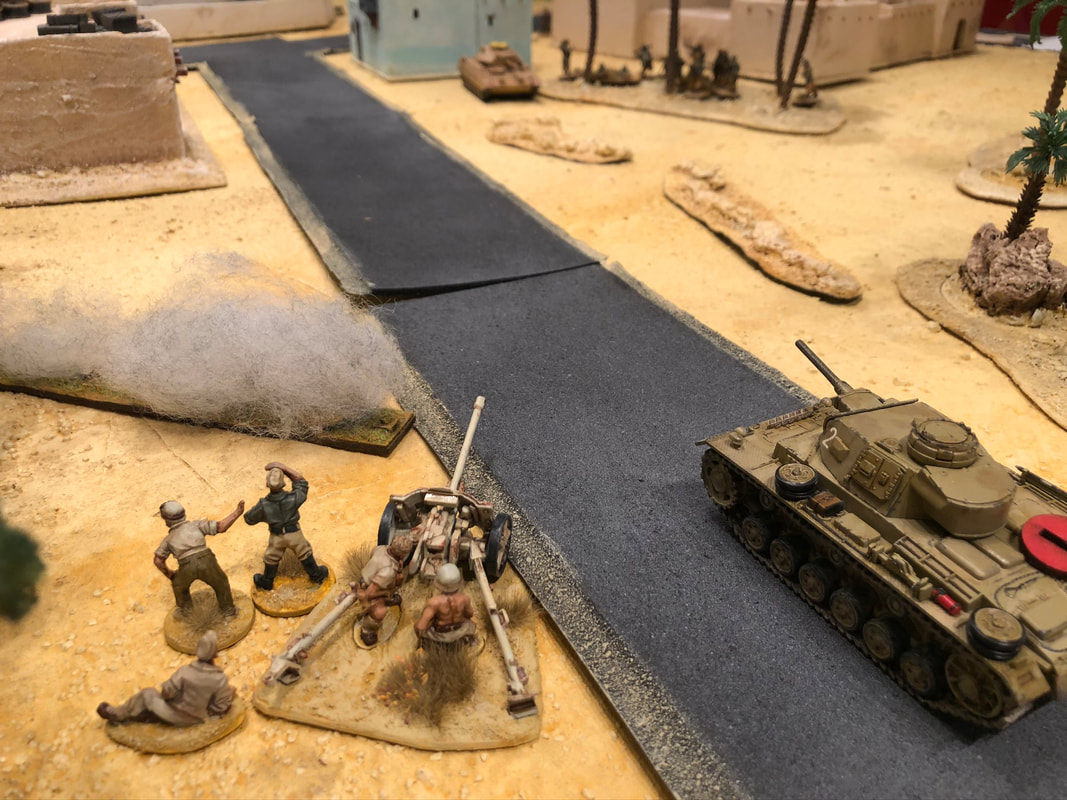 A Battle of Attrition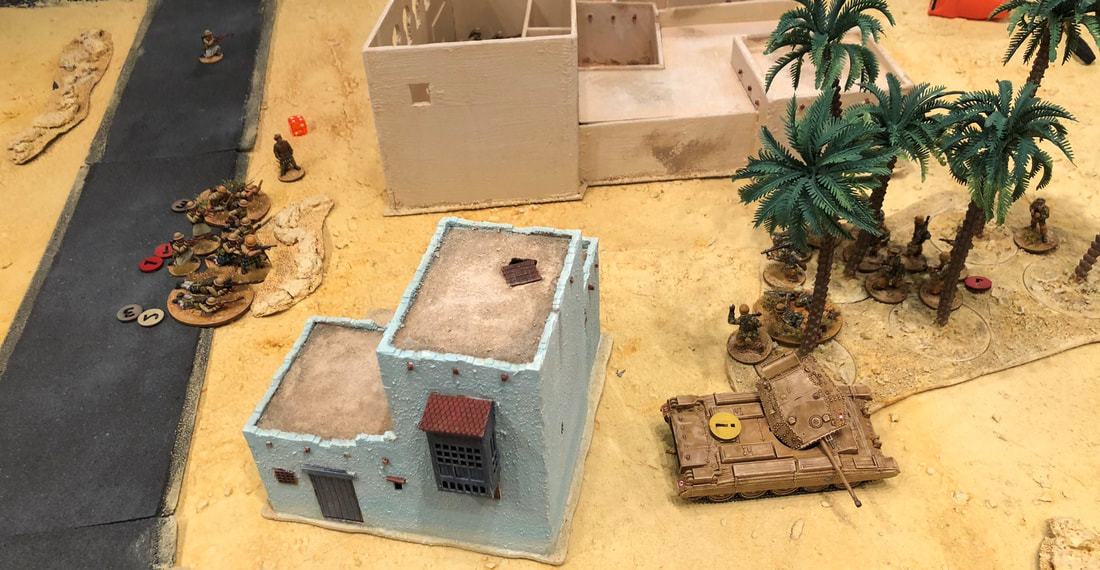 With a killed driver, the Panzer III is unable to become a threat anyway. And with both flanks locked down, the centre is now where this battle is going to be settled. The Highlanders, supported by their light mortar, bravely dig themselves in behind a row of rocks by the road. But the Germans unleash hell, using two belt fed light machine guns against the lone Bren gun of the South Africans. 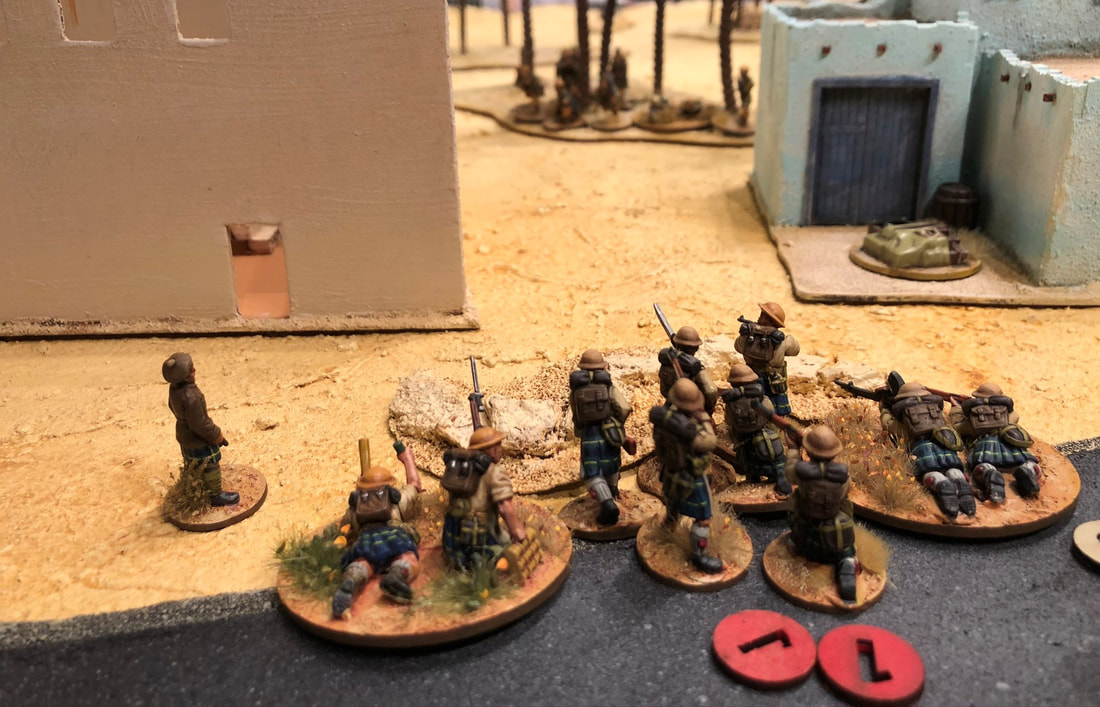 It's an uneven fight, and soon the German firepower tips the scales in their favour. The mortar team is the first to bail, after the loader falls to a German shot. After that the remaining Highlanders are eventually pinned, and then quickly break and fall back. The remaining South Africans can't hold on any longer, and fall back back. Debriefing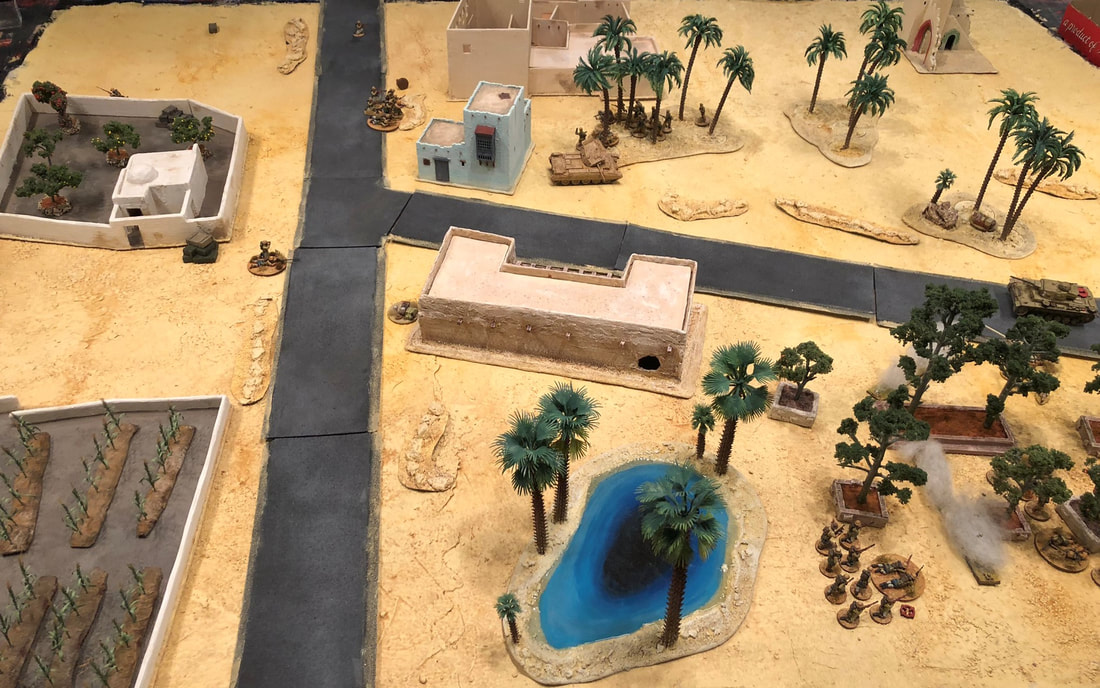 Positions at the end of the game First of all - that was fun! My first Chain of Command game in probably a year or so. It reminded my that CoC games with relatively small amounts of support (in this case 10 points for the Germans and 8 for the South Africans) are great, and that you're well served playing other scenarios than patrol. While I could have played it boringly and just tried to win this game on force morale, I did try to push towards the objective. In the end it was force morale that decided it anyway, but it felt much more fun to go for the actual objective.
As for the Allied force, Marcus really showed what you can do with a simple light mortar with smoke grenades. He efficiently screened not only my Panzer III but also my anti-tank gun, which meant that his tank survived far longer than it had any right to do. If it had been a tank with either more armour or more firepower, that duel could have ended differently as he had my tank on the brink of bailing out not just once, but twice! For the Germans, this game yet again showed me how deadly a section with two belt fed LGMs can be. Even when effectively put at a tactical stand-off on both flanks, I knew I could trust my single remaining section to simply push through the center with brute force. Marcus learned the hard way what happens when you try a "fair" fight with them, first with his Vickers gun and then with the section in the middle. The amount of dice they can throw your way means that you should avoid them like the plague unless you have a massive advantage in firepower. Finally, I think it was a mistake to move the Allies towards the Germans at the start, though the deployment positions didn't give them too many other options. If the tank duel had gone otherwise, they were in a good position to add the Crusader to any of the tactical stand-offs. If so, the double LMGs would probably not have been enough! Anyway, it's good to finally get around to play with all the minis I've been painting and all the terrain that my clubmates have been making the last year. I'm already looking forward to the Gazala campaign and those last minute additions to both the Highlanders and Fallschirmsjägers that I might be able to squeeze in before the campaign start. Oh, and I need to make some proper 3" smoke markers for the Allies. :) Cheers! /Jonas
0 Comments
|
Mediterranean
|
 RSS Feed
