|
Building terrain is fun, but sometimes you need a break from building houses and telegraph poles. There are tons of things to add to your battlefield that suits the WW2 era, so I went and built an anti-air cannon! 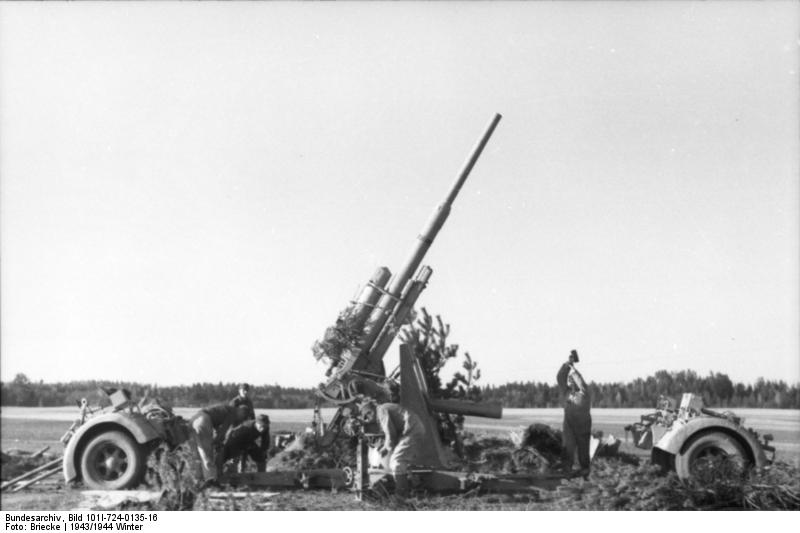 The German 8.8cm Flak gun, or "eighty-eight" as it got known as, was a weapon designed to shoot down planes. However, it quickly became obvious that it was deadly when used against enemy armour or fortifications. Able to deploy in less than three minutes and fire at both ground and air targets, it was both mobile and versatile. Chain of Command is a game that is played on much too short distances for weapons such as large flak guns to be a relevant playing piece. When used against tanks, these guns could penetrate armour two kilometers away!. However, there's nothing stopping you from putting an anti-air emplacement on the board, either just as scenery or as an objective. Can the enemy overrun your guns to pave way for an air attack on the nearby HQ? Or are your opponents going to stop your gun emplacements just as they are about to obliterate an approaching tank column far outside the tabletop? Or will you be able to smugly end the game with "I'm afraid the acht-acht will be quite operational when your friends arrive"? 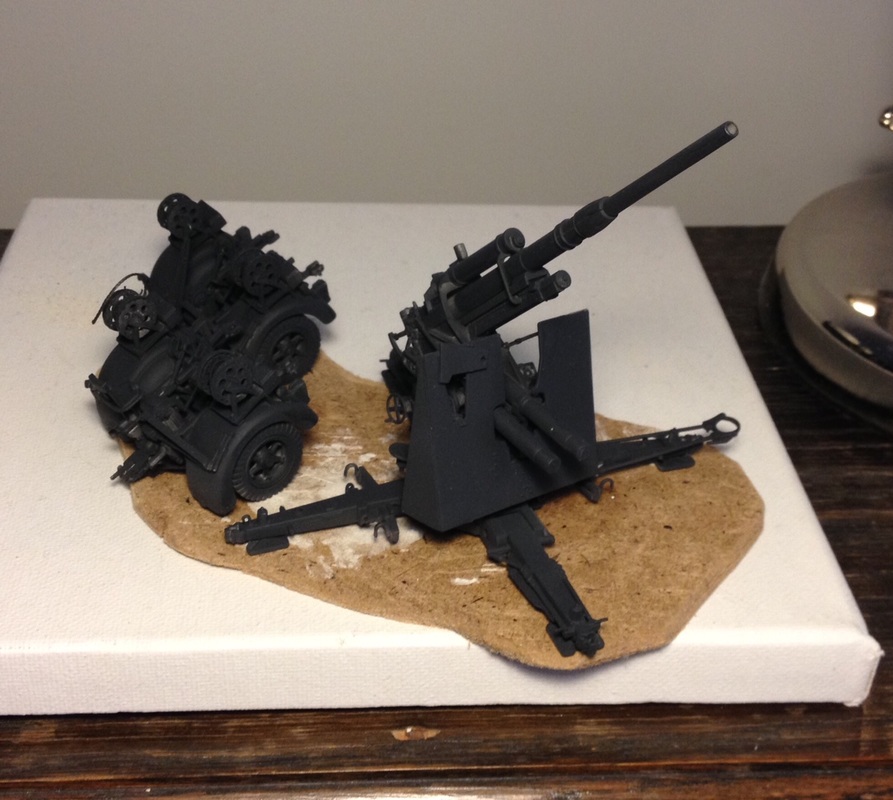 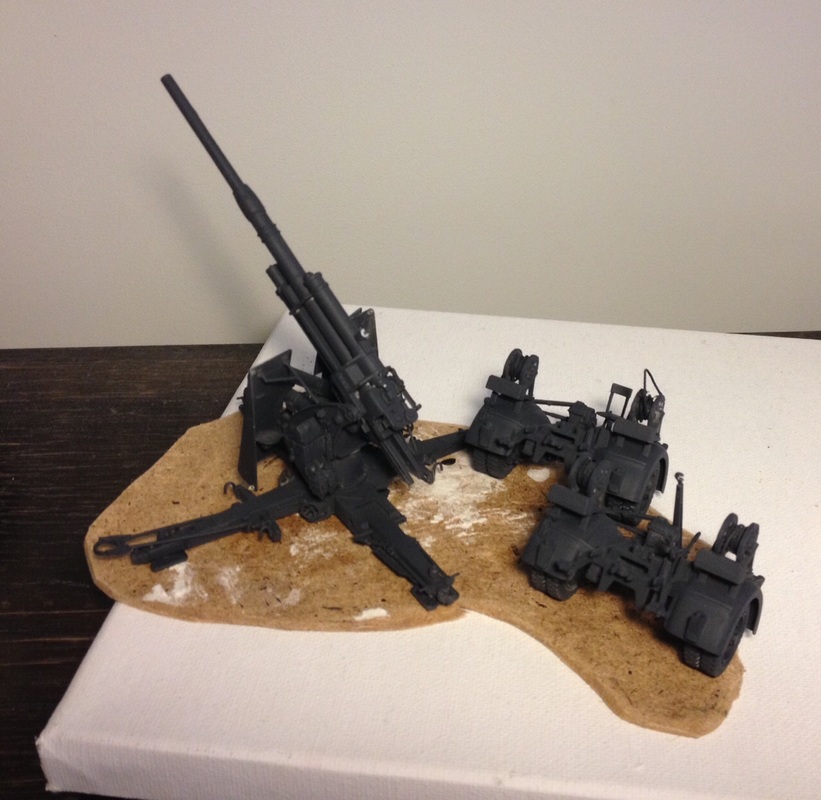 I had bought an oval base for the gun that turned out to be too small. However, luckily enough, I found an old carved out MDF base that was supposed to become an island for Trafalgar many years ago. It was just large enought to fit the gun and the two parts of the carriage. 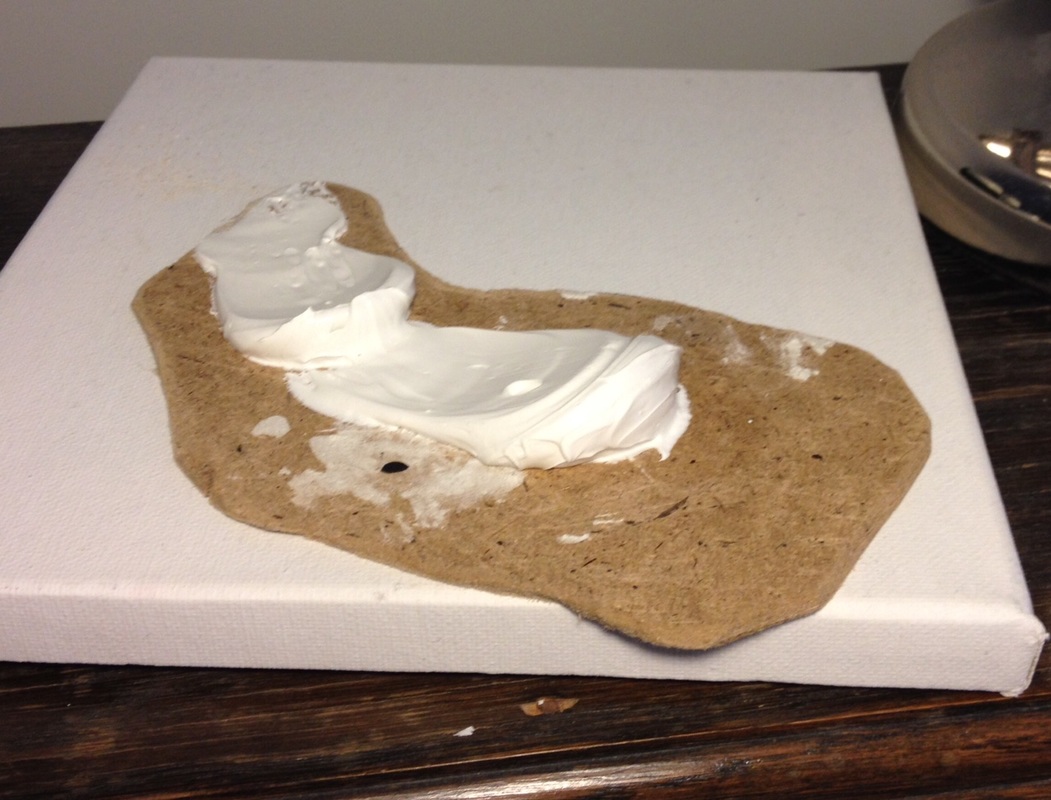 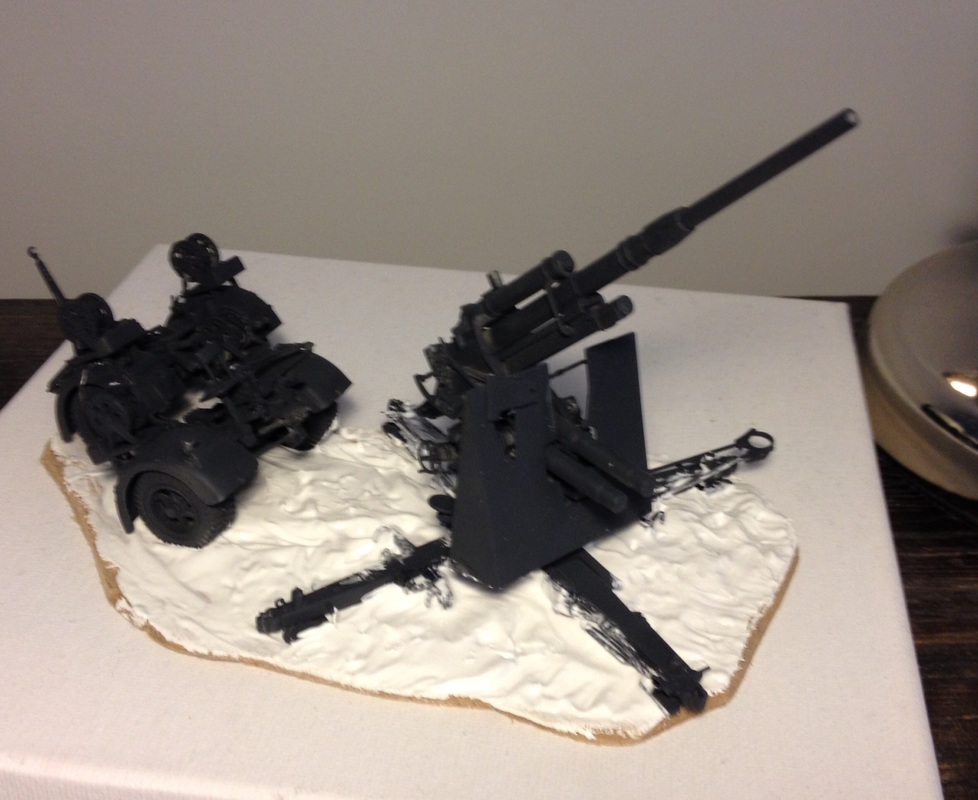 I applied a blob of spacle to the MDF base, and smeared it out. The gun and carriage was firmly smooshed onto the thick paste, and I used an old brush to make wheel marks from the carriage and to make sure that the gun was not completely covered in spackle. In the end there was still a bit of spackle on parts of the gun, but I blame the thick, Russian mud.
Anyway, I hope that it will be more fun for my Jerrys to take cover behind this instead of another stone wall. If you ever feel that you want to add a truck or artillery or something that doesn't suit your ruleset, you can always try to field it as objectives or terrain instead. Cheers, Jonas
0 Comments
There's a Swedish saying that whatever is hidden under snow, will be revealed when it thaws. So no wonder that some of the plastic Germans that Shirty knew he had but couldn't find would turn up now that Summer arrived in full force! So I got a bunch of sprues to investigate. 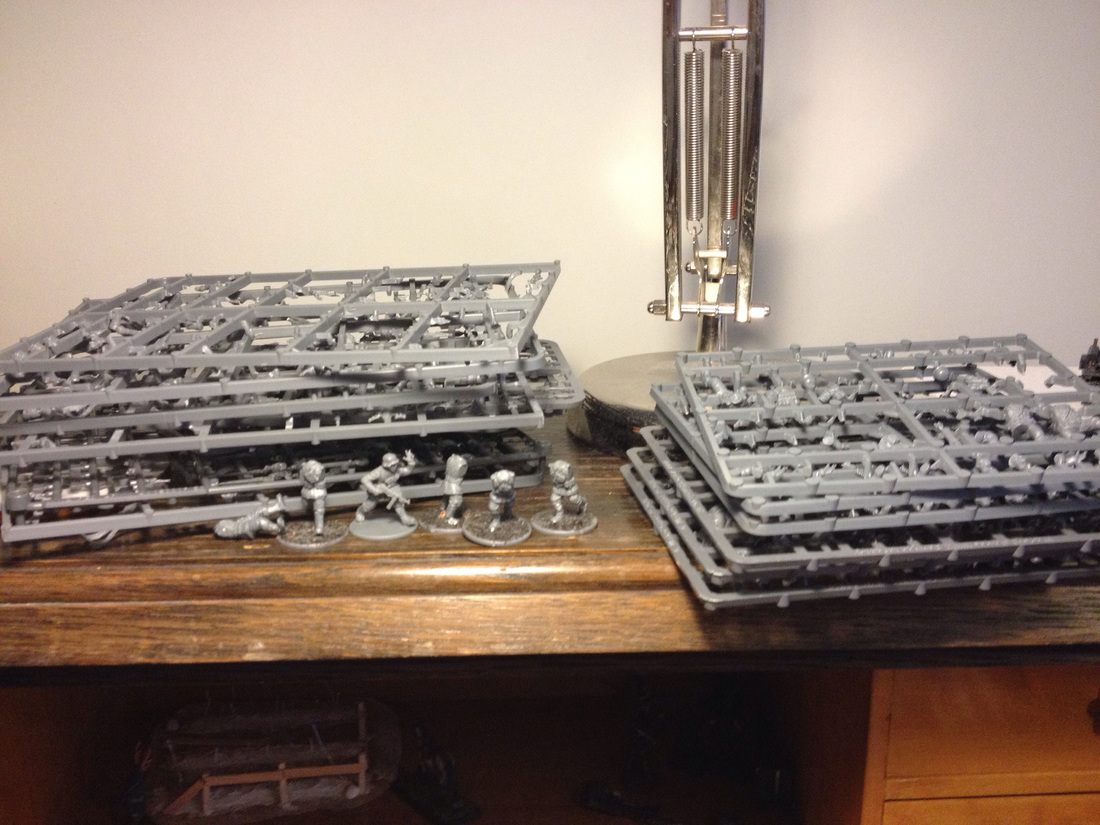 It turned out to be more than expected! A mix of Warlord Games' Blitzkrieg and Late War Germans, all in all 28 more troops. This was quite a pleasant surprise, as that means that I could be up to a full Rifle Company once these are built and painted. I decided to build two full squads and make extra SMG infantrymen and ammo carriers, just in case some disappear in the future. I also finished some more campaign reference cards, including Soviet and Finnish plutoons for the Winter War. You can find them in the dowload section. Cheers! -Jonas 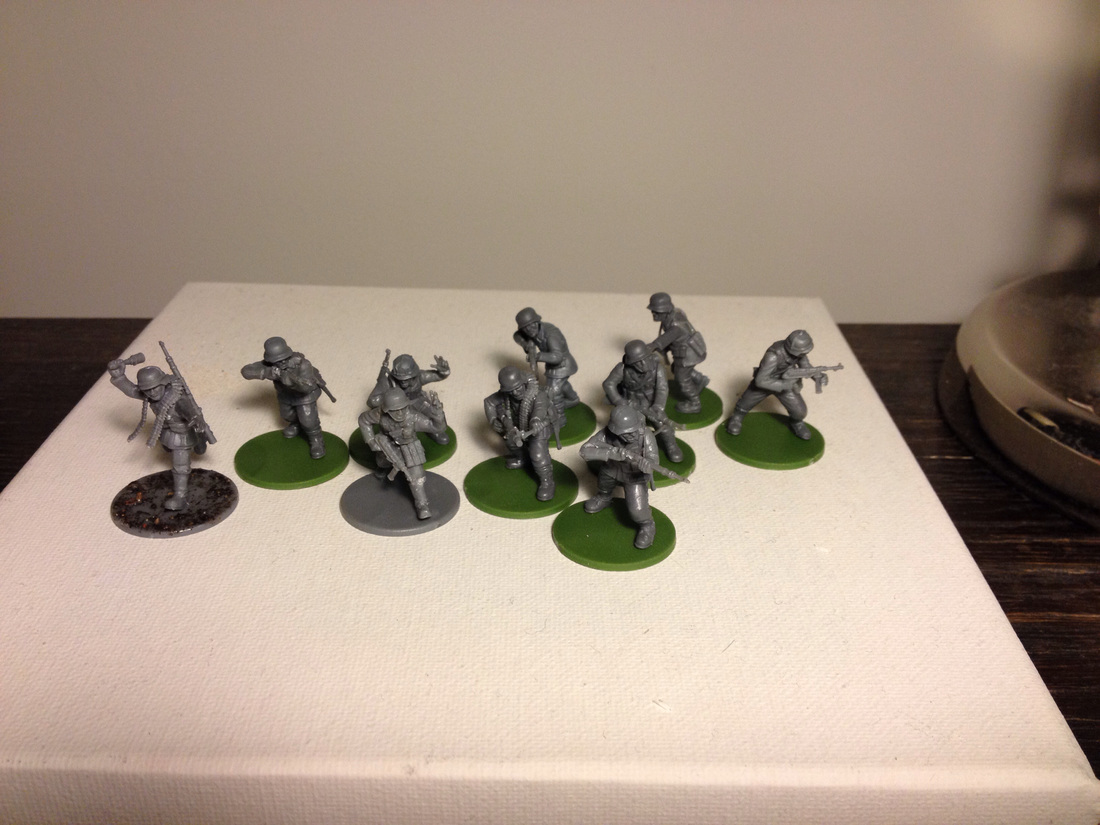 Yesterday I finished the Panzer 38(t). It's the third model kit I paint up, and I wanted it to be a little more fun than just panzergrau, all day every day. So I took some paints, washes and Tamiya weathering powders that I bought a long time, and added some dirt and grime. 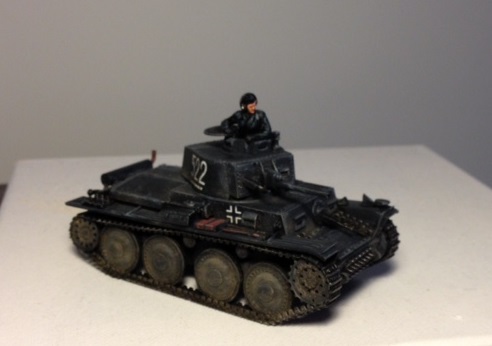 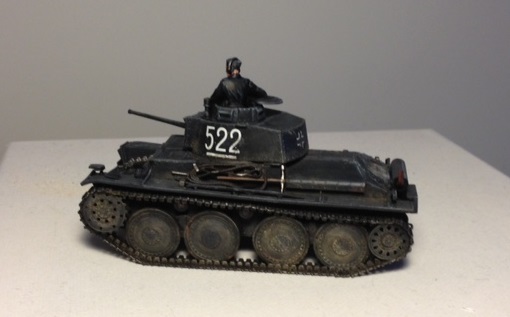 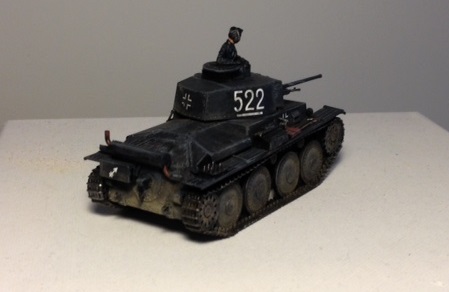 I first stippled some red-brown on to some of the wheels and gears to represent rust. I added some brown, red and black washes to represent oil and grime. Then I went over the wheels, threads and lower parts of the hull and the turret with powders that I brushed on, with a lighter shade higher up (where the mud would have a chance to dry up) and trying to get a darker shade where the mud would be fresher.
The end result wasn't perfect, but I prefer it when comparing it to a pristine dark grey tank. The important part to me is to try out new things, and learn from it so that you can improve on your next item. Now there's a truck and a kübelwagen waiting to be painted, we'll see which one it will be! Oh, and I finished the Italian Rifle Platoon reference sheet, which is up on the downloads section. -Jonas There are quite a few things to keep track of when playing a campaign: the rise and fall of leaders, the casualties in your troops, and the damages on your tanks. For our Stalino campaign we use the Chain of Command campaign handbook as a basis for the campaign rules, and it requires a bit of documentation. Wounded soldiers come back later on and leaders gain or lose standing with the brass and the troops depending on how ready they are to sacrifice lives to gain battlefield objectives. In our previous campaign we kept track with just pen and paper, but during that campaign we only had six platoons in total, one for each player. There were also no way to move units betweend different fronts and keep track of who is where, at what time. Since the Stalino campaign is going to feature several platoons, it will require a little bit of extra organisation, so I started to make platoon cards, which are meant to track all relevant information for the individual platoons. Each card can then be represented on a map with a single chit of cardboard, and hopefully this will prevent too much chaos as we get going. The first platoon reference card I made was for the German Barbarossa 1941 Rifle platoon: 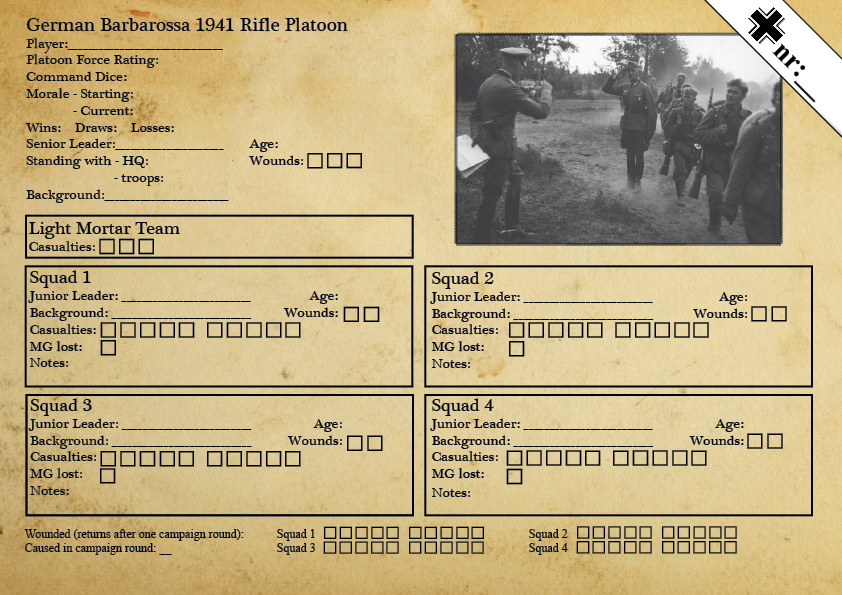 I will put up full sized PDF and JPG versions of the cards in the Rules section, free to use in your own CoC campaigns. I put in data that are useful for our version of the campaign, but if you have feedback on the cards (of if you'd like a similar card for a platoon that isn't featured in our campaign), feel free to get in touch!
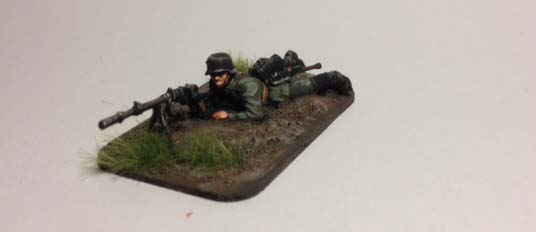
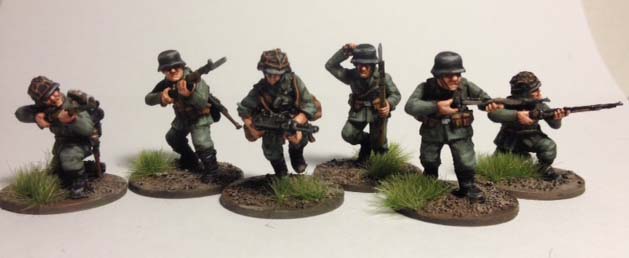
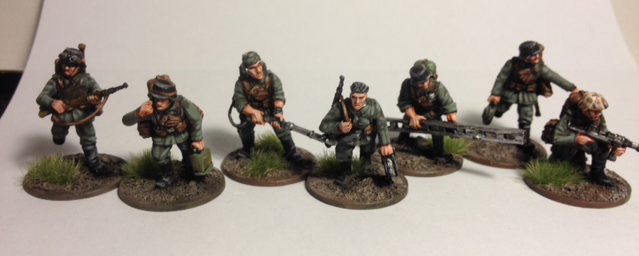
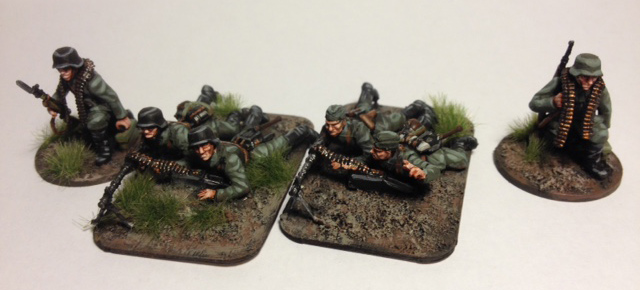
-Jonas I surprised myself today and painted up the last infantrymen that were waiting for a paint job. Normally I would have bought more miniatures to put on the lead pile way before this happens! Now I have to decide if I'm satisfied with the amount of infantrymen, or if I should add even more. Until now I had painted all my troops with both pants and jackets in feldgrau, so I wanted to start to mix things up a little bit, and break up the monotomy. In a fit of complete insanity I started to paint black pants as well! We'll see if the clubmates survive this radical shift from the normal uniform.  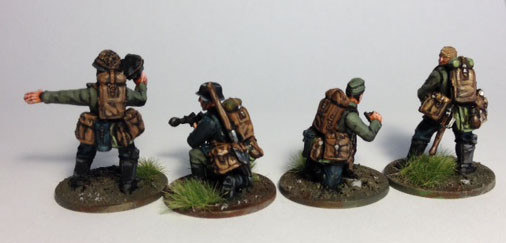  The Pioneers are from the German Pioneer box from Warlord Games. It's a great box that consists of the normal Blitzkrieg plastic box and a bunch of metal bits to convert about a dozen engineers. My only gripe is that gluing metal bits to plastic bodies is a mess, which required me to pin several heads and arms after they refused to bond or fell of during painting. The extra plastic that was left after the Pioneers served well as additions to our infantry platoons. 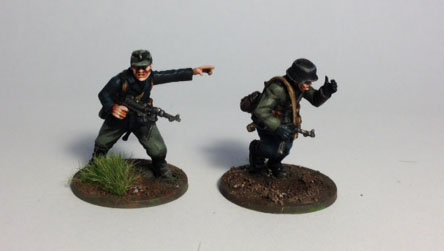 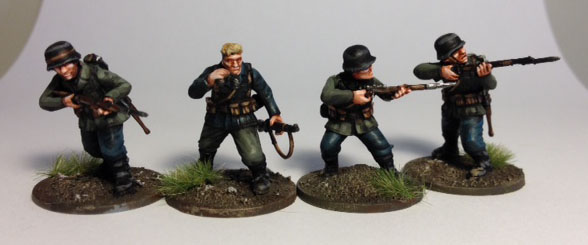  Shirty had a bunch of the older Warlord Games Late War infantry sprues, and here I used up the last ones that I had, as well as some of the Blitzkrieg sprues. The older sprues are not even close to match their newer kits, so it's great news that they released a new Grenadier kit that kind of replaces the previous Late War kit.
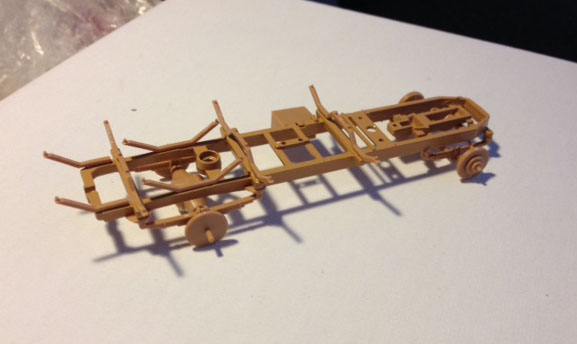
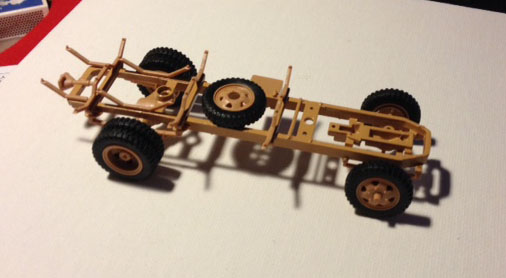
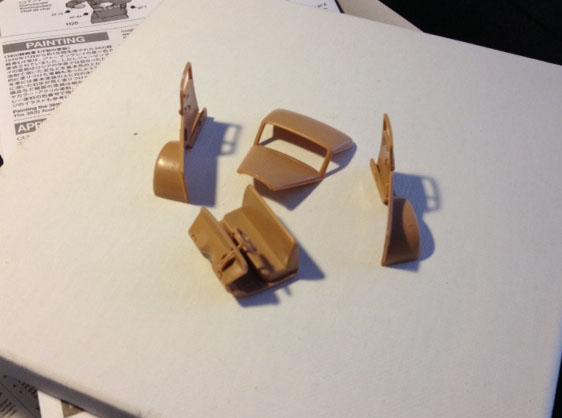
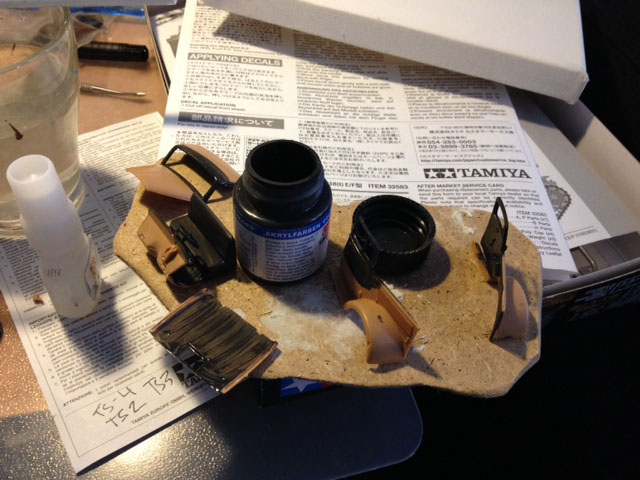
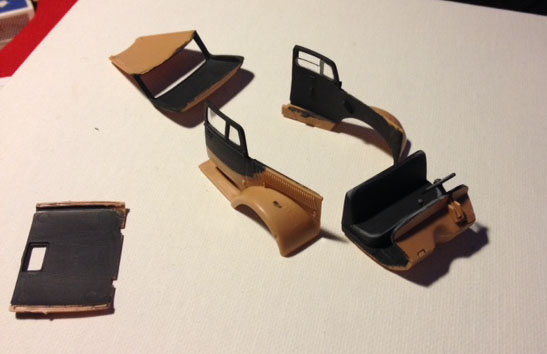
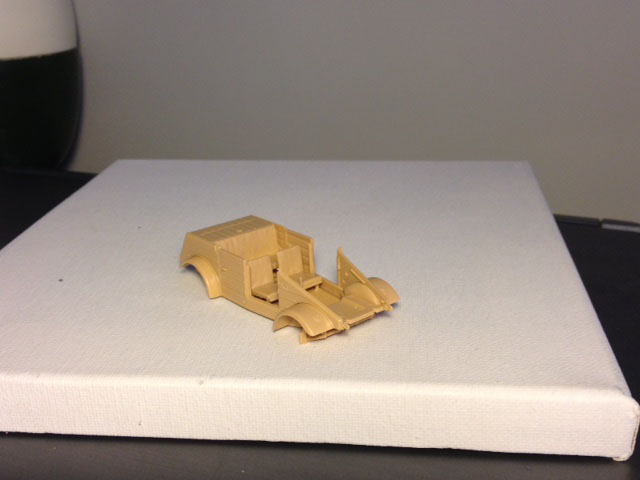
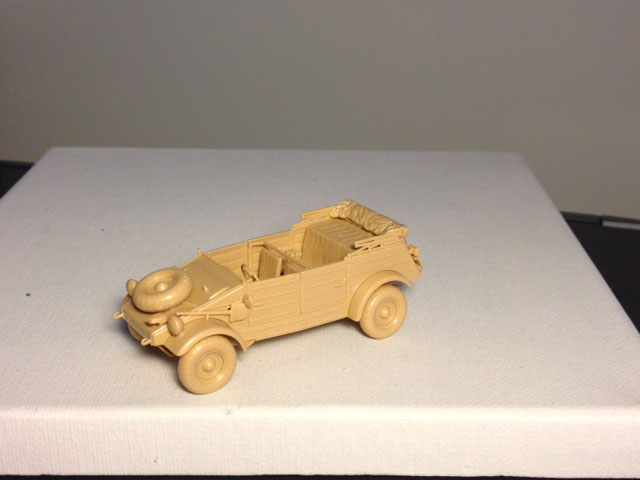
Anyway, that's 37 more infantrymen painted in a month, not a bad thing. As for the paint jobs, it's quite simple, straight forward and pretty old school. IFor tabletop level painting like this I usually go by the proven method of base coat, wash, basecoat, highlight. I thought I would write the paints down, if only so that I remember them myself if I go back to add more to the collection later: Priming: the minis are primed black first. Skintones: faces and hands are painted with Midlund Flesh (P3), and then washed with Reikland Fleshshade (GW). I then do a new coat of Midlund, and finally a highlight of Midlund + any white. Dark grey cloth: this is painted German Fieldgrey WWII (Vallejo model colour), and then washed with Nuln Oil (GW). I then do a new coat of field grey, a first highlight of field grey mixed with Highlight German No. 1 (Vallejo Panzer Aces). Finally I do a highlight with just Highlight German No.1. Black cloth: painted with Coal Black (P3), a paint I find extremely useful. Then I wash with Nuln Oil, a first highlight with Coal Black, and then a highlight with Coal Black mixed with Magic Blue (Vallejo Game Colour). Black leather: painted with Matt Black (Lifecolour), then highlighted with Matt Black mixed with Stonewall Grey (Vallejo Game Color). Dark metal: a mix of Matt Black and Runefang Steel (GW), washed with Nuln Oil, and then highlighted with Runefang Steel. Brown leather: Bootstrap Leather (P3), washed with Agrax Earthshade (GW), first highlight with Bootstrap Leather, and final highlight with Bootstrap Leather and the yellow that is closest in hand, this time surprisingly Top Coat (Baccus Basing System). Olive cloth: (engineering backpacks etc.) are painted Loren Forest (GW), washed with Nuln Oil, and then highlighted with Loren Forest and Ushabti Bone (GW). Wood: parts like rifle stocks varies, but in this case I painted them Oak Brown (Army Painter), washed them Agrax Earthshade, and then highlighted with Oack Brown mixed with Ushabti Bone. That's pretty much it for today's effort. Remaining goals for this months painting are primarily the water tower and the 38(t), so expect one of them in my next update. -Jonas 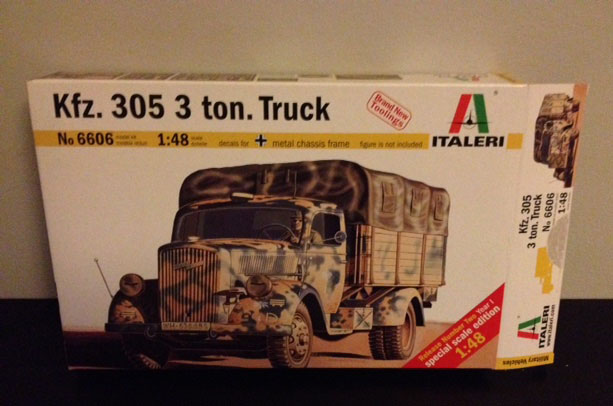 Let's maintain the pace and build the final vehicle kit in the pile. And surprise, it's not a Tamiya kit! This is an Italeri 1/48 kit of the Kfz. 305 3 ton truck, a.k.a the Opel Blitz. We haven't used trucks in our games of Chain of Command yet, so we are planning to give an incentive to field some of them by giving both sides some free trucks. Free trucks! I just had to build one. In worst case it's always useful as terrain. The Opel Blitz was meant to streamline German logistics at the end of the 30's, as it was riddled with problems from having too many different kinds of vehicles. The Opel Blitz was used by the Germans in all their theatres, with over 70 000 trucks built. Oh, and unlike every other German vehicle it was pretty well built, but suffered from reliability problems in the harsh terrain of the Eastern front because of complicated design. Or wait a minute... The first challenge from the kit came in the metal undercarriage. It's really nice and even coated in brown paint, and it ensures that the truck will be very solid. However, it also meant mixing super glue and plastic glue, and making a big mess. However, after a while I had most of it built without too much of a problem. Notice the real tires! They're in soft rubber and super, super nice. Next up I built the cabin. Since it's enclosed with transparent windshields I had to paint the interior first before gluing the parts together. I painted everything panzergrau, since it will barely visible anyway. Some of the parts didn't fit perfectly in the end, and the paint prevented the glue from forming as good a bond as possible. But I guess it's good enough for now. I still have to decide how to finish the kit, as it comes with parts for both a covered and an uncovered truck bed. But it's mostly done, so I'm happy with the evening's work. -Jonas 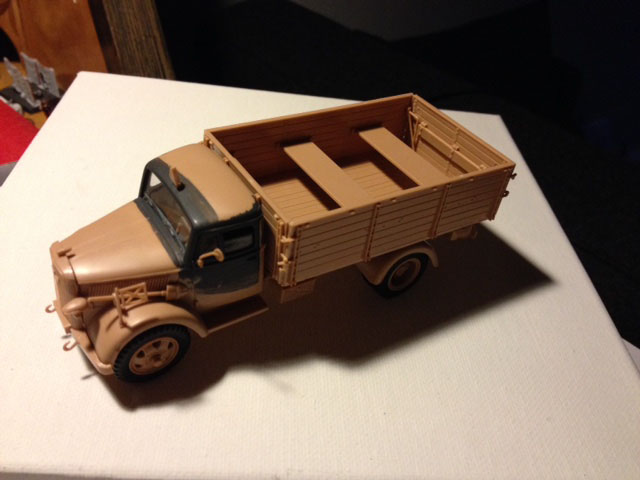 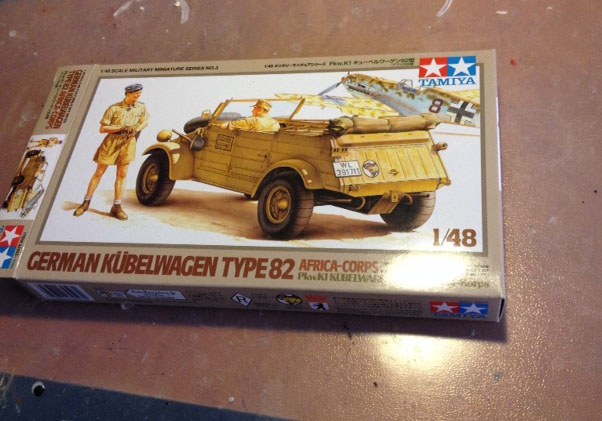 We've been joking a lot at the club about the army list entries for tiny cars, especially when they have names like "kübelwagen". So when I was looking over the gaps in what we have for the German army, I could not resist ordering one of these. This is a Tamiya 1/48 scale kit of a German Kübelwagen, which was used by both the army and air force. It was built by Wolkswagen and pretty much a military version of the famous "Beetle". The name is short for Kübelsitzwagen, or bucket-seat car. It was used similar to the Jeep, a workhorse transport car for everything from pilots to officers. The kit is for the Afrika Korps, but I assumed that I could just use it right off for the Eastern front. The crewmen are in desert outfits, but it's the same car, right? Guess who was wrong! Turns out, the Afrika Korps used balloon tires instead of normal tires, to avoid getting stuck in the desert terrain. The kit does not come with alternative tires. In the end I can live with it, as I doubt most people will a) notice it and b) be bothered by it. But be prepared if you plan to get this kit for anything outside Africa/Middle East. The kit is available in another version with normal tires, but then you miss out on the driver and get two clueless pilots looking at maps instead. So, lesson learned, as well as a bunch of facts about kübelwagens. Not a bad Monday night. The kit itself was extremely simple, and I built it in just an hour or two. The windshield will be assembled once the car itself is painted. Oh, and I also provided the obligatory blood sacrifices, so the driver conversion should go just fine. 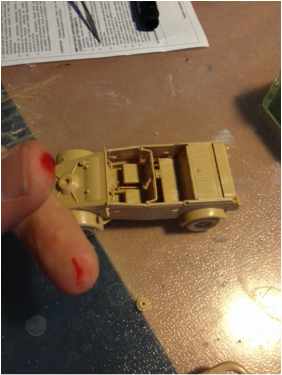 Joke aside, I just bought a bunch of new blade cutters, and even just a small cut will bleed a lot if you have new, sharp blades. But that is a good thing, as you can cut with less force with a sharp blade. So you are less likely do cut deep, and the cut will heal almost immediately. So don't cheap out on new blades, and replace them regularly.
-Jonas 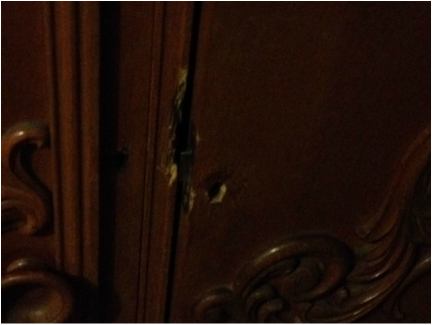 Oh no! An old tabletop gaming friend came by today to try out Chain of Command. But someone had locked the old cabinet where we keep miniatures without telling anyone, and apparently thrown away the key! After looking everywhere we decided to deal with it as we usually solve subtle tactical problems on the battlefield: with brute force. A few whacks with a chisel, and the game was on again. I took the opportunity to take a quick snapshot of our German and Soviet armies, to give an idea of where we are in the preparation for the campaign. 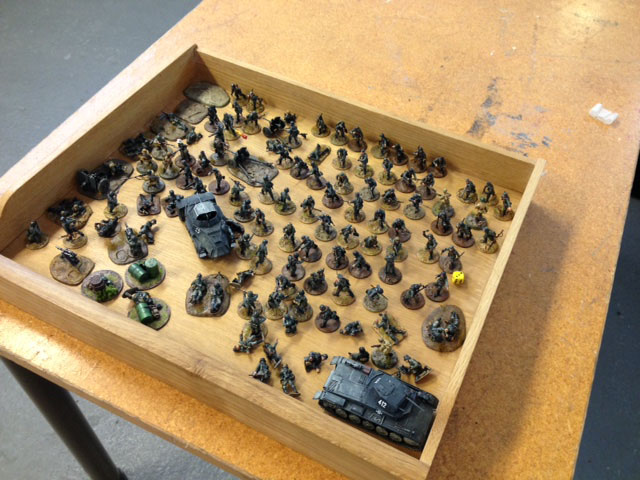 Quite a lot of the German vehicles are at various players' homes, but most of the painted infantry was there. At the end of last campaign we only had enough infantry to field two weakened platoons, with three squads of ten infantrymen in each. Since then I've been busy painting more infantry, and by now we have enough to field two full platoons with four squads in each. The end goal is to be able to field a full company at the same time, which means three platoons with four squads in each. After that, I can not see any reason to get any more German infantry. Oh who am I kidding, I'll probably be painting press-ganged Kriegsmarine infantry squads after that. In the picture you can also see some of the support options, some mortars, MMGs and anti-tank cannons. We have most of the options in the army list covered. The vehicles are the tiny Panzer II and Sd. Kfz. 222, they are cute as a button.  These are not all the Soviet miniatures, but most of the infantry. Hopefully Shirty will expand about his cavalry platoon later! Soviet platoons are 30% larger than German platoons, so I don't even think that these cover two full platoons. A full company would take up an immense amount of space. There are also a bunch of support options such as anti-tank and anti-infantry guns, mortars, and enough SMG troops to make separate SMG squads, the terror of close combat.
So, on the to-do list are to expand the German and Soviet forces to top off the platoons for two-player games. We're also planning to field light tank platoons, which means that we need some extra light tanks for the German forces. Which means I should be painting, not blogging! -Jonas DHL called me about a small package from the UK. 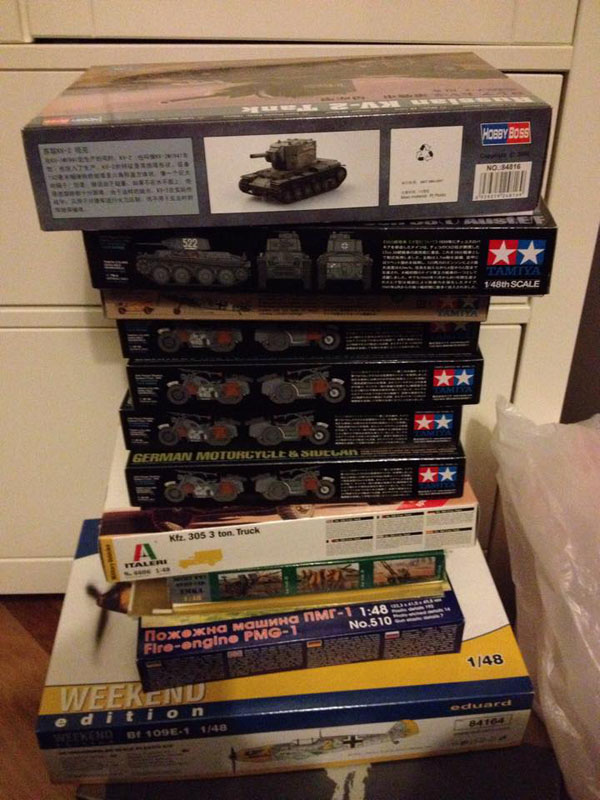 Various 1/48 kits from Tamiya, Italeri, Eduard and more! Some of this will be included in the forces: the KV-2 tank, the Soviet staff car, the German motorcycles and kubelwagen, Kfz. 305 Truck, and the Panzer 38(t). The Messerschmitt Bf 109 and the Soviet fire engine are going to do service as terrain features. I could not wait to get started, and immediately opened up the Panzerkampfwagen 38(t). It's a 1/48 scale kit by Tamiya, and was released just this Spring. With the Panzer 38(t) now available, we are able to field almost all the tanks in the 1941 German list without mixing scales. 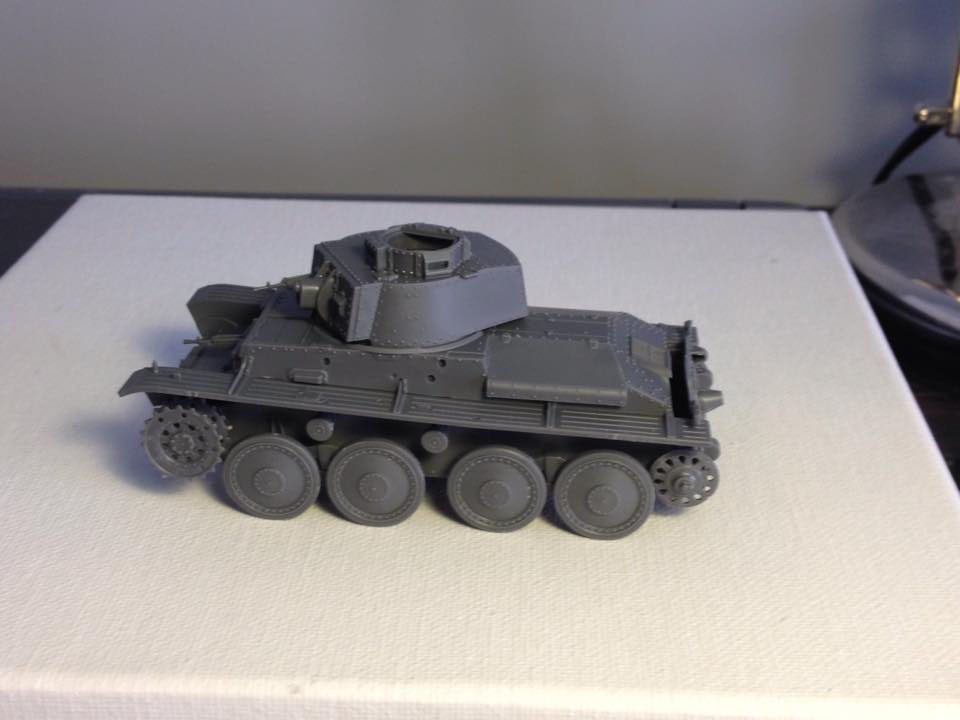 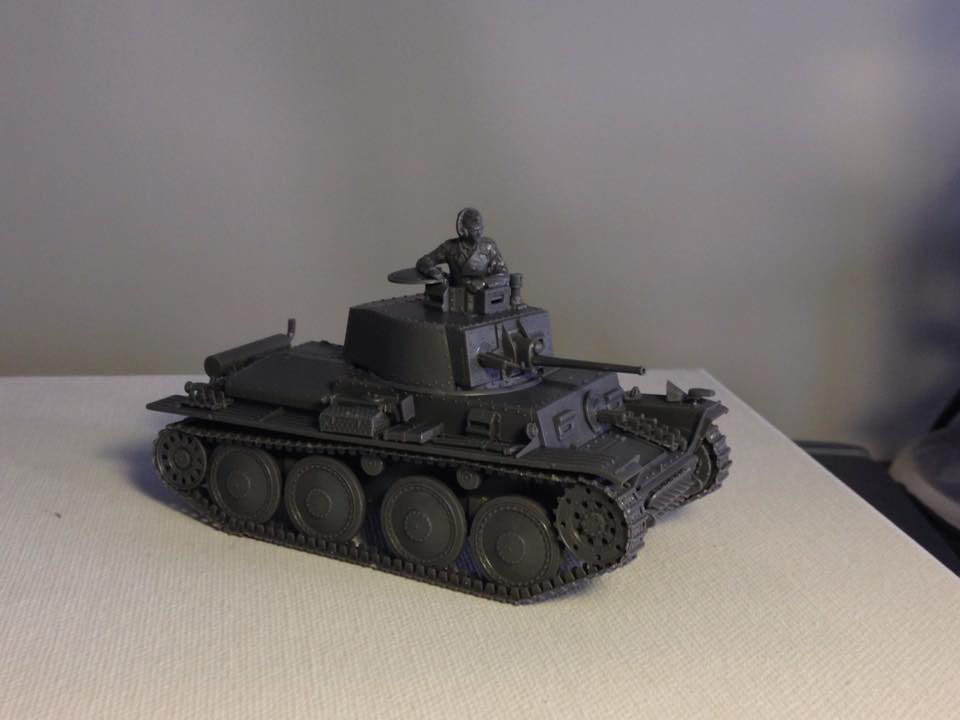 The Panzer 38(t) is fun to add to your German force, as it is not a German tank! It was designed in Czechoslovakia just before WW2, and due to the solid design it was incorporated in the German army. But it looks a lot different than your average German tank from the period, more boxy and clad in riveted steel. New units were produced until 1942, but even after its service as a frontline tank it survived as a chassis for other weapons, most famously as the Marder III tank destroyer. But did you know that Sweden also licensed the chassis, both as a tank (Stridsvagn m/41) and as assault artillery (Stormartillerivagn m/43)?
Either way, there's a great review of the kit at missing-lynx.com. I agree with everything said in there: it's a simple and pretty cheap kit, and I built it in just two sittings. It has a commander model if you like that, or you can just model the hatch shut. I can recommend it to anyone who wants to add a slightly quirky tank for their early to mid war German forces. Next up will be the very minor detail of painting it! -Jonas
    |
WW2 Campaign BlogThis blog follows the second Chain of Command club campaign, set in the intense fighting over Stalino in October 1941. Archives
January 2018
Categories |

 RSS Feed
